If you’ve ever tried writing end-to-end tests with frameworks like Appium, Detox, XCUITest, or Espresso, you know how painful it can be. Tests get brittle, maintenance is a headache, and simple flows often require far too much boilerplate.
That’s the problem Maestro set out to solve. With Maestro, your tests are easy to read, resilient to UI changes, and quick to maintain - without giving up power or flexibility.
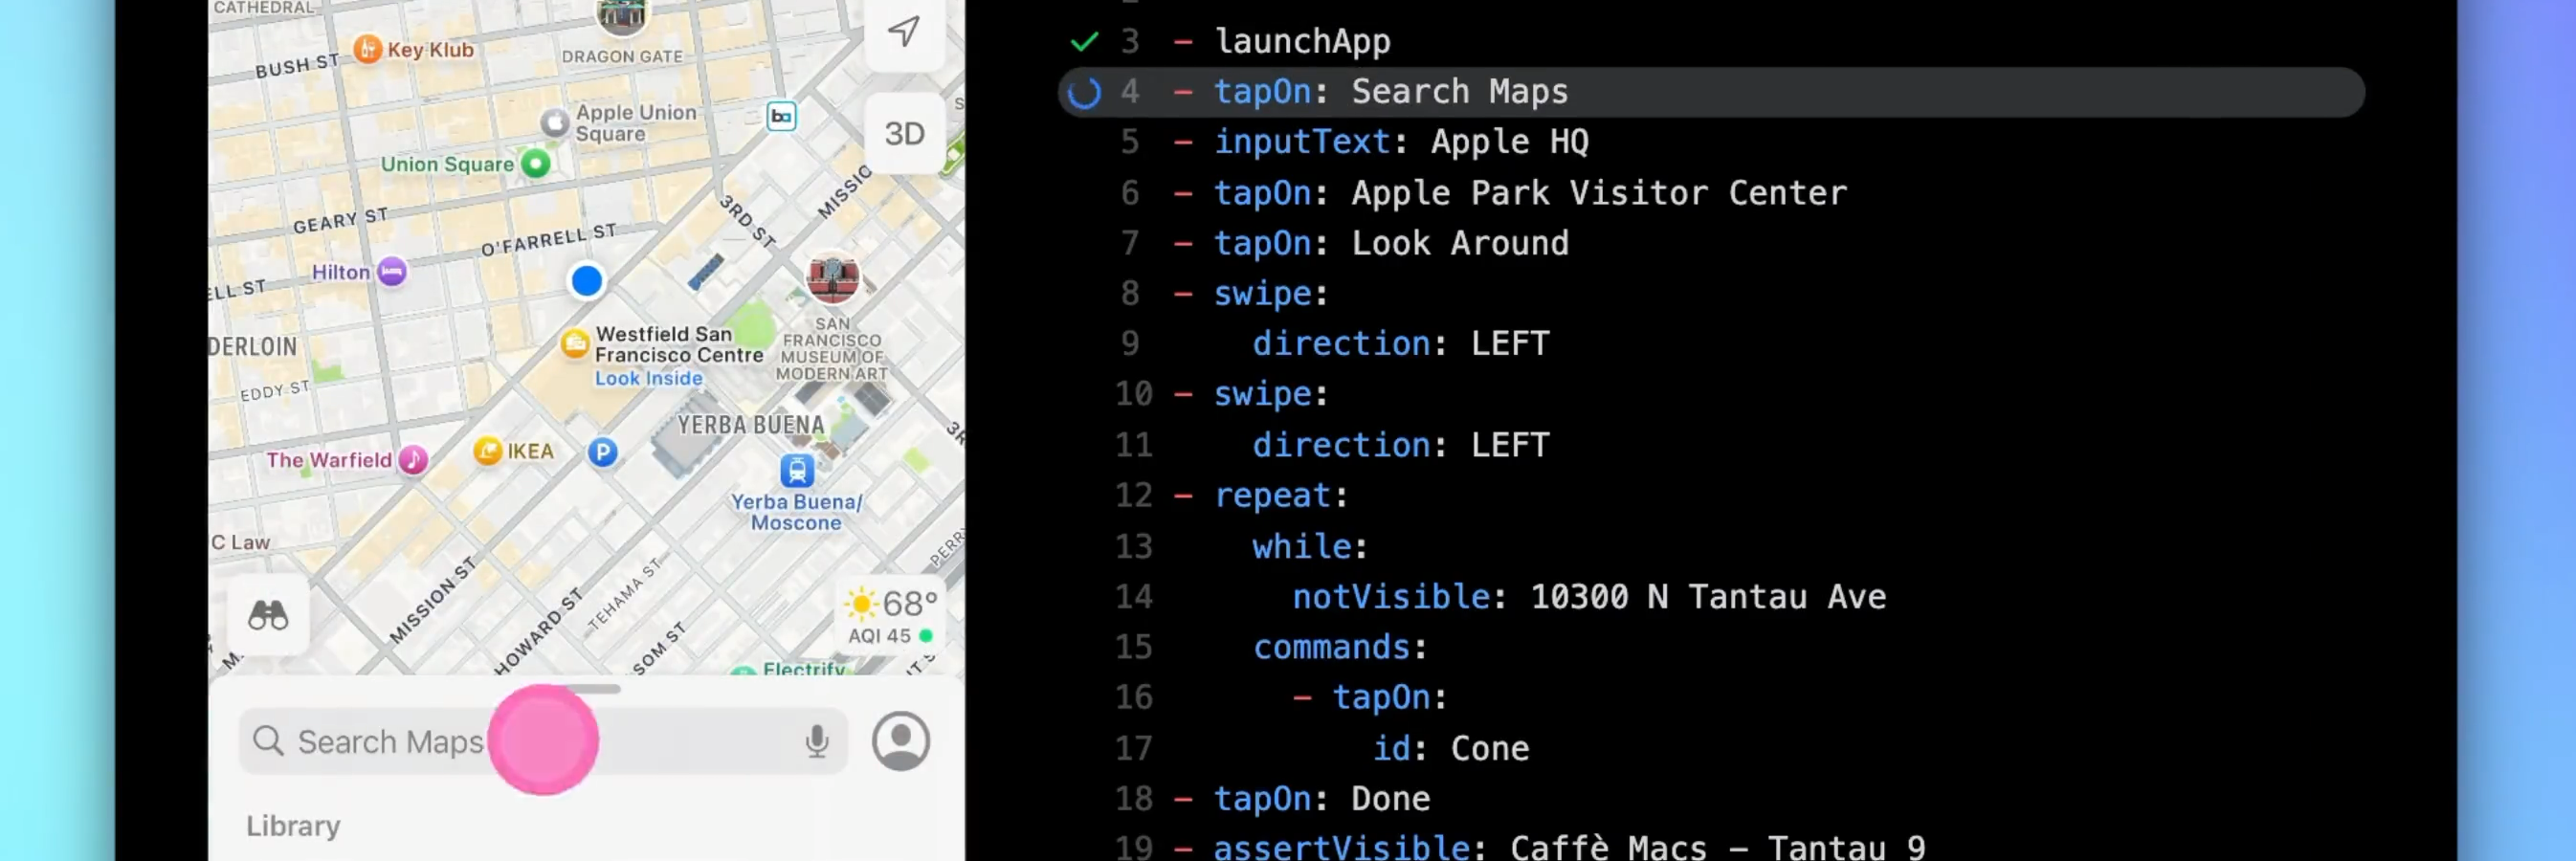
To see what that looks like, let’s walk through a real example together: automating Apple Maps to search for “Apple HQ,” explore Look Around, and verify details on screen.
The Flow
Here’s the complete flow we’ll use. Notice that it’s just a single YAML file - no drivers, SDKs, or complicated setup. Traditional frameworks require all of that just to get started. With Maestro, the YAML file is literally all you need. The CLI handles everything else behind the scenes:
appId: com.apple.Maps
---
- launchApp
- tapOn: Search Maps
- inputText: Apple HQ
- tapOn: Apple Park Visitor Center
- tapOn: Look Around
- swipe:
    direction: LEFT
- swipe:
    direction: LEFT
- repeat:
    while:
      notVisible: 10300 N Tantau Ave
    commands:
      - tapOn:
          id: Cone
- tapOn: Done
- assertVisible: Caffè Macs - Tantau 9
- tapOn: Caffè Macs - Tantau 9
- swipe:
    from:
      id: Card grabber
    direction: UP
- tapOn: go down
- assertVisible:
    text: Closed
    rightOf: Sunday
Simple Actions: tapOn, inputText, swipe

Most tests start with basic interactions: taps and swipes. In Maestro, these are written in plain YAML:
- tapOn: Search Maps
- inputText: Apple HQ
- swipe:
    direction: LEFT
Readable at a glance, even if you’ve never seen Maestro before. That simplicity is intentional - it means QA engineers, testers, and developers can all pick up flows quickly.
Handling Logic with repeat, while

Now for something more advanced. We want to keep tapping on a navigation cone until a specific address appears. In many frameworks, this would require loops, retries, and custom code. In Maestro, it’s a few lines:
- repeat:
    while:
      notVisible: 10300 N Tantau Ave
    commands:
      - tapOn:
          id: Cone
Here we’re also using an id selector, targeting the element by its accessibility identifier instead of visible text. This makes the test more stable and less fragile if labels change.
Readable, resilient, and zero boilerplate.
Reliable Assertions with Relative Selectors

Assertions are where tests often become brittle. Maestro helps by letting you define context, not just values. For example:
- assertVisible:
    text: Closed
    rightOf: Sunday
This checks that “Closed” appears specifically to the right of “Sunday.” That small detail makes tests much more reliable in real-world apps, where the same text might appear multiple times.
Why It Matters
This flow launches Apple Maps, searches for a location, explores Look Around, navigates dynamically, and verifies UI state. And yet, the test is short, clear, and easy to maintain.
With Maestro you get:
- Readability: Flows anyone on the team can understand.
- Power: Commands like
repeat and relative selectors handle complex cases without heavy code.
- Reliability: Flake-free tests that hold up over time.
This is why Maestro is trusted by teams like DoorDash, the Microsoft Copilot and Bing teams, and the core React Native team at Meta.
Get Started with Maestro

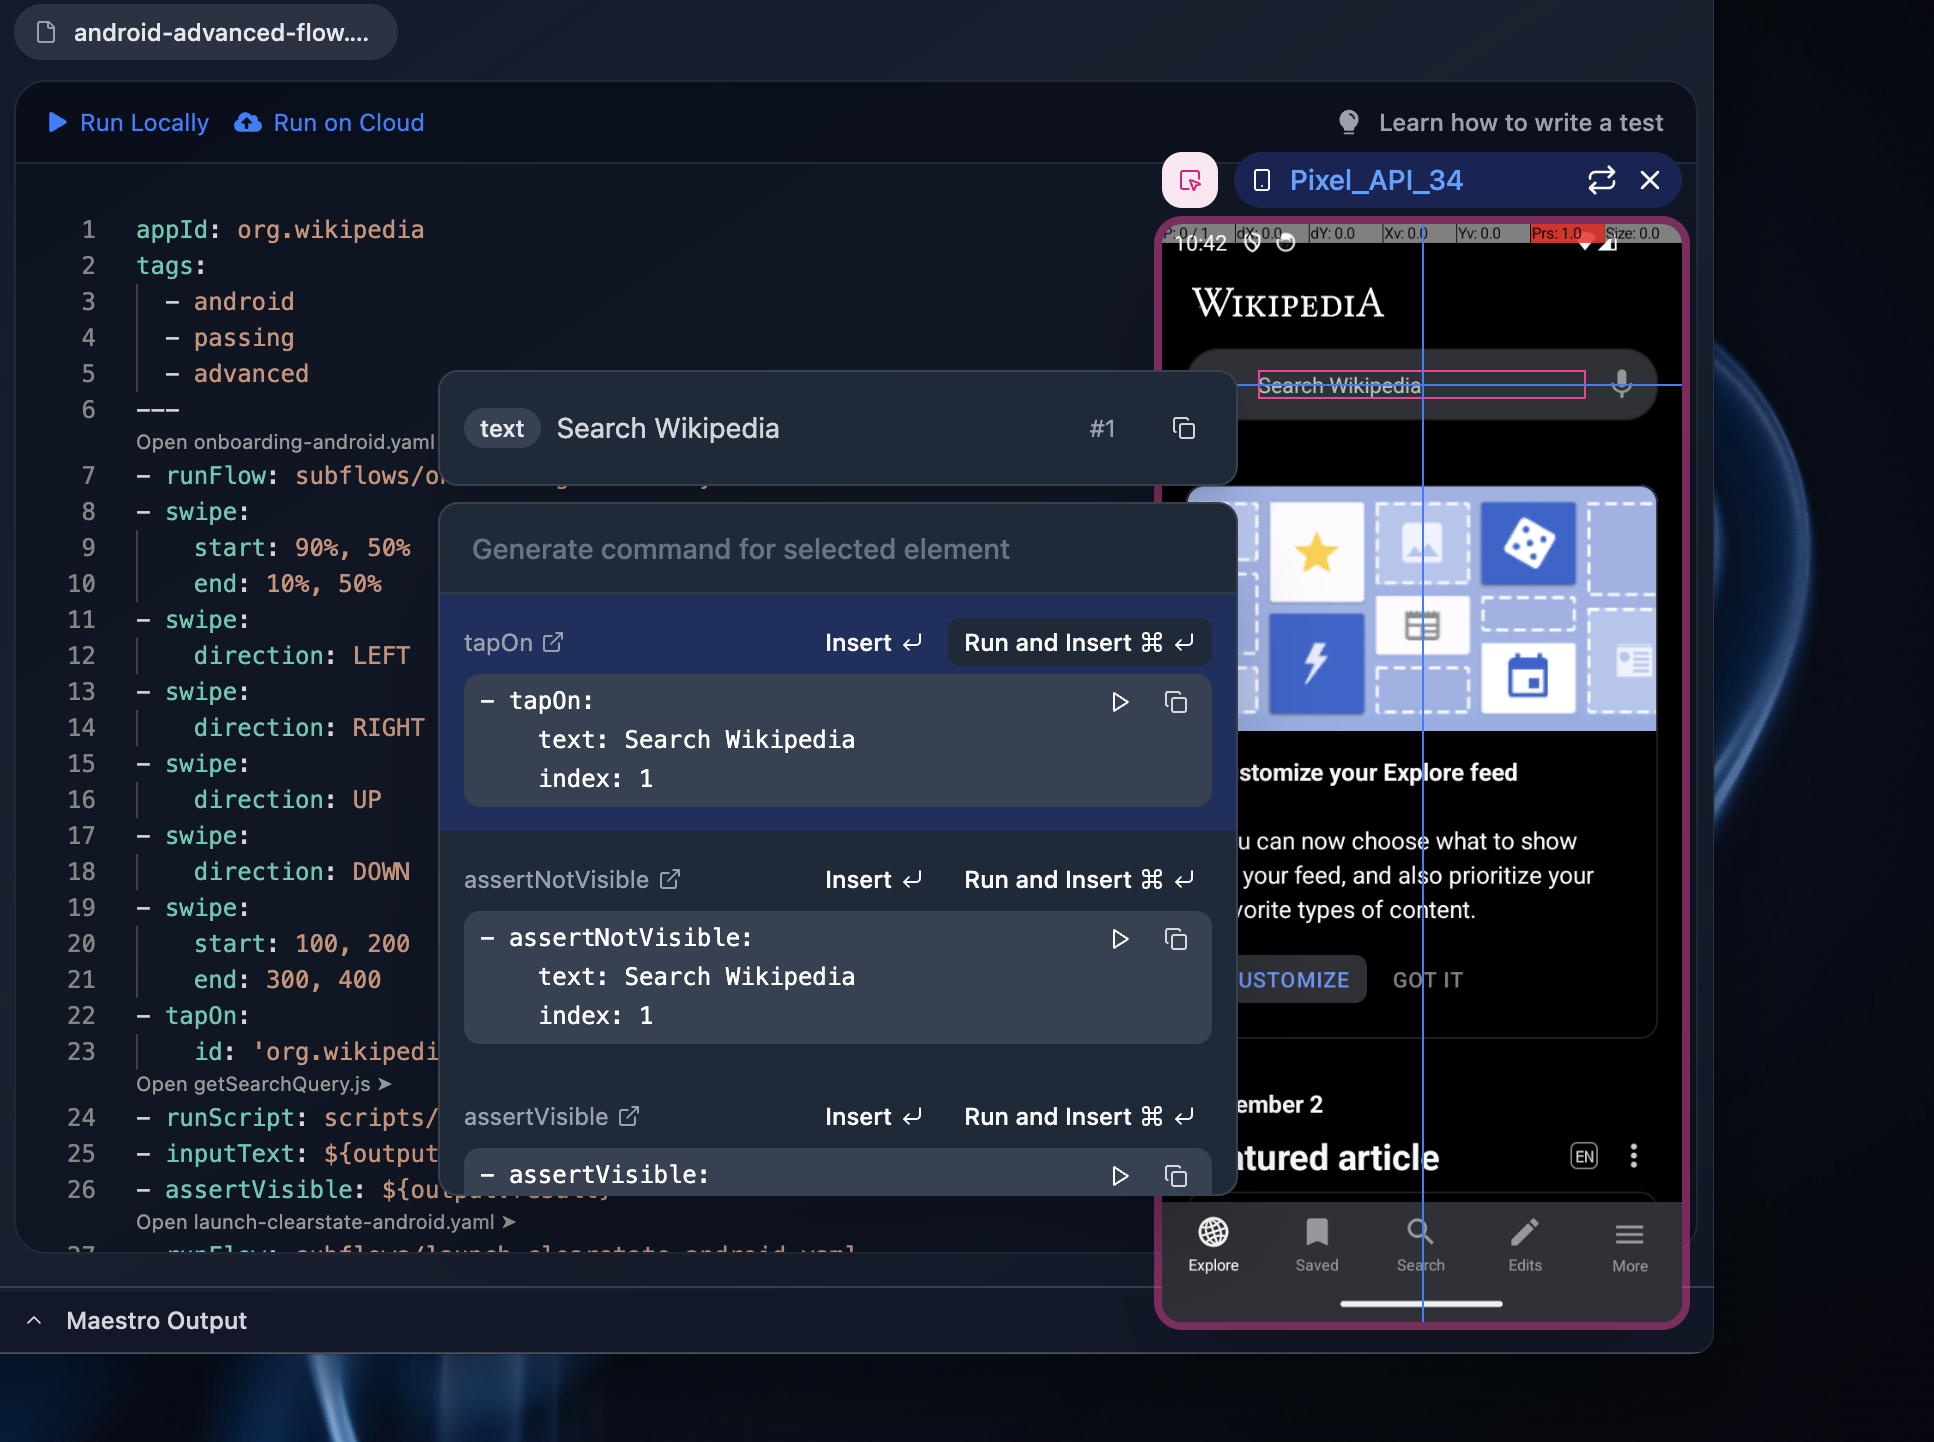
The easiest way to get started with Maestro is by using Maestro Studio - our free desktop IDE, built specifically for testers. It gives you a simple way to record, edit, and manage your flows without worrying about setup. You can be up and running in minutes.
👉 Download Maestro Studio today to write your first flow


