Introduction
As a mobile app developer, you are always on the lookout for new and powerful tools to enhance your development process. Maestro UI testing framework and Ignite, the most popular React Native app with boilerplate for both Expo and bare React Native, are two tools that deserve your attention.
In this blog post, we will discuss how Maestro UI testing framework is now adopted by Ignite, and how these two tools can help you develop better and more reliable React Native apps.
Maestro in Ignite
Maestro is a simple yet powerful Open Source UI testing framework for mobile apps. The framework allows you to define and test Flows, which are parts of the user journey in your app.
Ignite has recently replaced Detox with Maestro as its default end-to-end (e2e) testing tool. Ignite’s [v8.7.0](https://github.com/infinitered/ignite/releases/tag/v8.7.0) release includes Maestro e2e tests. With Maestro’s integration into Ignite, developers can now write and maintain e2e tests more efficiently.
Setting up Maestro in Ignite is a breeze, thanks to its simple installation process. Once installed, you can create Maestro Flows within the .maestro folder in your Ignite project.
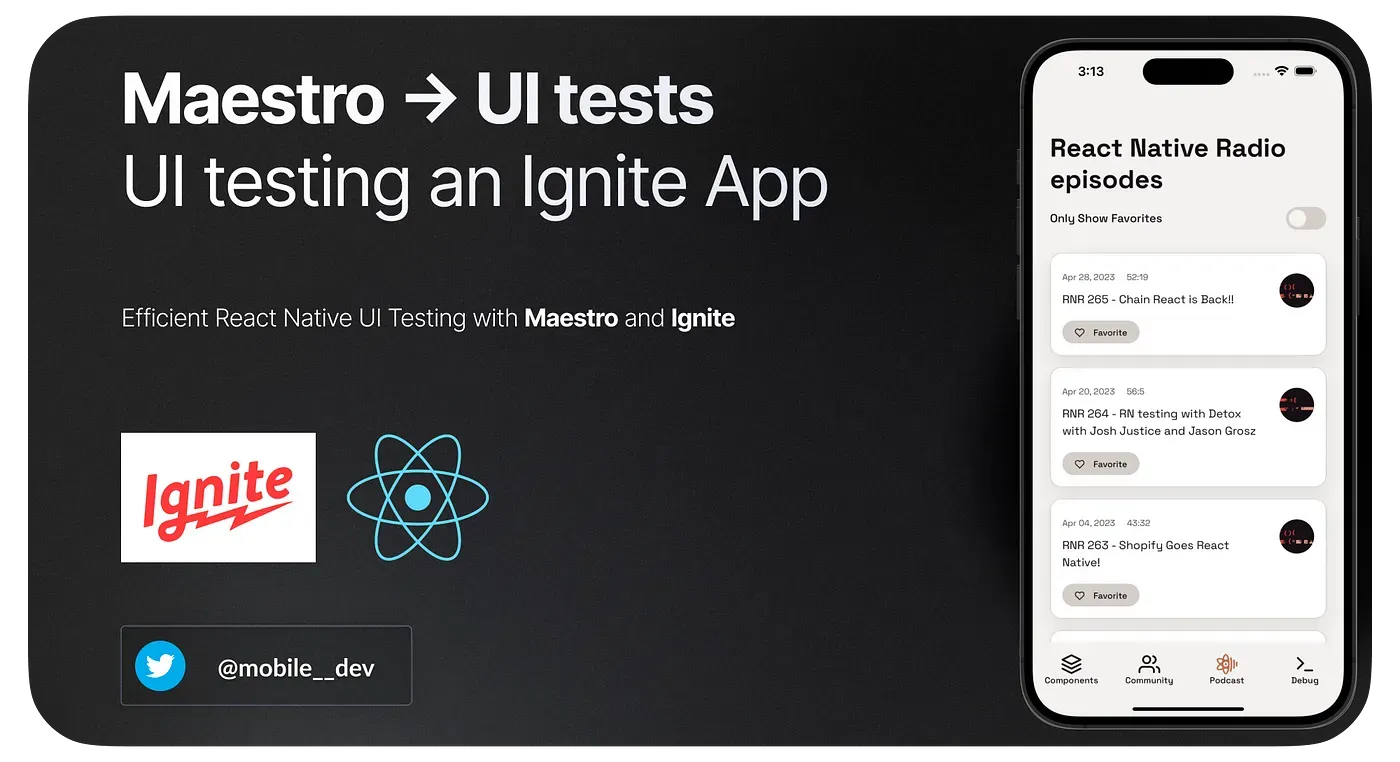
Big news! 🎉 The latest release (v8.7.0) of Ignite, the popular React Native app boilerplate tool by @infinite_red, now integrates Maestro UI testing framework replacing Detox for even smoother end-to-end testing. Kudos to the team for their hard work!
— mobile.dev (@maestro__dev) May 1, 2023
UI testing an Ignite App… https://t.co/xiXS7oZaG6 pic.twitter.com/AC23j9ZeKv
Setting Up Maestro in Ignite
For New Ignite Apps
To illustrate the process, let’s create a new Ignite app and integrate Maestro to automate UI testing:
- Install Ignite: First, you need to install Ignite. Simply run the following command in your terminal:
npx ignite-cli@latest new IgniteApp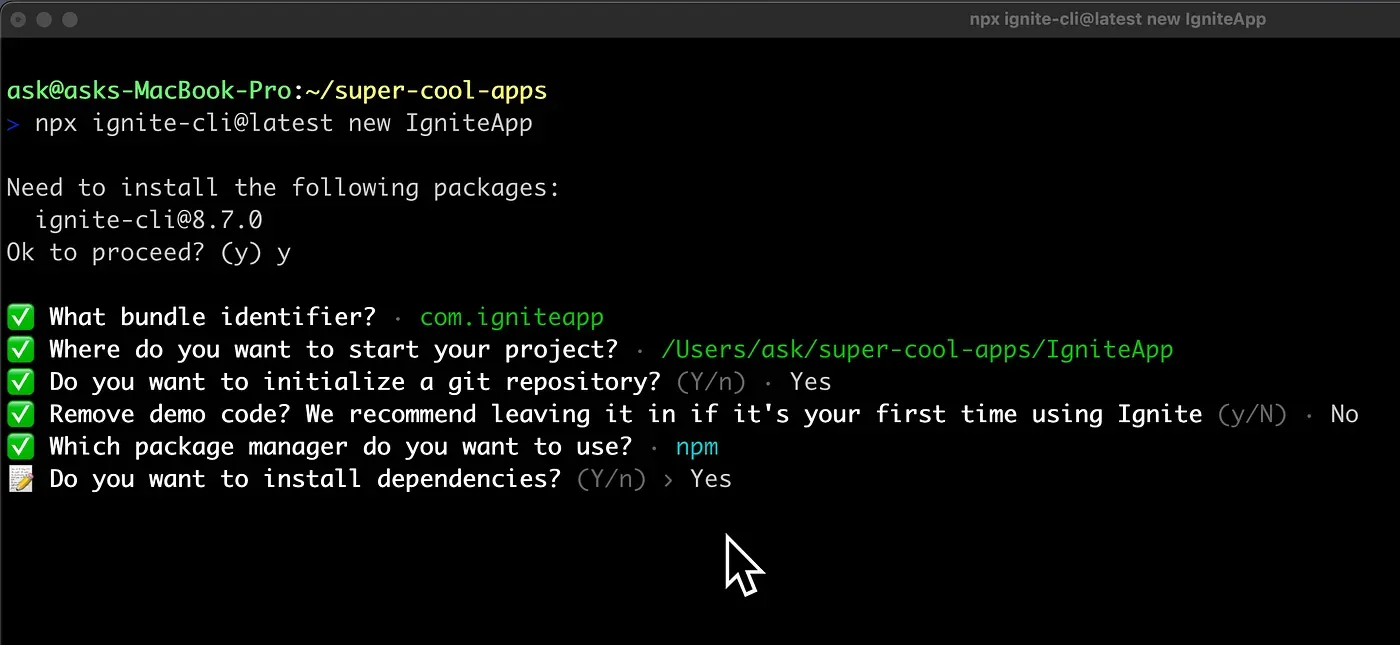
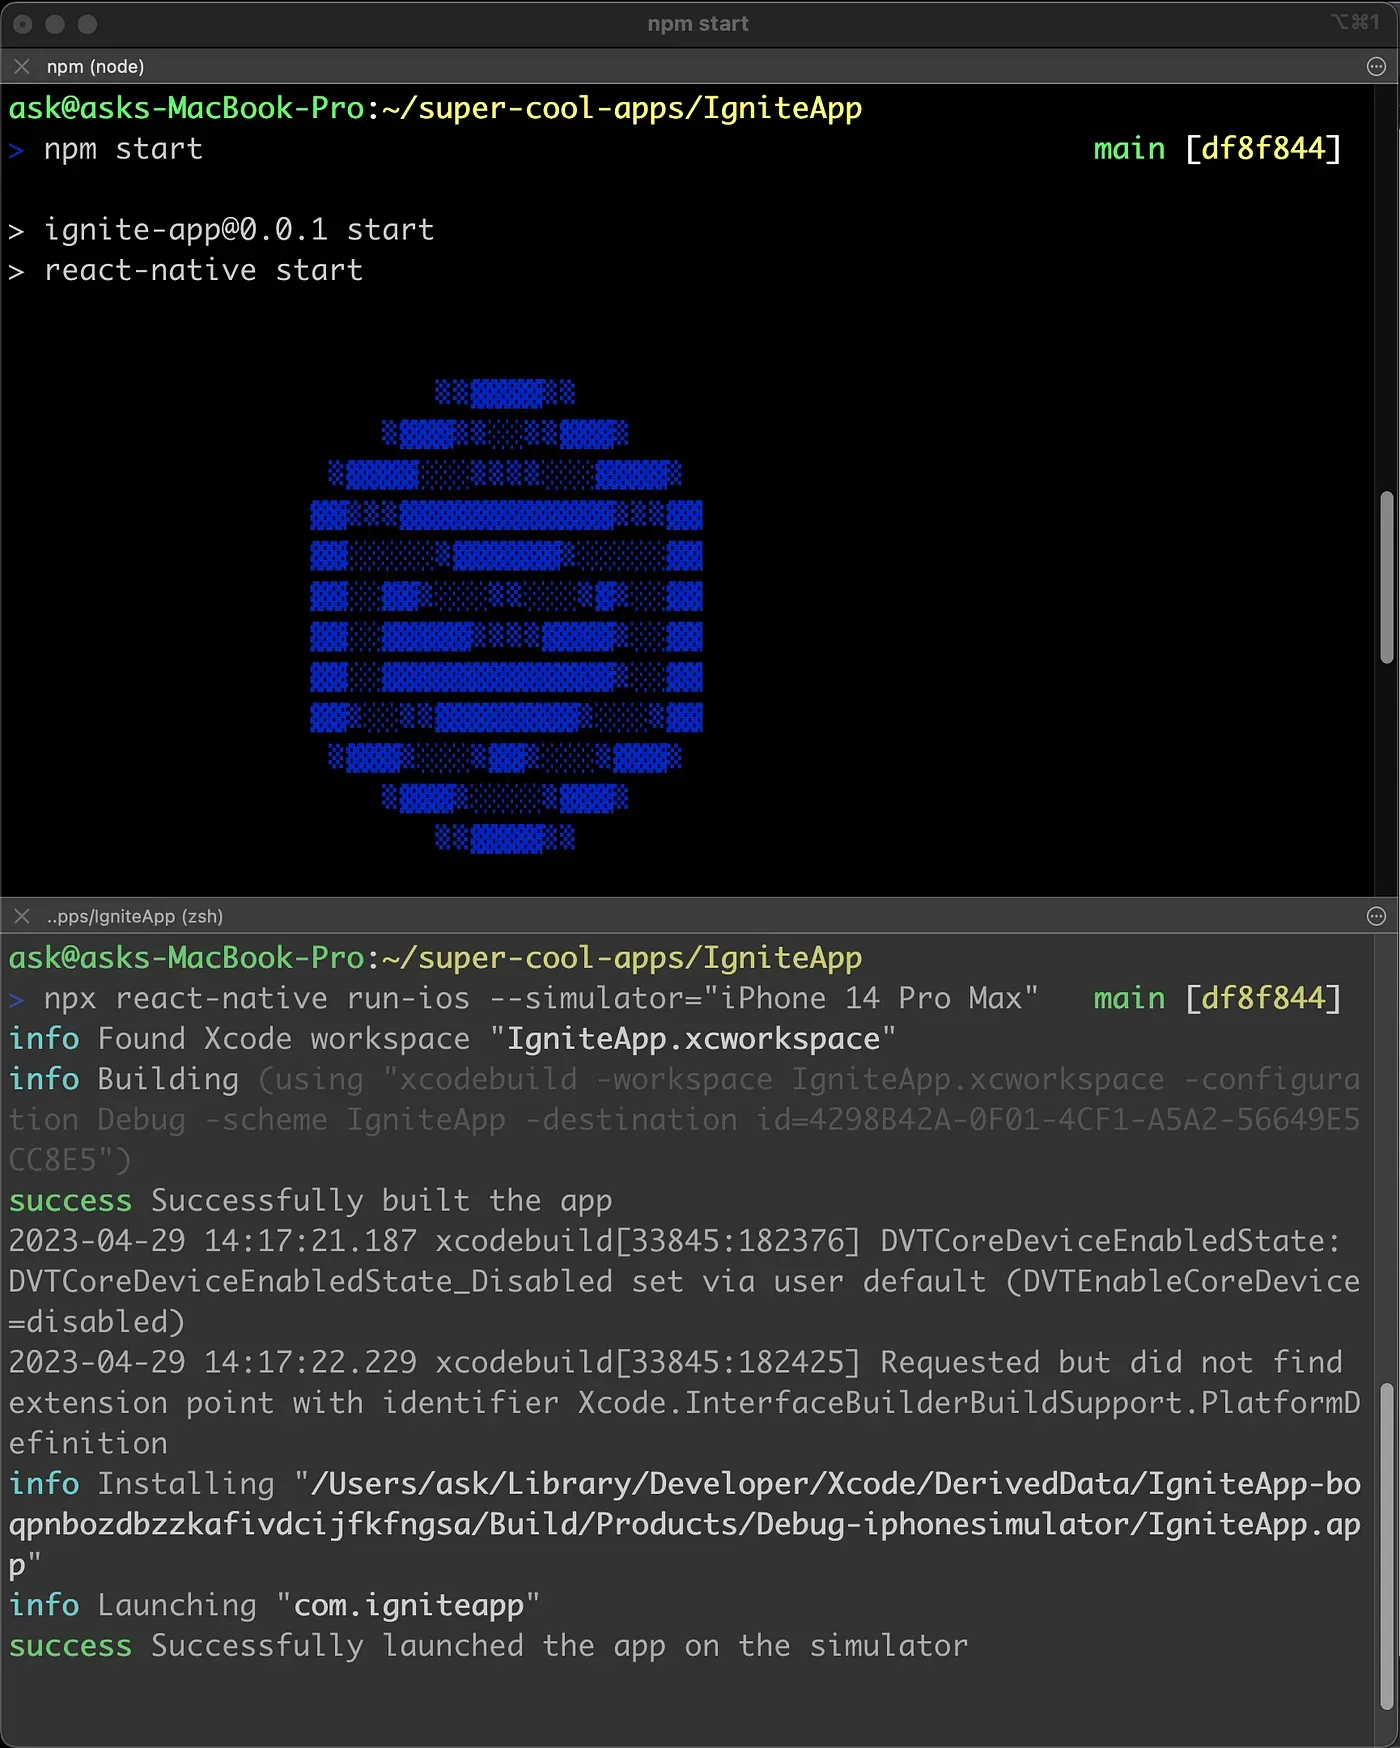
- Launch the app: Open two terminals.
In one, run npm start.
On the other, run npx react-native run-ios --simulator="iPhone 14 Pro Max" to launch the iOS app in a specific simulator or just npm run ios. For Android, run npm run android.
-
Integrate Maestro: IgniteApp includes the
.maestrodirectory in your project root with two Maestro flows:Login.yamlandFavoritePodcast.yaml. Install Maestro withcurl -Ls “<https://get.maestro.mobile.dev>" | bash -
Run Maestro tests: With your app loaded in the simulator, execute the Maestro test by navigating to the
.maestrodirectory and runningmaestro test FavoritePodcast.yaml
By following these steps, you have successfully integrated Maestro with Ignite and can now automate UI testing for your mobile app.
For Existing Ignite Apps
To set up Maestro in your existing Ignite project, follow these simple steps:
-
Install Maestro: Use the command
curl -Ls "<https://get.maestro.mobile.dev>" | bashto install Maestro. -
Create a
.maestrofolder: Create a folder named.maestroin the root directory of your Ignite project. -
Create Maestro flows: Create Maestro flows by creating YAML files within the
.maestrofolder. For instance, create a file calledLogin.yamland write your desired flow script. -
Run Maestro tests: With your app loaded in the simulator, navigate to the
.maestrodirectory and execute the Maestro test by runningmaestro test Login.yaml.
For more detailed instructions, refer to the Maestro Setup Guide by Ignite.
Flow Scripts
Tests are defined in a yaml file, offering a concise and expressive way to write tests.
Reference: https://github.com/infinitered/ignite/tree/master/boilerplate/.maestro
.maestro/FavoritePodcast.yaml file:
# flow: run the login flow and then navigate to the demo podcast list screen, favorite a podcast, and then switch the list to only be favorites.

appId: com.igniteapp
env:
  TITLE: "RNR 257 - META RESPONDS! How can we improve React Native, part 2"
  FAVORITES_TEXT: "Switch on to only show favorites"

---
- runFlow: Login.yaml
- tapOn: "Podcast"
- assertVisible: "React Native Radio episodes"
- tapOn:
    text: ${FAVORITES_TEXT}
- assertVisible: "This looks a bit empty"
- tapOn:
    text: ${FAVORITES_TEXT}
    # https://docs.maestro.dev/troubleshooting/known-issues#android-accidental-double-tap
    retryTapIfNoChange: false
- scrollUntilVisible:
    element:
      text: ${TITLE}
    direction: DOWN
    timeout: 50000
    speed: 40
    visibilityPercentage: 100
- longPressOn: ${TITLE}
- scrollUntilVisible:
    element:
      text: ${FAVORITES_TEXT}
    direction: UP
    timeout: 50000
    speed: 40
    visibilityPercentage: 100
- tapOn:
    text: ${FAVORITES_TEXT}
- assertVisible: ${TITLE}

# @demo remove-fileappId: com.igniteapp
env:
  TITLE: "RNR 257 - META RESPONDS! How can we improve React Native, part 2"
  FAVORITES_TEXT: "Switch on to only show favorites"
.maestro/Login.yaml file:
#flow: Login
#intent:
# Open up our app and use the default credentials to login
# and navigate to the demo screen

appId: com.igniteapp # the app id of the app we want to test
# You can find the appId of an Ignite app in the `app.json` file
# as the "package" under the "android" section and "bundleIdentifier" under the "ios" section
---
- clearState # clears the state of our app (navigation and authentication)
- launchApp # launches the app
- assertVisible: "Sign In"
- tapOn:
    text: "Tap to sign in!"
- assertVisible: "Your app, almost ready for launch!"
- tapOn:
    text: "Let's go!"
- assertVisible: "Components to jump start your project!"

# @demo remove-file
Conclusion
The integration of the Maestro UI testing framework into Ignite has opened up new possibilities for mobile app developers, allowing them to write and maintain e2e tests more efficiently for both Android and iOS platforms. If you want to enhance your development process and build more reliable apps, it’s time to dive into the world of Maestro and Ignite. Check out the Maestro documentation for more information on Maestro’s features and capabilities.
Reference
Ignite Code:
Maestro Setup Guide by Ignite:
Maestro — Painless Mobile UI Automation:
Maestro — GitHub:
🎹