
If you aren’t already familiar with Maestro Cloud, check out the announcement blog post: Introducing: Maestro Cloud.
This article will walk you through running a Flow on Maestro Cloud from your local terminal. We recommend going through these steps to see the process working end-to-end before wiring into CI.
Alright — let’s get started!
1. Install the Maestro CLI
We’ll be using the maestro cloud command below, so start by installing the Maestro CLI if you haven’t already:
curl -Ls "https://get.maestro.mobile.dev" | bash(On Windows? Head to the installation docs)
2. Login to the CLI
Authenticate with mobile.dev on the command line using the following command:
maestro loginFollow the printed instructions to complete the login process.
3. Download the Samples
Use the download-samples command to download a sample app and Flow file to upload to Maestro Cloud:
maestro download-samplesYou can of course choose to upload your own app and Flow file, but we recommend using the samples first to see how it works!
4. Run your Flow on Maestro Cloud
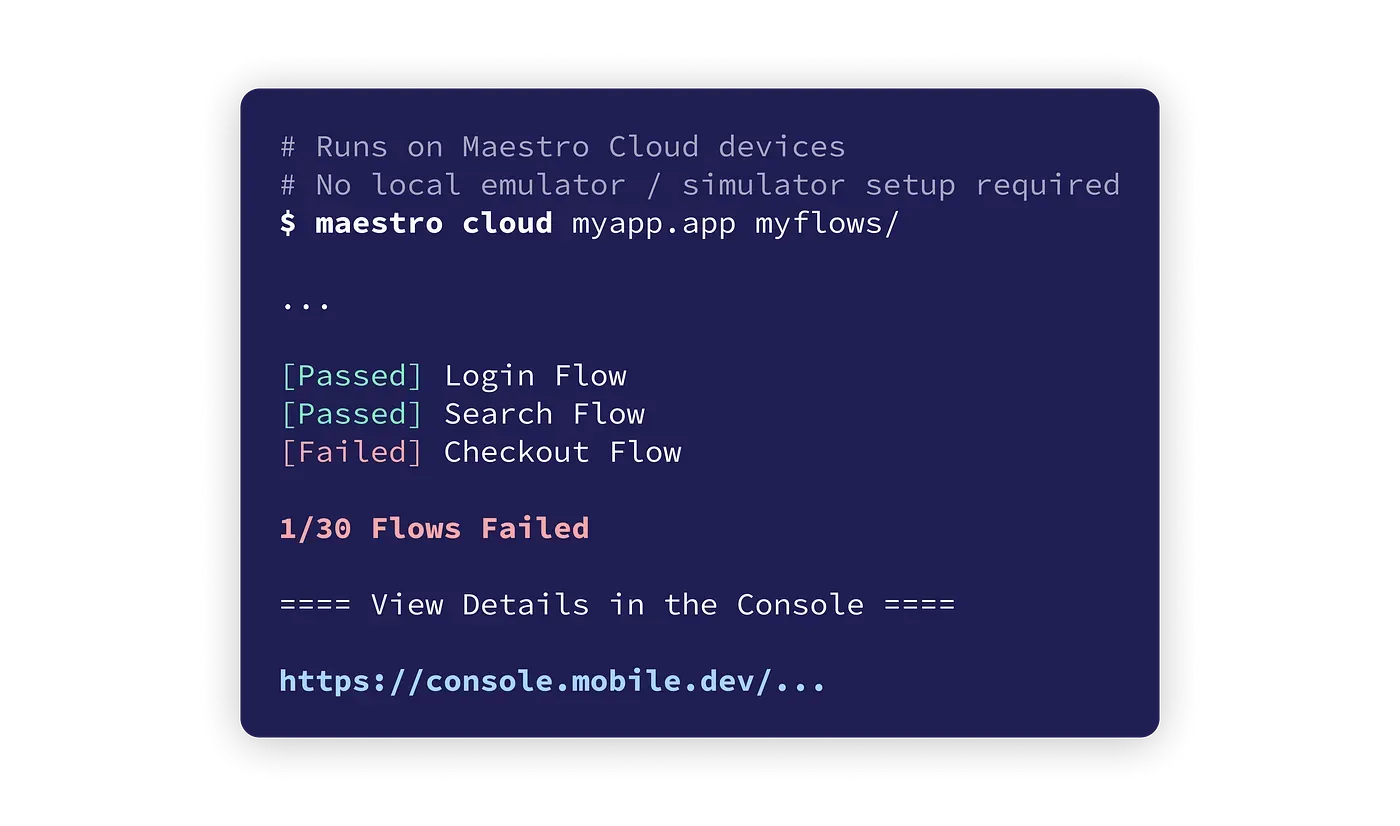
Use the maestro cloud command to run your flow Maestro Cloud. This command works the same whether you’re running it locally or in CI.
`# Android
cd ./samples
maestro cloud sample.apk android-flow.yaml` `# Android
cd ./samples
maestro cloud sample.apk android-flow.yaml`
5. View results in the console
A link to the Maestro Console console is printed out after your Flow is uploaded successfully. Click on the link to view the results of your upload. It may take a minute or so before your results are ready.
Next Steps
Check out the documentation below to wire Maestro Cloud into your CI workflow: