Since launching Maestro a few months ago, we’ve seen tons of Maestro screen recordings pop up on social media.
It’s usually the same setup: Flow output on one side and a Simulator or Emulator on the other. It’s a great way to showcase Maestro’s simplicity, and we’re stoked that users are excited as we are to showcase their Maestro Flows!
But we know from experience that setting up this sort of screen recording can be cumbersome. Here’s some of what you need to think about:
- Cleaning up your desktop for a clean recording
- Sizing the terminal window correctly
- Adjusting the terminal font size
- Arranging the windows for the correct aspect ratio
- Cropping the recording area to include the right padding
- Trimming the start and end of the screen recording
And the list goes on. At Maestro, we’re all about making mobile teams more efficient, so we’ve decided to make this process a whole lot easier.
Introducing: “maestro record”
Simply run the command below to render your Flow output and app screen recording into a beautifully formatted video:
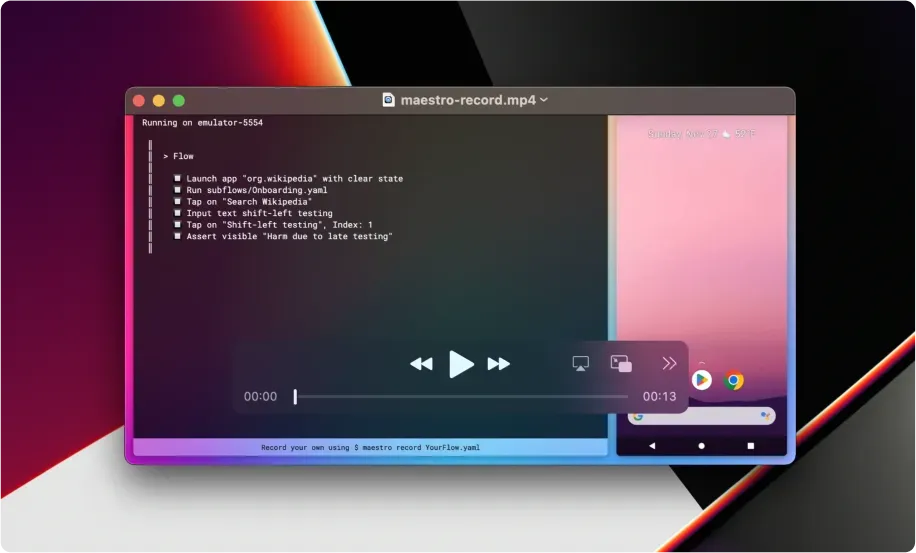
maestro record YourFlow.yamlHere’s an example of the final output:
You don’t need to worry about cleaning up your desktop or arranging your windows in any particular way. “maestro record” captures the raw Flow output and app screen recording, and then programmatically stitches them together into an mp4 file.
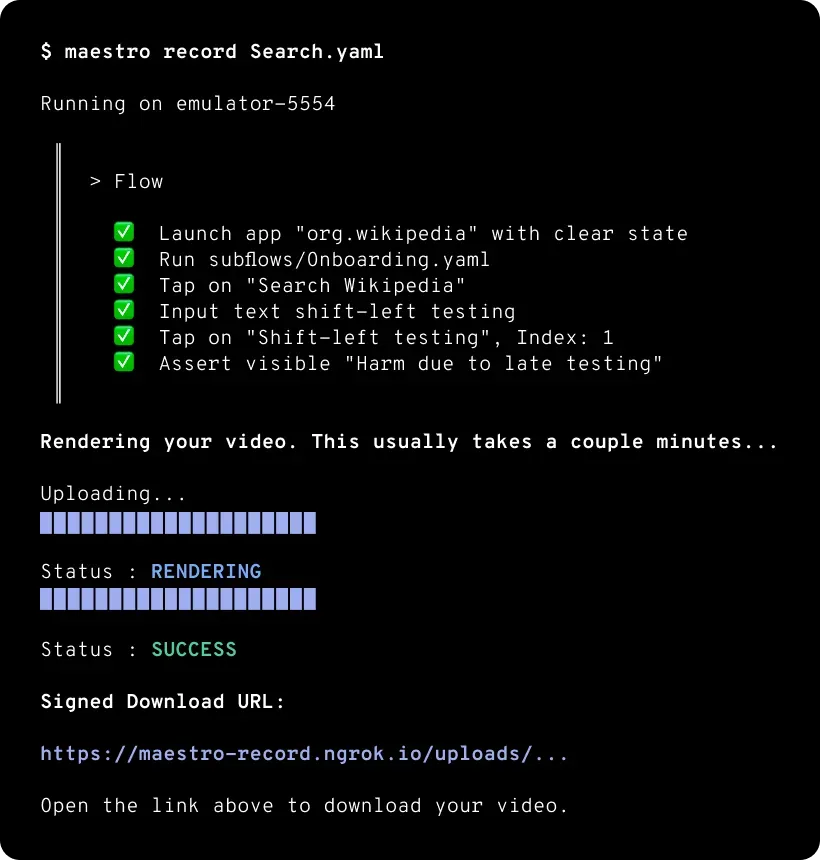
After your Flow runs, your video will begin rendering. This process usually takes a couple minutes. When your video is ready, a signed download url is printed to the terminal. Navigate to the link in your browser to download your video.
Note that the rendered video is sped up by 2x by default for a better viewing experience. We may make this configurable in the future.
We hope that “maestro record” encourages more folks to share their awesome Maestro Flows with the world. Give it a try today!
Learn more at maestro.devFollow us on Twitter: @maestro__dev