
Testing web applications is an essential part of the software development lifecycle, but it can often feel like a complex and time-consuming endeavor. Enter Maestro, a tool renowned for simplifying mobile test automation and now expanding its capabilities to include web UI testing. In this guide, we’ll explore the key features of Maestro, its new web testing functionality, and how to get started with minimal effort. Whether you’re a software developer, QA professional, or automation engineer, this article will show how Maestro can enhance your testing process.
What Is Maestro and Why Does It Matter?
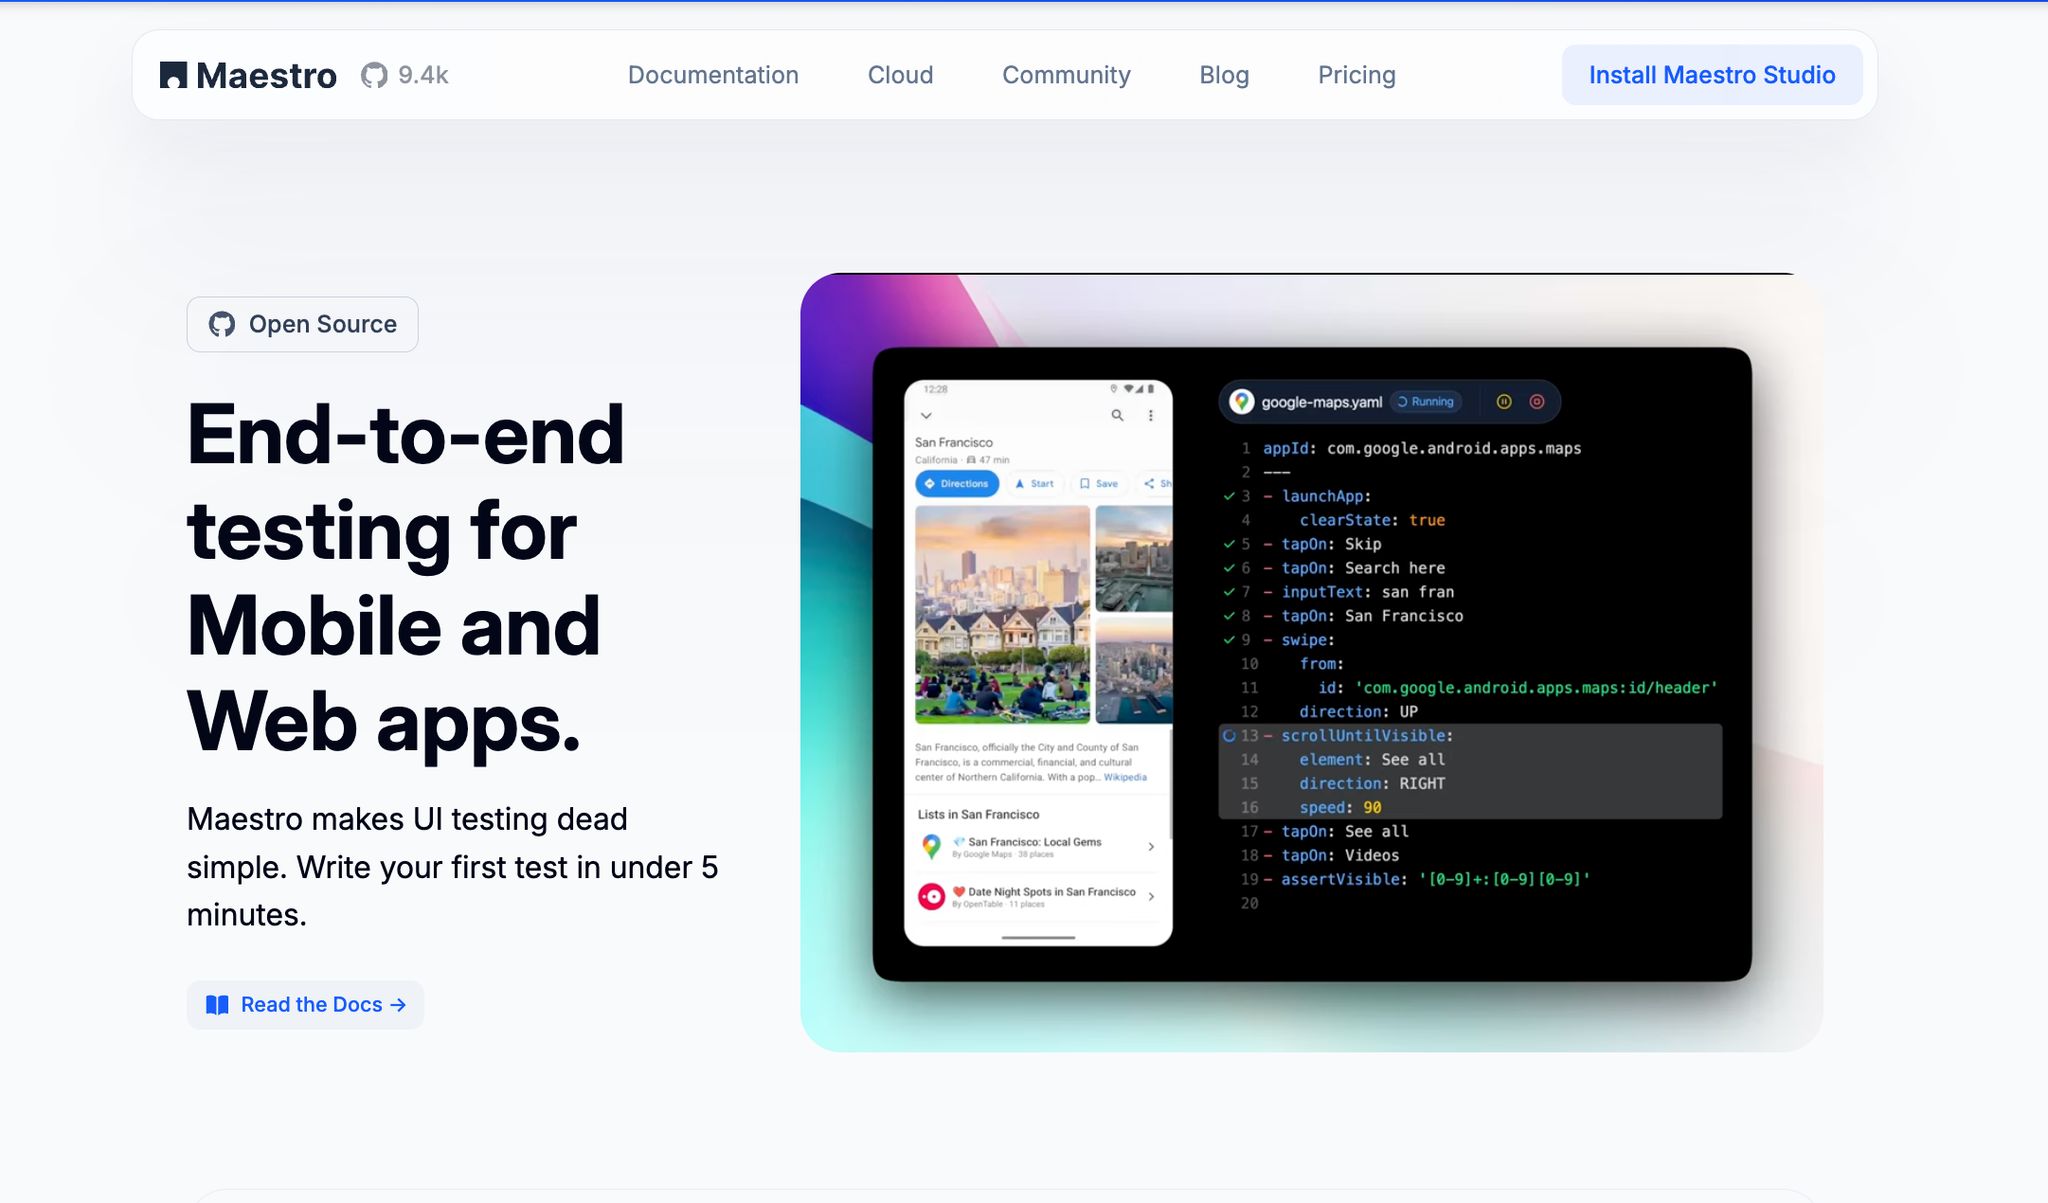
Maestro is a lightweight test automation tool that initially gained traction in the world of mobile testing. Built on learnings from its predecessors including Appium, Espresso, UIAutomator, XCTest, Selenium, and Playwright, it offers simplicity, speed, and a user-friendly approach. Maestro now supports web application testing alongside mobile, providing an efficient way to test UIs across platforms.
One of Maestro's standout qualities is its minimal installation process, allowing users to begin testing in under a minute. Additionally, it supports the YAML syntax for test scripting, a format that’s accessible even to those new to automation. These features make Maestro an attractive option for teams seeking to streamline their workflows while maintaining quality across mobile and web platforms.
sbb-itb-e343f3a
Why Choose Maestro for Web Testing?
While many automation tools are available for web testing, Maestro is carving out its niche by focusing on ease of use and fast setup. Here’s why it’s worth considering:
- Cross-Platform Testing: Previously limited to mobile apps, Maestro now supports web applications, allowing teams to consolidate testing strategies across platforms.
- Web Testing Capabilities: Web testing is now supported alongside mobile platforms, offering robust functionality backed by active developer support.
- Visual Test Builder (Maestro Studio): For those who prefer a visual approach, Maestro Studio provides an interactive tool for creating and managing tests with element inspection and command generation.
- Minimal Learning Curve: With YAML-based test scripting and straightforward commands, Maestro ensures that even beginners can get up and running quickly.
- Fast Execution: From installation to running your first test, Maestro significantly reduces the time required to validate web applications.
Getting Started with Maestro for Web Testing
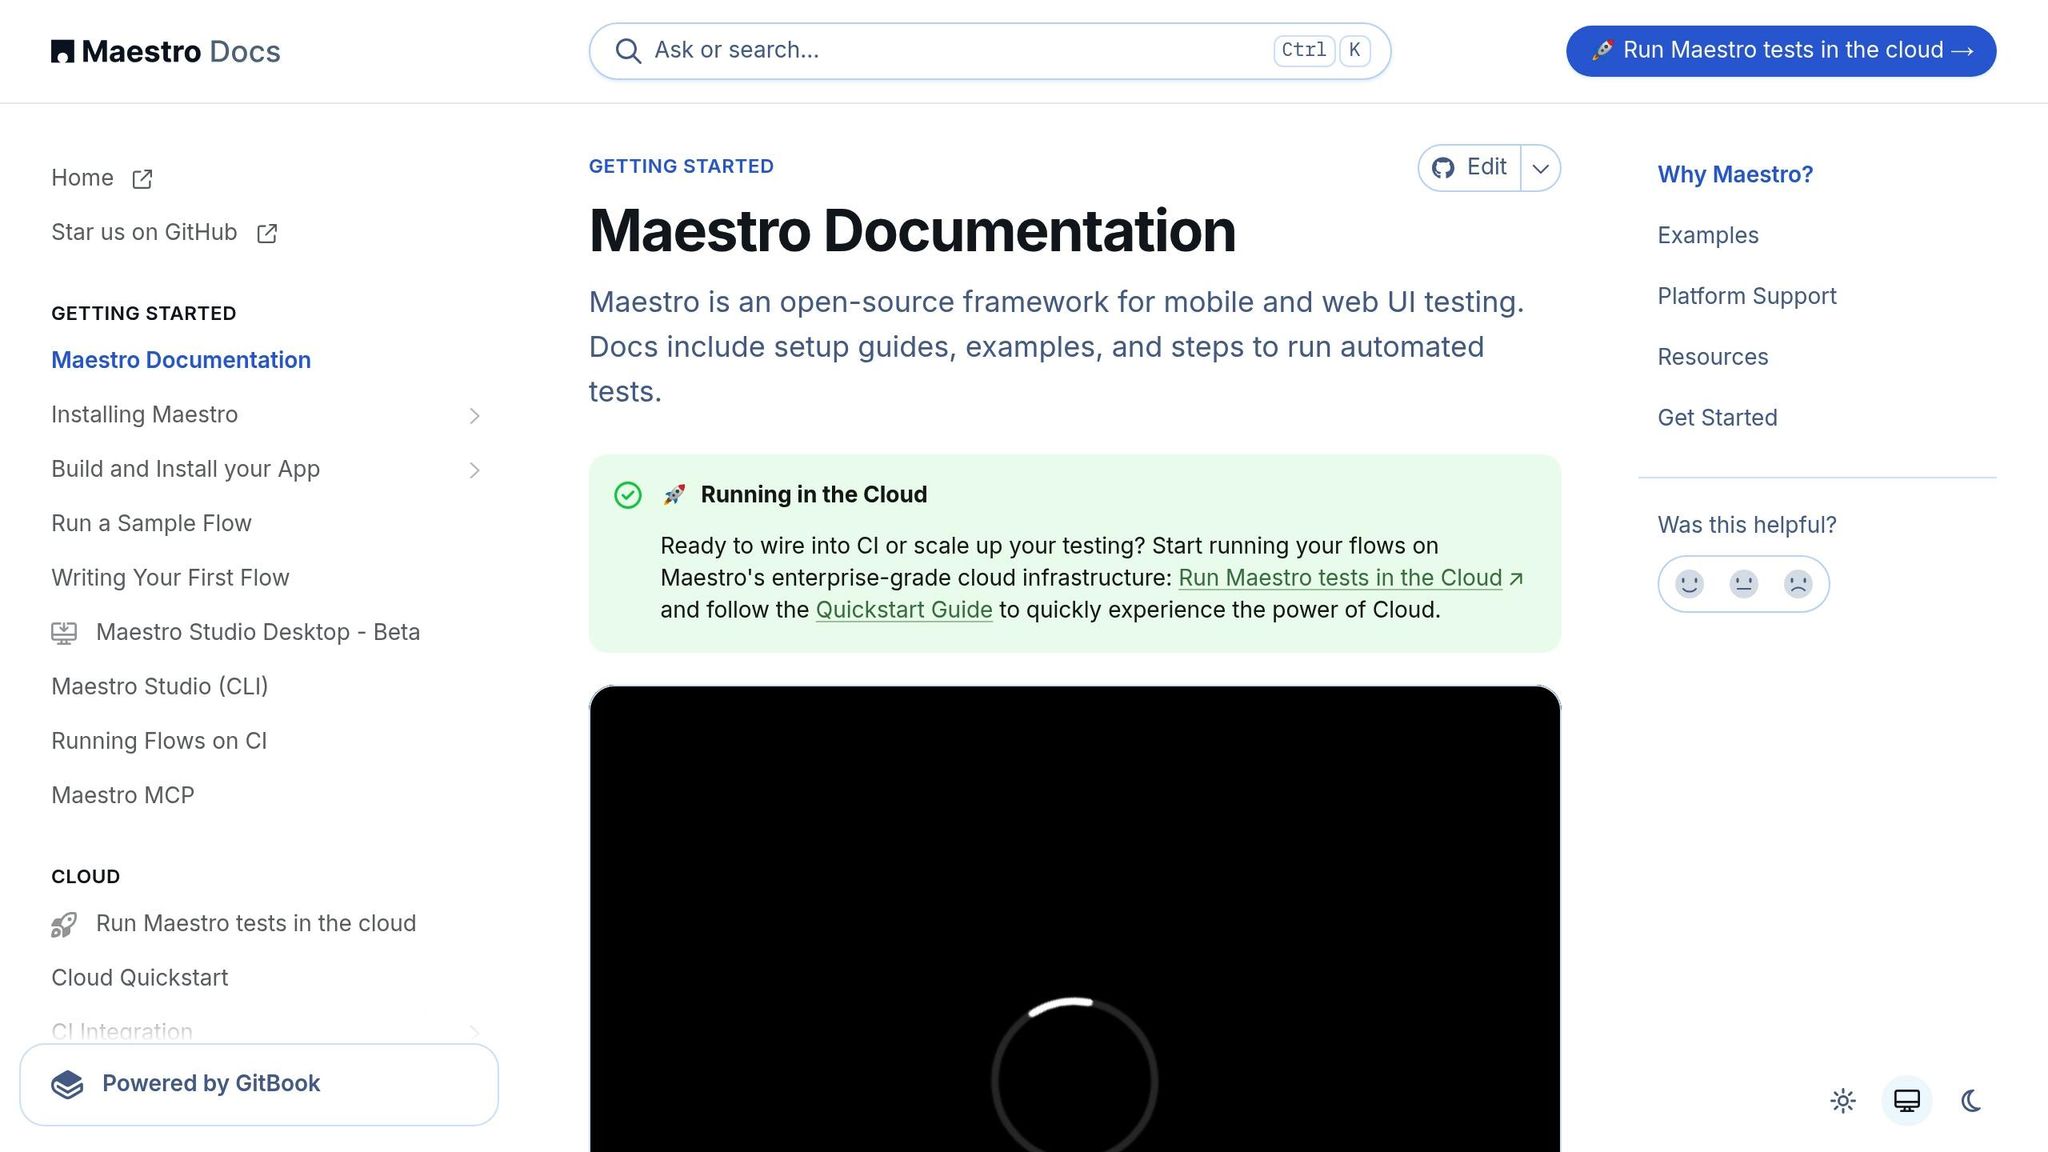
Step 1: Install Maestro
Begin by installing Maestro on your system. Depending on your operating system (Mac, Windows, or Linux), you can use either a curl command or a package manager like Homebrew (for Mac). The process takes less than a minute:
# Example installation command for Mac
brew install maestro
Once installed, you’re ready to dive into creating your first test.
Step 2: Writing Your First Web Test
Maestro uses YAML files to define tests, making the process intuitive and easy to follow. Below is a step-by-step guide for writing and running a basic test:
- Define the URL: Specify the URL of the web application you want to test.
-
Add Commands: Use Maestro’s commands (e.g.,
launchApp,assertVisible, andtapOn) to interact with the application. - Run the Test: Execute the YAML file using the Maestro CLI.
Here’s an example YAML script to test a fictional e-commerce site:
# demo.yaml
url: https://practice-softwaretesting.com
steps:
- launchApp
- assertVisible: Home
- assertVisible: Categories
- assertVisible: Contact
- tapOn: Sign In
- tapOn: Login
- assertVisible: Email is required
- assertVisible: Password is required
This script directs Maestro to:
- Open the website.
- Verify the visibility of key navigation elements.
- Simulate a user clicking the "Sign In" and "Login" buttons.
- Confirm that error messages for empty fields (email and password) are displayed.
Step 3: Using Maestro Studio for Visual Test Creation
If scripting YAML files manually isn't your style, Maestro Studio Desktop offers a graphical alternative. This free desktop application simplifies test creation through an intuitive interface:
- Download and open Maestro Studio Desktop (available for macOS, Windows, and Linux from the official website)
- Navigate to your web application within the studio’s live preview window.
- Click on elements and interact with the UI as you would during a test. Maestro automatically generates the corresponding YAML commands.
- Save and execute the test directly from the studio.
For example, in Maestro Studio, clicking the "Sign In" button will generate a tapOn command, and verifying a navigation link will create an assertVisible command. This approach is ideal for teams that need a fast, no-code solution for creating tests.
Step 4: Execute and Debug Your Tests
Once your test script is complete, execute it via the CLI:
maestro test demo.yaml
Maestro will provide real-time feedback, showing whether each step passed or failed. If an error occurs, you can debug the script by reviewing the logs or using Studio to refine your test.
Best Practices for Using Maestro
- Start Simple: Focus on automating smaller, high-priority test cases before scaling up.
-
Leverage Assertions: Use
assertVisibleliberally to ensure that key elements are present and functioning. - Provide Feedback: Since web testing is in beta, report any bugs or issues to the Maestro development team.
- Combine Mobile and Web Tests: If your project involves both platforms, Maestro allows you to create a unified testing strategy.
Key Takeaways
- Maestro Expands to Web Testing: Originally designed for mobile, Maestro now supports web UI testing, making it a versatile tool for cross-platform automation.
- Quick Installation and Setup: Installing Maestro takes only a few minutes with simple commands, and you can write your first test in under five minutes.
- YAML-Based Simplicity: Tests are written in an easy-to-read YAML format, ideal for beginners or teams moving away from complex frameworks.
- Maestro Studio for Visual Editing: Create and manage tests visually using the visual support, which generates YAML commands automatically.
- Beta Web Support: While still in beta, Maestro’s web testing capabilities show promise and offer a solid foundation for validating web applications.
- Recommended for Efficiency: With fast execution and a minimal learning curve, Maestro is well-suited for teams seeking to streamline their testing processes.
Conclusion
Maestro’s entry into web testing represents a significant step forward for a tool already beloved in the mobile testing community. Its hallmark simplicity, combined with the introduction of Maestro Studio and web support, makes it a powerful option for teams looking to optimize their test automation workflows. Whether you’re validating mobile apps, web applications, or both, Maestro offers the flexibility and ease of use to help you achieve your goals efficiently.
By integrating Maestro into your testing toolkit, you can reduce the complexity of automation while maintaining high-quality standards for your applications. As the tool continues to evolve, it’s worth exploring its capabilities and contributing feedback to shape its future development. Happy testing!
Source: "Painless Web Automation with Maestro" - Software Testing by Daniel Knott, YouTube, Mar 3, 2025 - https://www.youtube.com/watch?v=IgTPGqihlTw