We’re excited to introduce Maestro Webhooks - now available for all Cloud Plan accounts!
This new feature gives you a powerful way to plug Maestro into your custom workflows, external monitoring tools, or internal systems by sending real-time notifications whenever an upload completes.
Check out the full documentation here.
Looking for Slack integration? Check out our recent Maestro Slack Bot announcement.
🔔 Get Notified Instantly
Whether you’re automating reporting, kicking off follow-up jobs, or just want to stay in the loop on test results, webhooks allow Maestro to send upload event data directly to your server via an HTTP POST request.
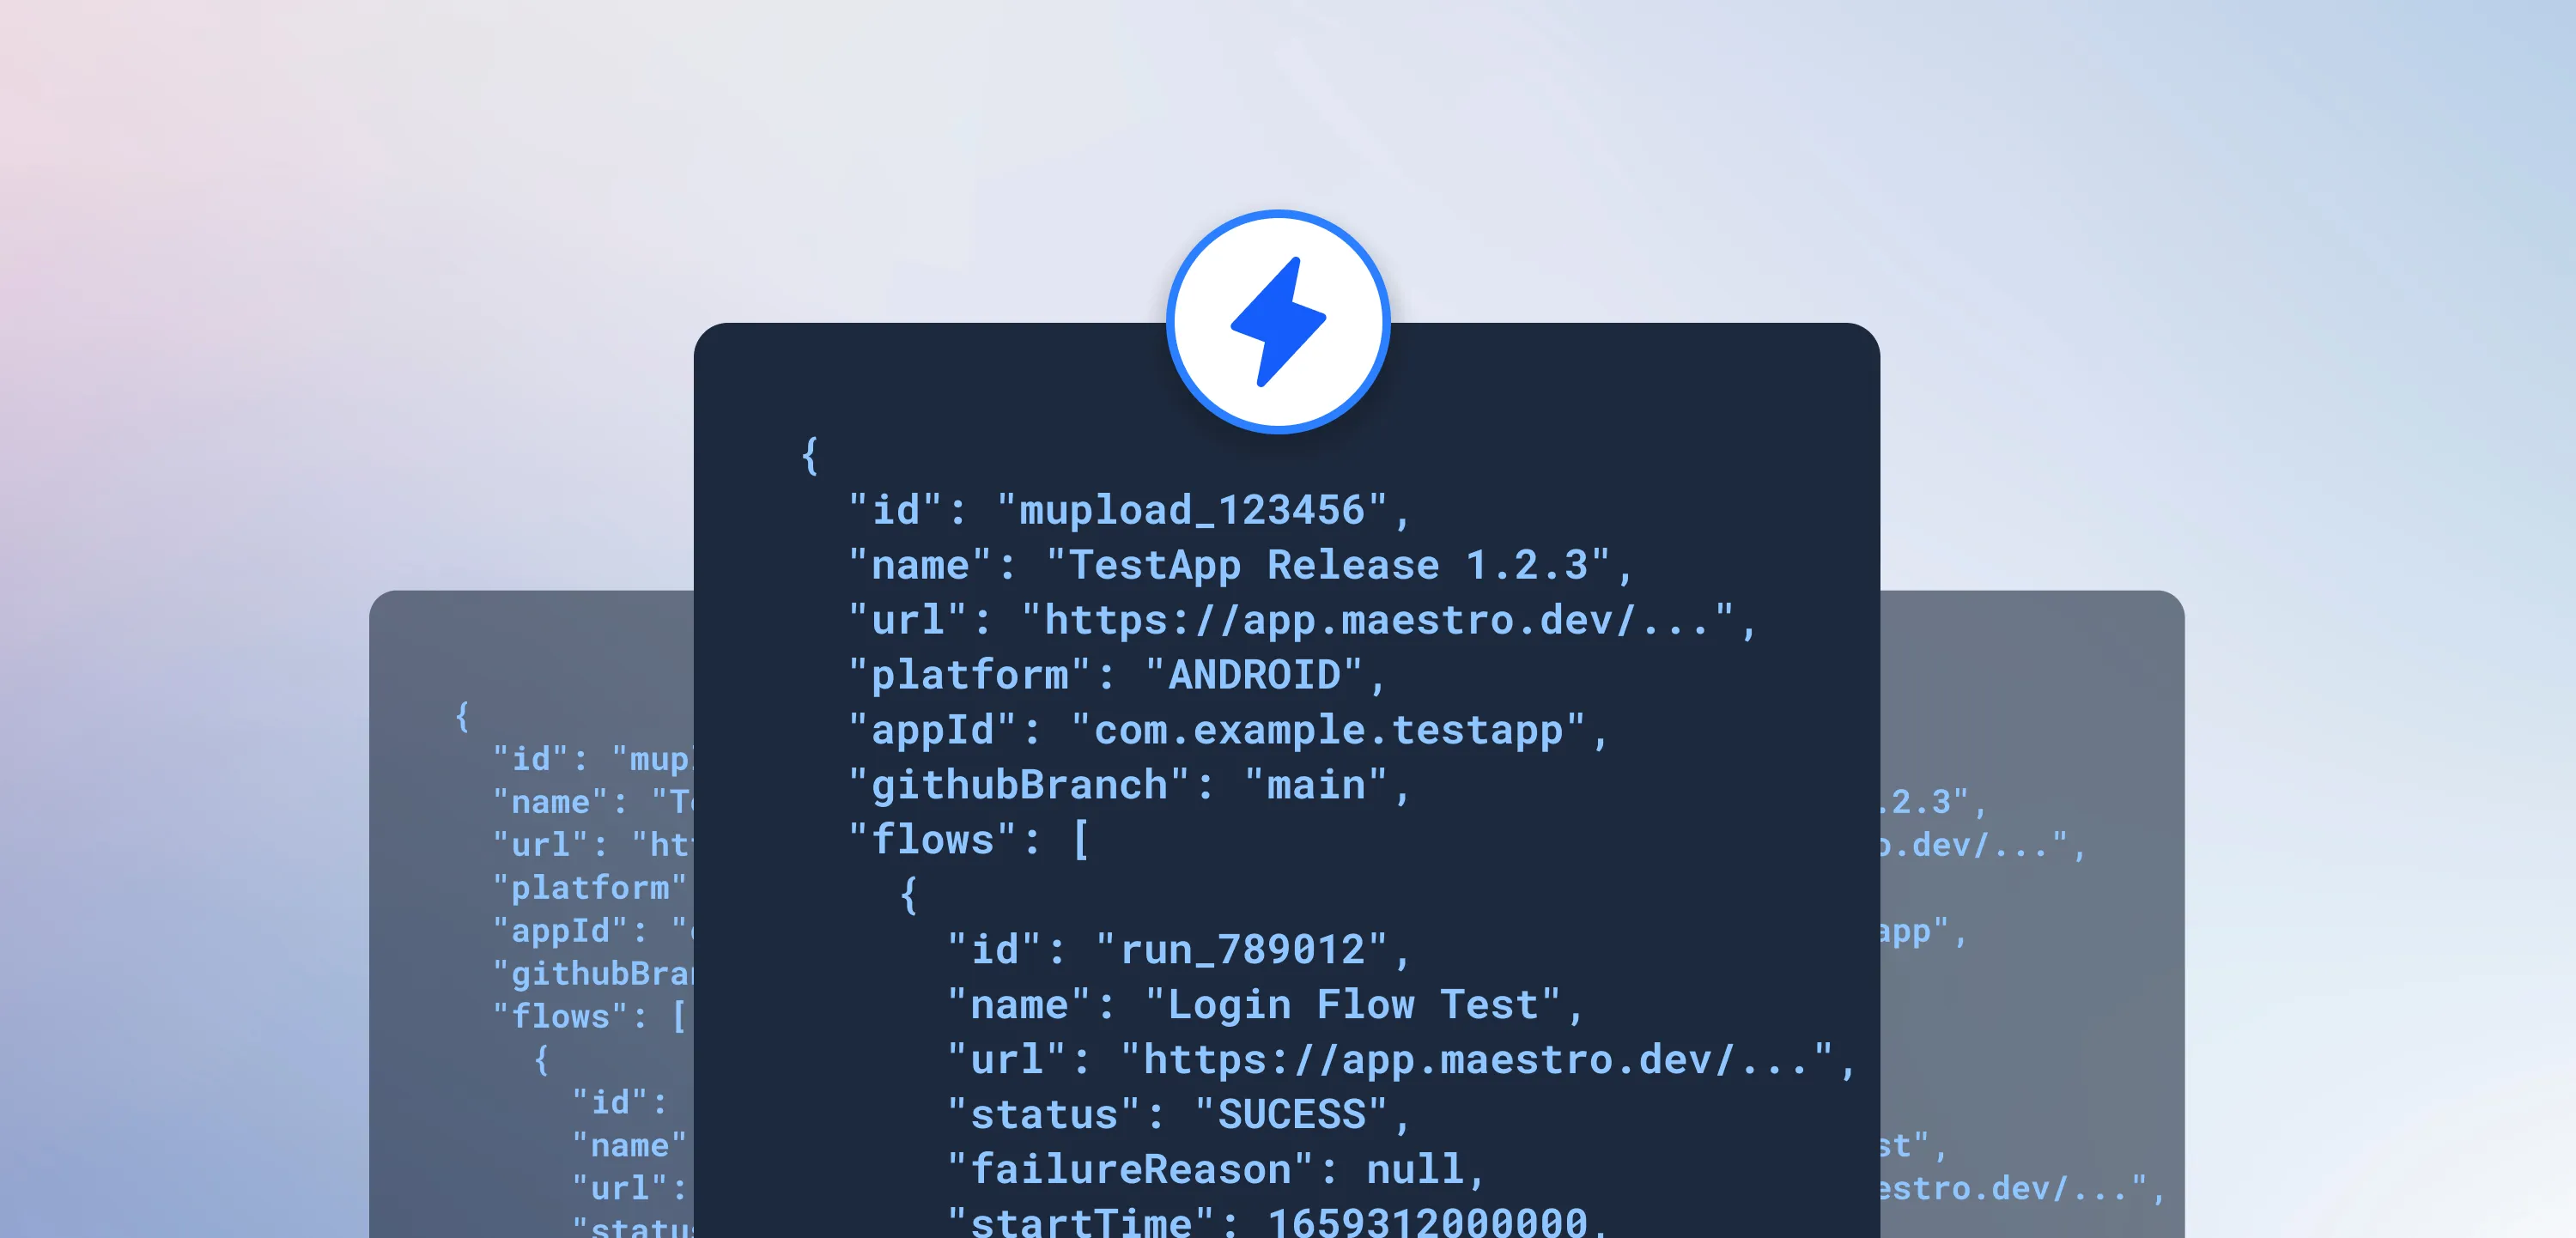
Each webhook payload contains context about the upload and test flows - including environment variables, timing info, individual flow results, and failure reasons when something goes wrong.
Here’s an example of what you’ll receive:
{
  "id": "mupload_123456",
  "name": "TestApp Release 1.2.3",
  "url": "https://app.maestro.dev/project/project-abc123/maestro-test/app/com.example.testapp/upload/upload-123456",
  "platform": "ANDROID",
  "appId": "com.example.testapp",
  "githubBranch": "main",
  "envVariables": {
    "API_ENDPOINT": "https://api.example.com",
    "FEATURE_FLAG_ENABLED": "true"
  },
  "startTime": 1659312000000,
  "endTime": 1659315600000,
  "flows": [
    {
      "id": "run_789012",
      "name": "Login Flow Test",
      "url": "https://app.maestro.dev/project/project-abc123/maestro-test/flow/run-789012",
      "status": "SUCESS",
      "failureReason": null,
      "startTime": 1659312000000,
      "endTime": 1659312300000
    },
    {
      "id": "run_789013",
      "name": "Checkout Flow Test",
      "url": "https://app.maestro.dev/project/project-abc123/maestro-test/flow/run-789013",
      "status": "FAILURE",
      "failureReason": "Element with ID 'checkout_button' not found",
      "startTime": 1659312600000,
      "endTime": 1659312900000
    },
    {
      "id": "run_789014",
      "name": "User Profile Flow",
      "url": "https://app.maestro.dev/project/project-abc123/maestro-test/flow/run-789014",
      "status": "SUCESS",
      "failureReason": null,
      "startTime": 1659313200000,
      "endTime": 1659313500000
    }
  ]
}
💡 Use Cases
- Sync results to internal dashboards or issue trackers
- Trigger notifications on failed test flows
- Kick off CI/CD pipelines after an upload completes
- Integrate test workflow with other internal systems
⚙️ Easy to Set Up
Setting up a Maestro webhook is simple:
- Head to your Project Settings in the Maestro Console and enter your Webhook URL (make sure it can receive POST requests and is publicly accessible)
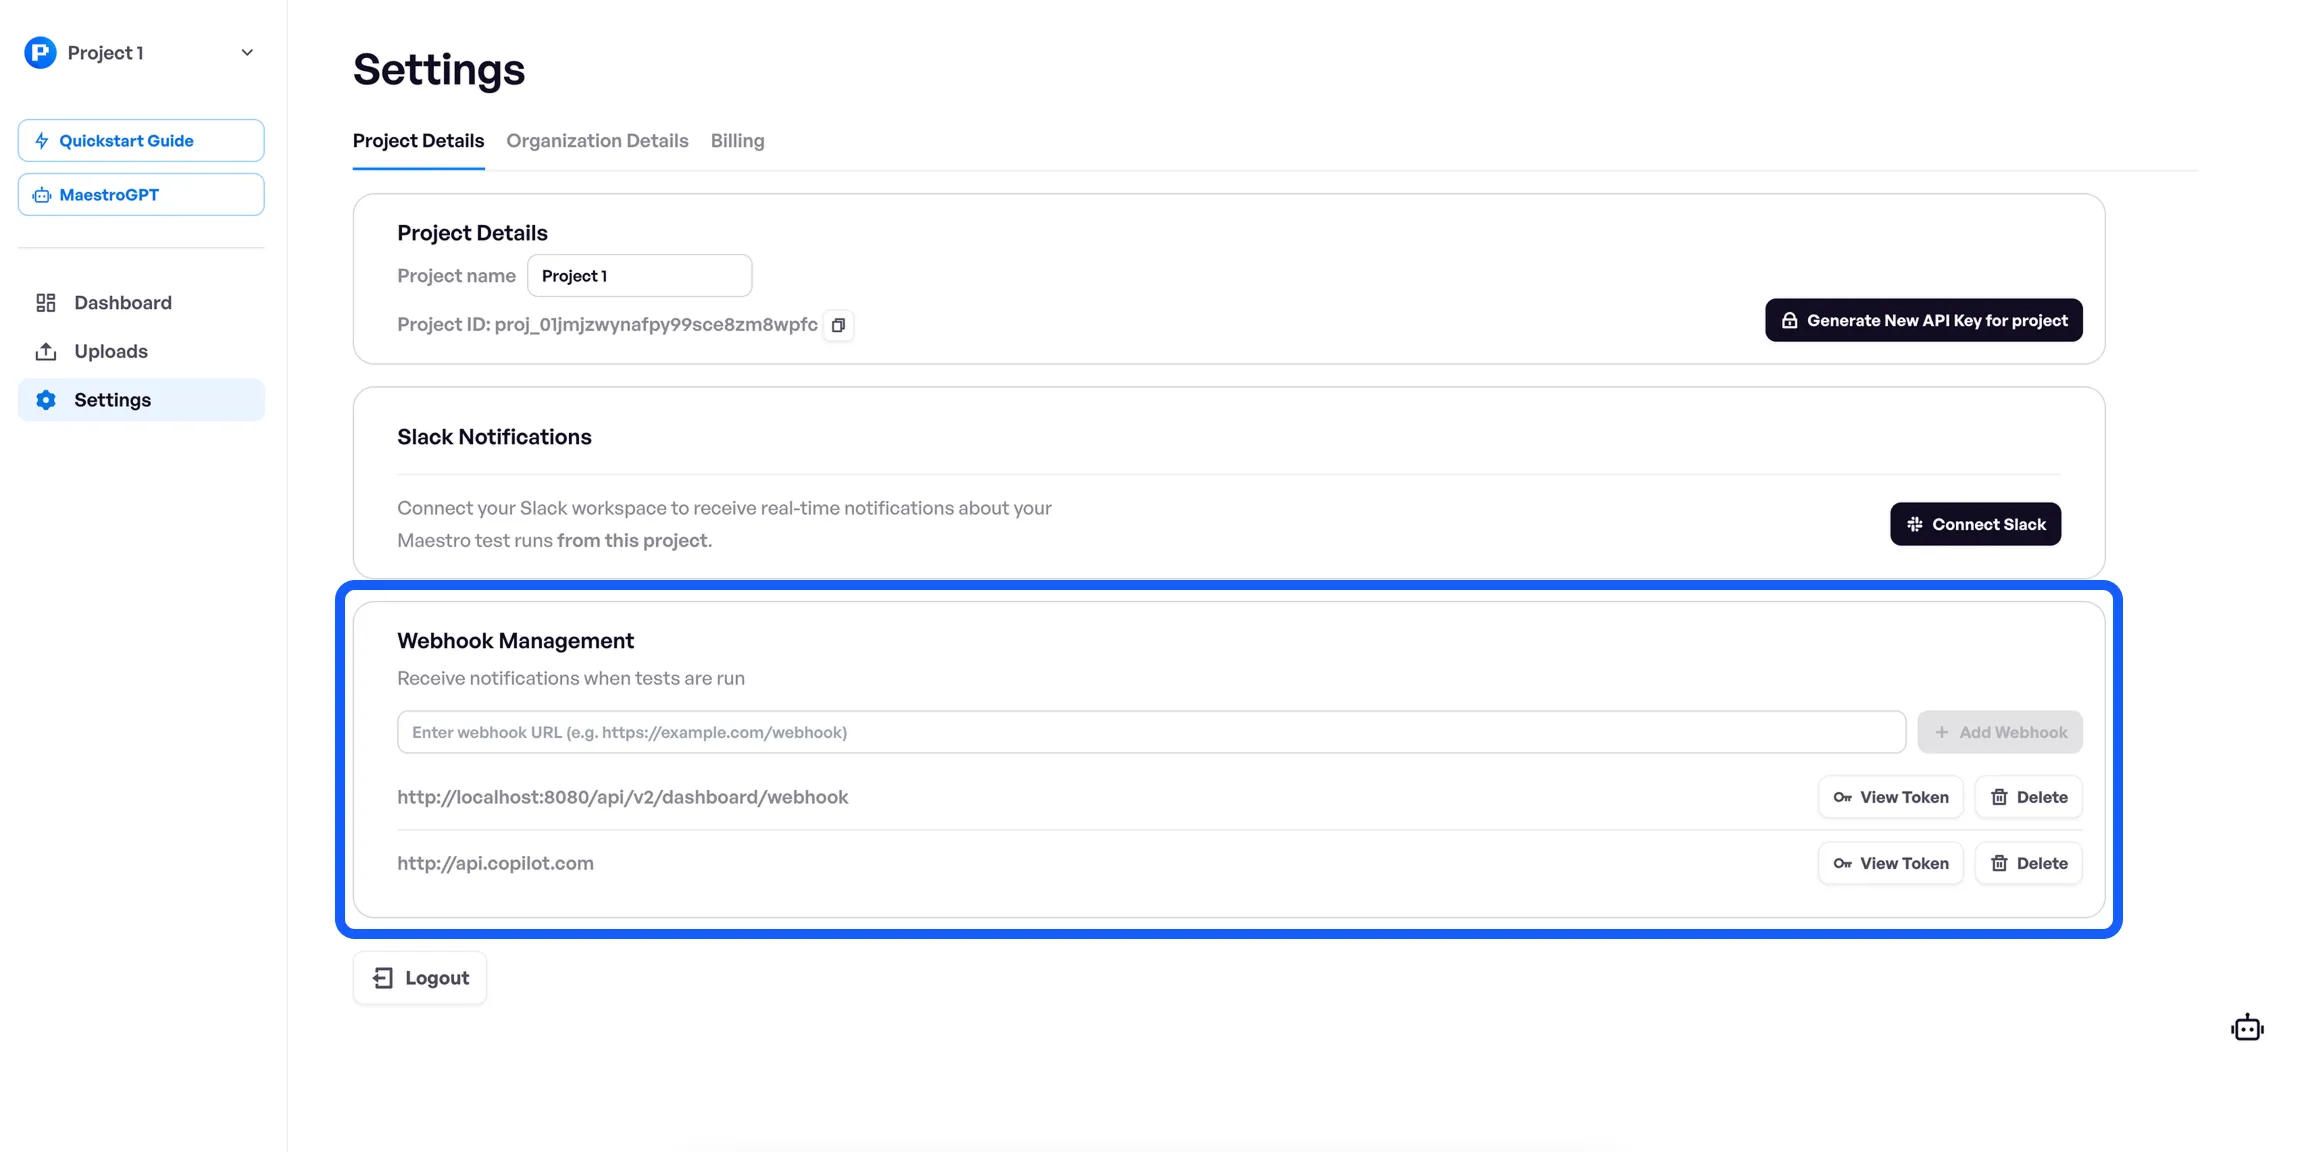
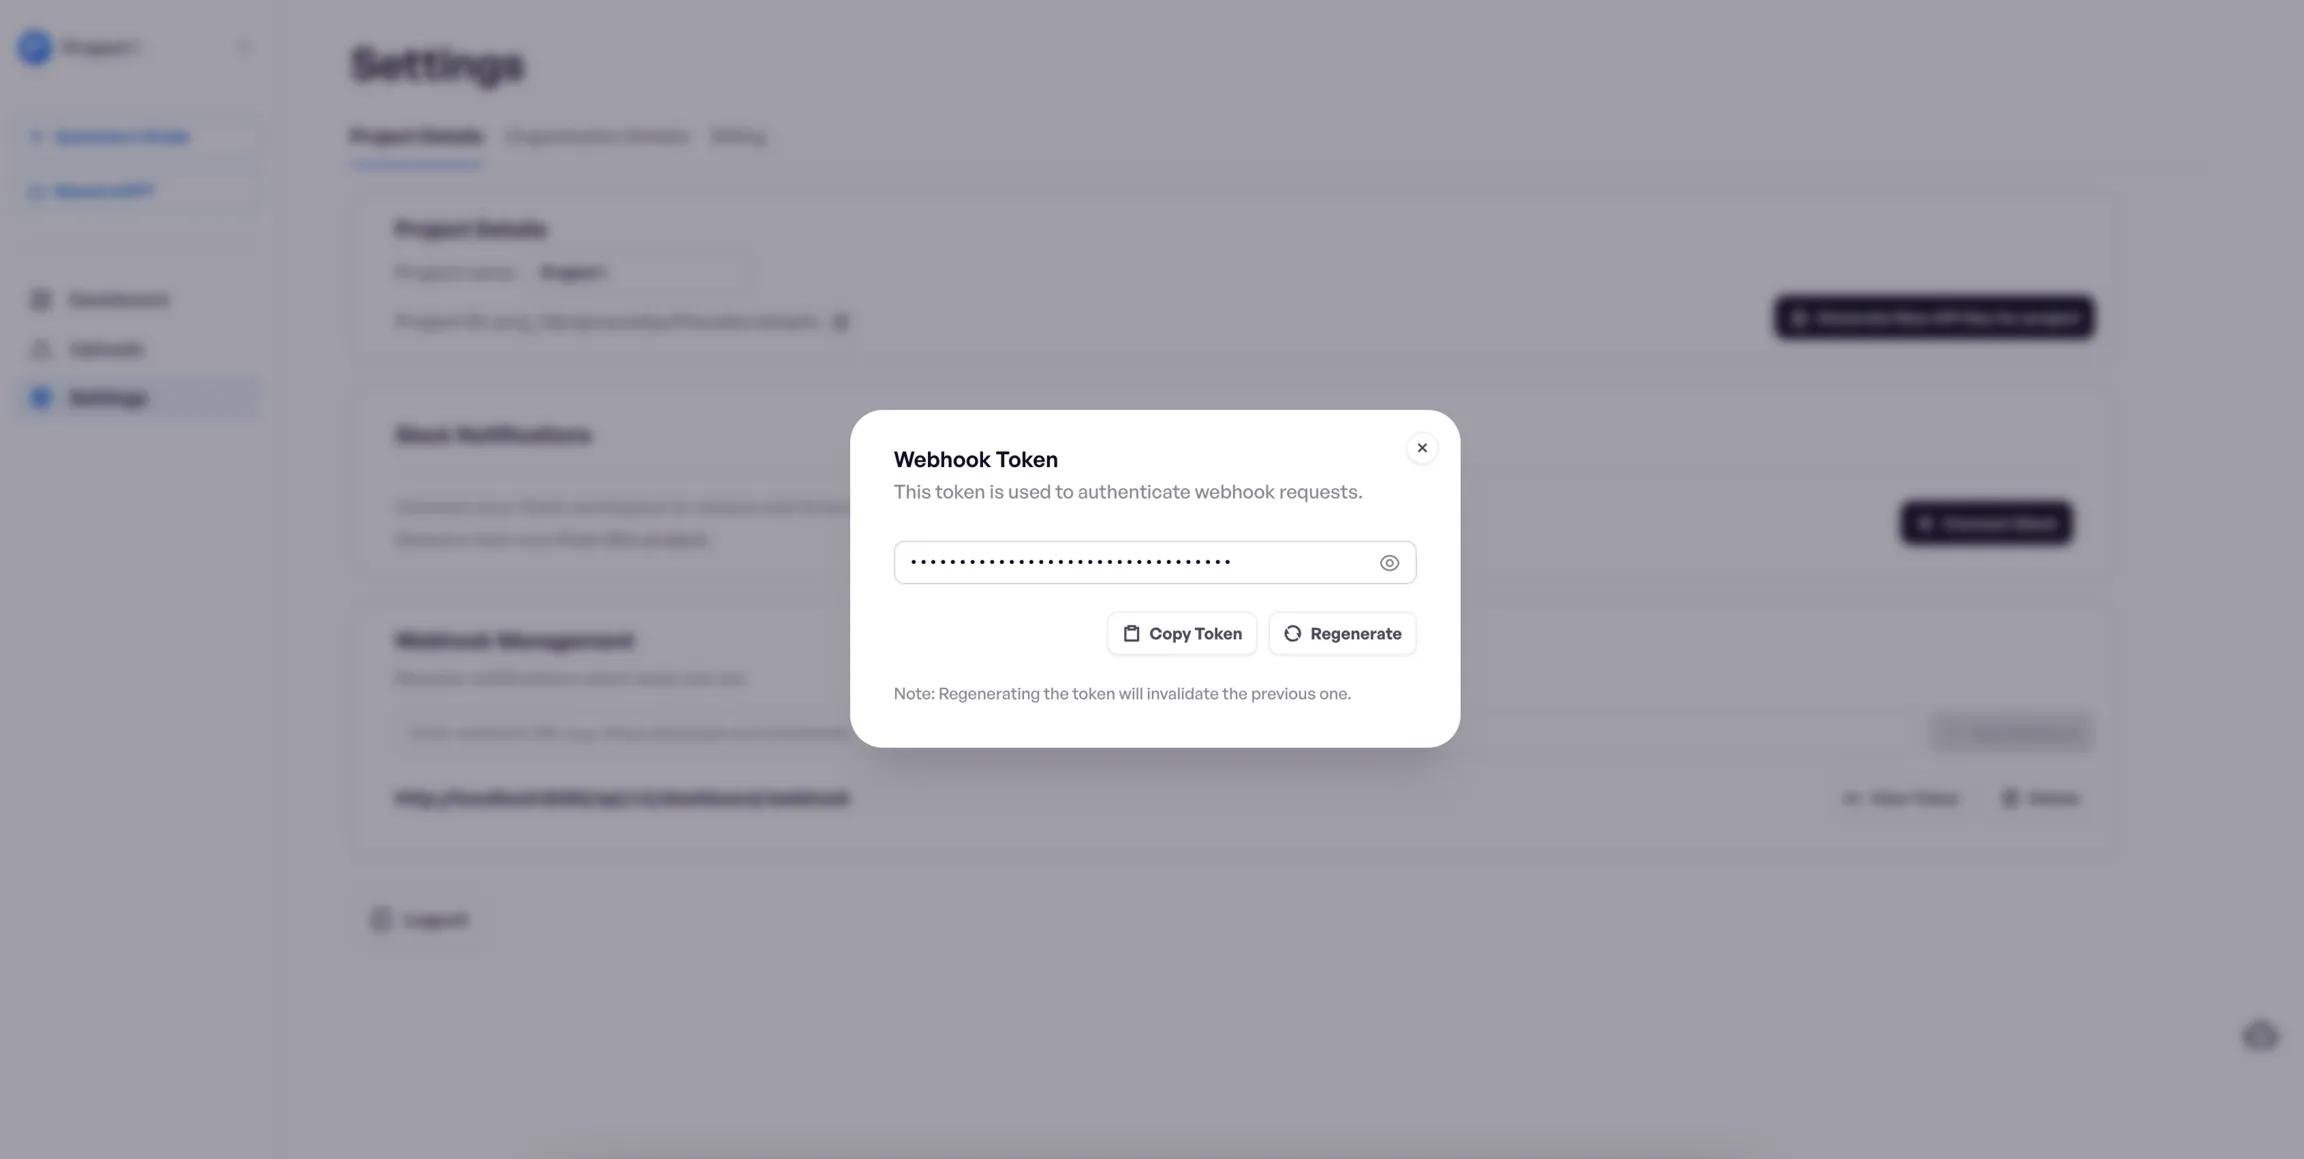
- The Webhook Token is sent as the
Authorizationheader with the valueBearer <token>so you can ensure the request is coming from Maestro.
That’s it! Your endpoint will receive a POST request with the webhook payload every time a new upload completes, allowing you to integrate your Maestro results with virtually any tool or platform.
You can setup multiple webhooks per project and disable them anytime.
🚀 Available on Cloud Plan
Webhook Integration is available now for all users on a Maestro Cloud Plan. New to Maestro? Get started with the simplest, most powerful, and most trusted E2E testing platform for Mobile and Web at maestro.dev.