Maestro is a powerful UI testing framework designed for both Android and iOS applications. In this guide, we’ll walk you through the process of UI testing an Expo app locally using Maestro, using the Pokedex as our example.
This is a multi-part series. Upcoming parts revolve around UI testing the real-world Pokedex Expo App.
Getting Started
- Clone the Repository
Start by cloning the Maestro Expo Pokedex repository:
git clone https://github.com/thekharche/maestro-expo-pokedex2. Switch to the “initial” Branch
The “initial” branch contains the initial setup, while the “main” branch has the final code:
git checkout initial3. Installation and Initial Run
Install the required packages:
npm installStart the Expo app:
npm startThis command runs the expo start script. To select the Android platform, press a and for iOS, press i. If you want to choose a specific device, use shift + a or shift + i.
At this point, you should see the app compiling. Once compiled, it will install Expo Go and run the app inside it.
EAS & Expo Setup
1. Install and Configure EAS CLI
EAS (Expo Application Services) CLI is a tool that helps in building and submitting apps to stores. Install it globally:
npm install --global eas-cli2. Login to EAS:
eas login3. Configure the build:
eas build:configure
When prompted, choose All platforms. This will generate a eas.json file and add the EAS settings to app.json.
4. Install the Expo Dev Client
npx expo install expo-dev-clientAndroid Setup
1. Modify the eas.json for Android
Add the Android-specific configurations:
"development-apk": {
    "developmentClient": true,
    "distribution": "internal",
    "android": {
        "buildType": "apk"
    }
}
2. Build for Android
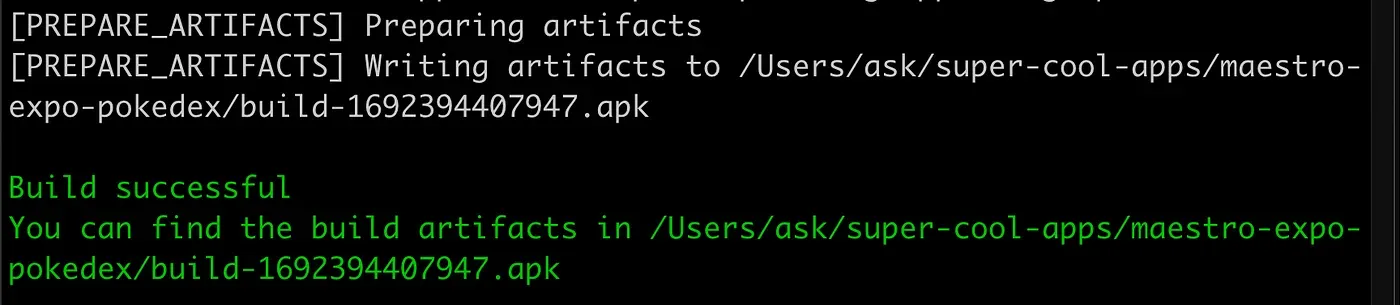
eas build --platform android --profile development-apk --local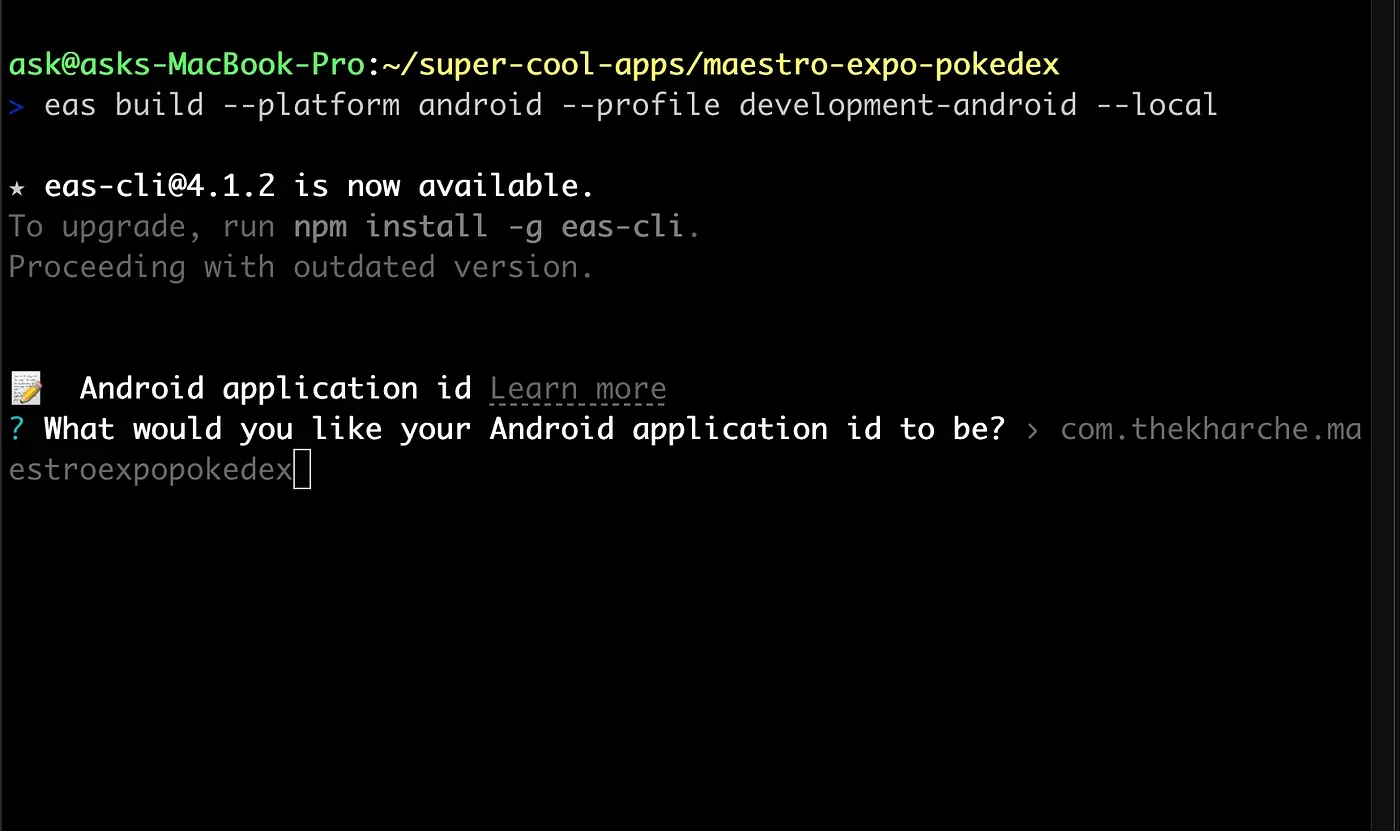
Once the build is successful, an APK will be generated.
3. Install on Android Emulator
Install this APK onto your emulator:
adb install build-*.apkAlternatively, you can drag and drop the APK onto the emulator.
iOS Setup
1. Modify the eas.json for iOS
Add the iOS-specific configurations:
"development-simulator": {
    "developmentClient": true,
    "distribution": "internal",
    "ios": {
        "simulator": true
    }
}
2. Build for iOS
eas build --platform ios --profile development-simulator --local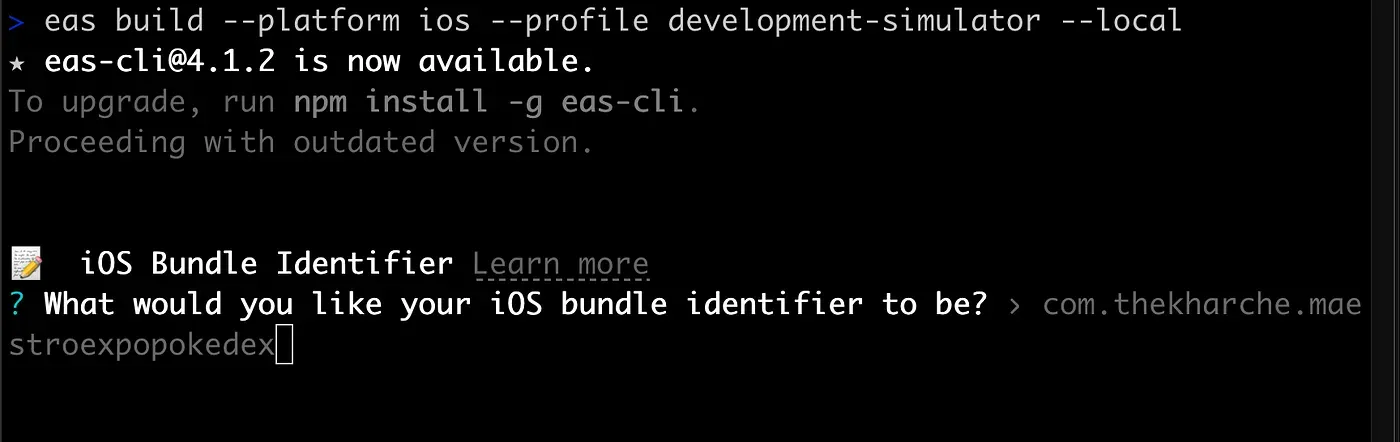
Provide your bundle identifier when prompted. After the build, a tar file containing the .app will be generated.
3. Install on iOS Simulator
Extract the tar file:
tar -xvzf build-*.tar.gzInstall the app on the simulator:
xcrun simctl install booted maestroexpopokedex.app/Start Local Development Server
After the successful installation of apps for Android and iOS, start the server:
npx expo start --dev-client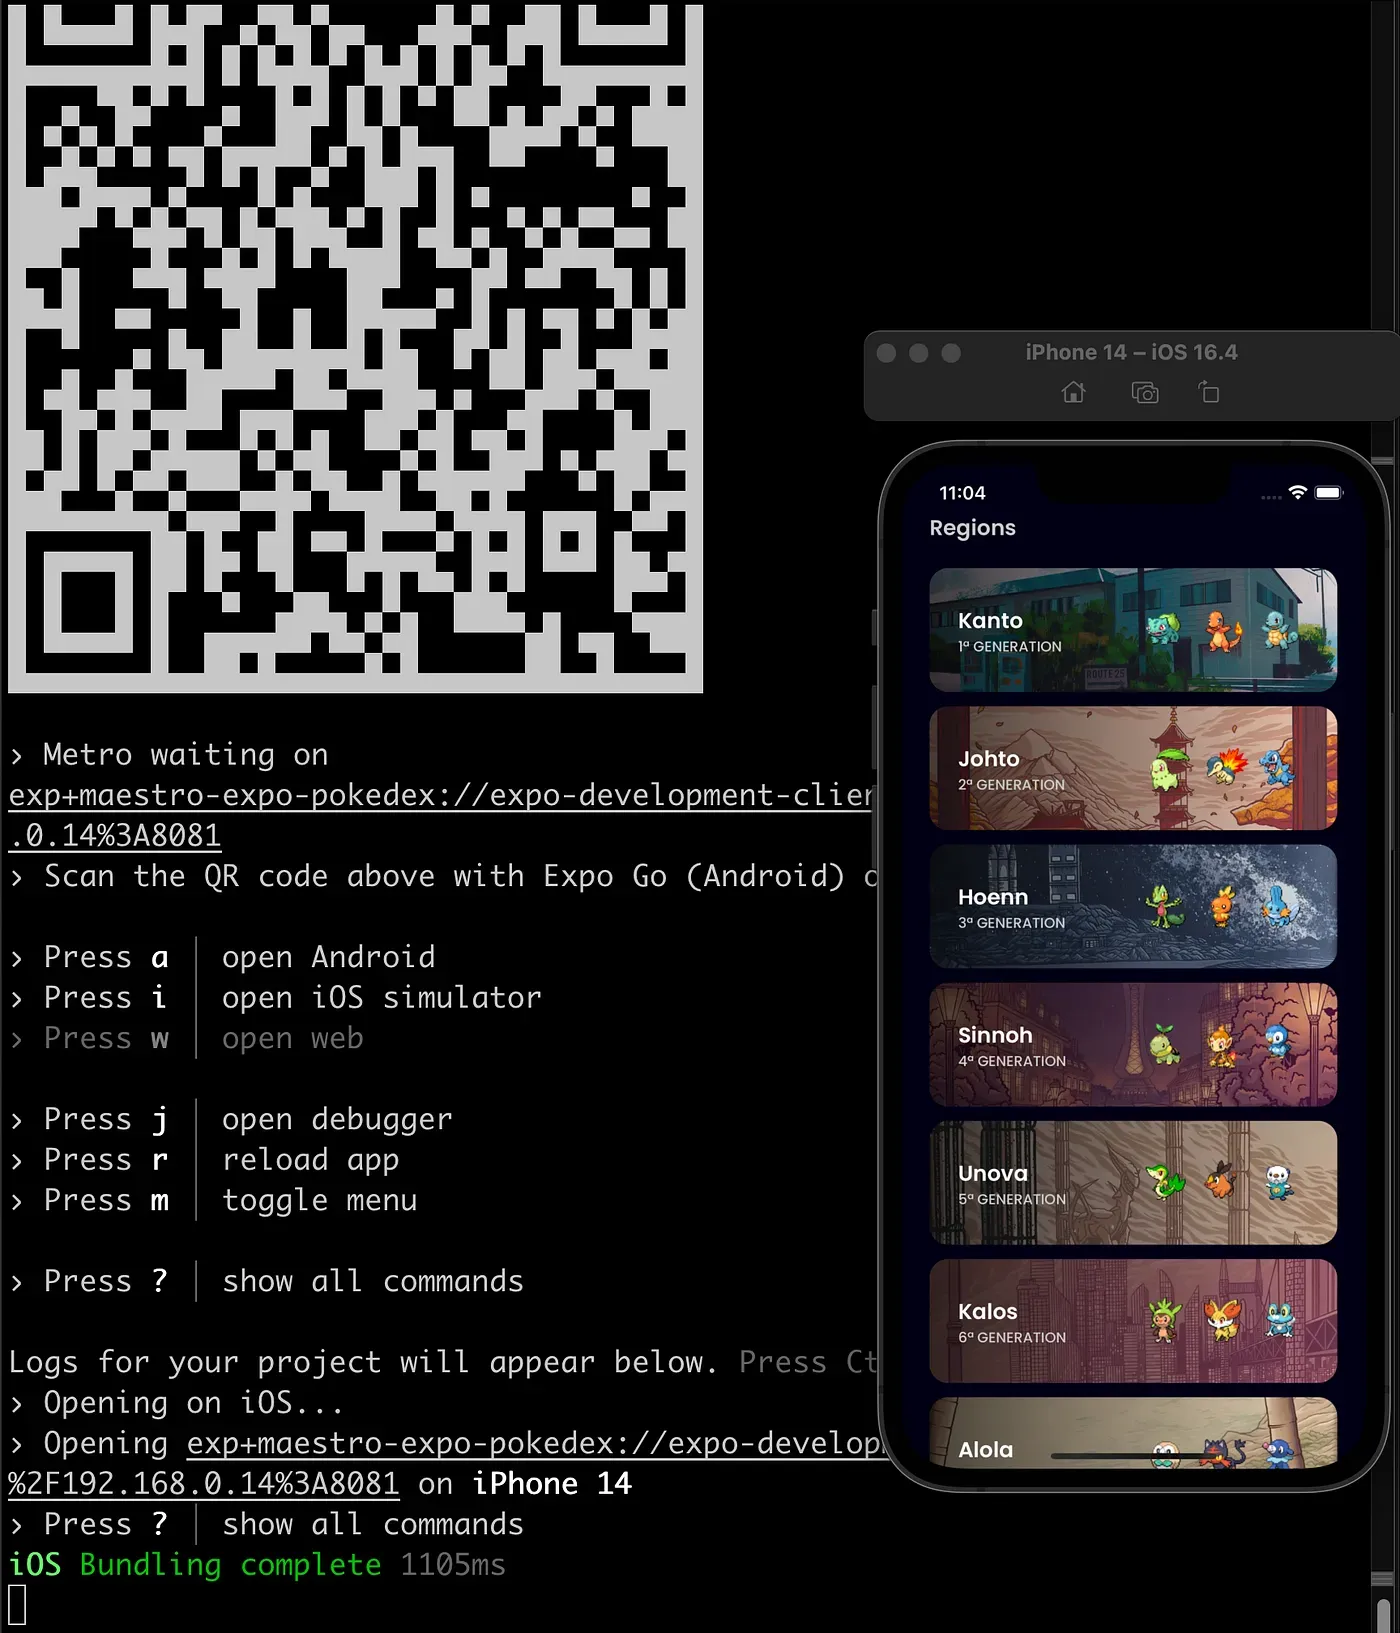
Sample Maestro UI Test
Just as a check, let’s create a simple Maestro Flow. This is to verify our setup worked as expected.
1. Setting up the Test
Create a flow.yaml file in the .maestro directory at the root of your project. Add the following content:
appId: ${APP_ID}
---
- launchApp
2. Run the Test
For Android:
Get the device ID using:
adb devicesExecute the Test:
maestro --device emulator-5554 test -e APP_ID=com.thekharche.maestroexpopokedex .maestro/flow.yamlYou should see the app launching.
For iOS:
Get the device ID using:
xcrun simctl list devices bootedExecute the Test:
maestro --device 68D1CA28-* test -e APP_ID=com.thekharche.maestroexpopokedex .maestro/flow.yamlWhy UI Test Outside of Expo Go?
When it comes to UI testing, especially in a local development environment, there are several reasons why you might want to run your app outside of Expo Go, even while leveraging the benefits of Expo:
Full Control Over the App:
Running your app outside of Expo Go gives you more granular control over its behavior, configurations, and interactions. This is crucial for UI testing, where you might want to simulate specific scenarios and manipulate app states.
Isolation:
Testing outside of Expo Go ensures that your app is isolated from any potential quirks or behaviors specific to Expo Go. This means your tests are solely focused on your app’s code and not influenced by any external factors.
Leveraging Expo Benefits:
Even while running outside of Expo Go, you still maintain all the benefits of Expo, such as its development environment, libraries, and tools. This means you get the best of both worlds: the flexibility and control of a standalone app and the ease and functionality of Expo.
Stay Tuned
The next part of the series will delve into UI testing a real-world Expo React Native app.
References
Maestro Expo:
Source Code GitHub repo:
Maestro:
EAS (Expo):
🎹