Firefox Focus is a privacy-centric browser app for iOS that offers ad-blocking and tracker-blocking features. In this blog post, we will explore how to perform UI testing on Firefox Focus using Maestro, a powerful mobile UI testing framework.
The guide presents ideas to UI test a Firefox Focus iOS app.
Introduction to Maestro
Maestro is a mobile UI testing framework that stands out for its simplicity and effectiveness. It allows you to easily define and test your Flows.
Maestro is also designed for fast iteration.
You can find more about Maestro and its capabilities on its official website.
Installing Firefox Focus for iOS
To install Firefox Focus, clone the GitHub repository and pull in the project dependencies:
git clone https://github.com/mozilla-mobile/focus-ios
cd focus-ios
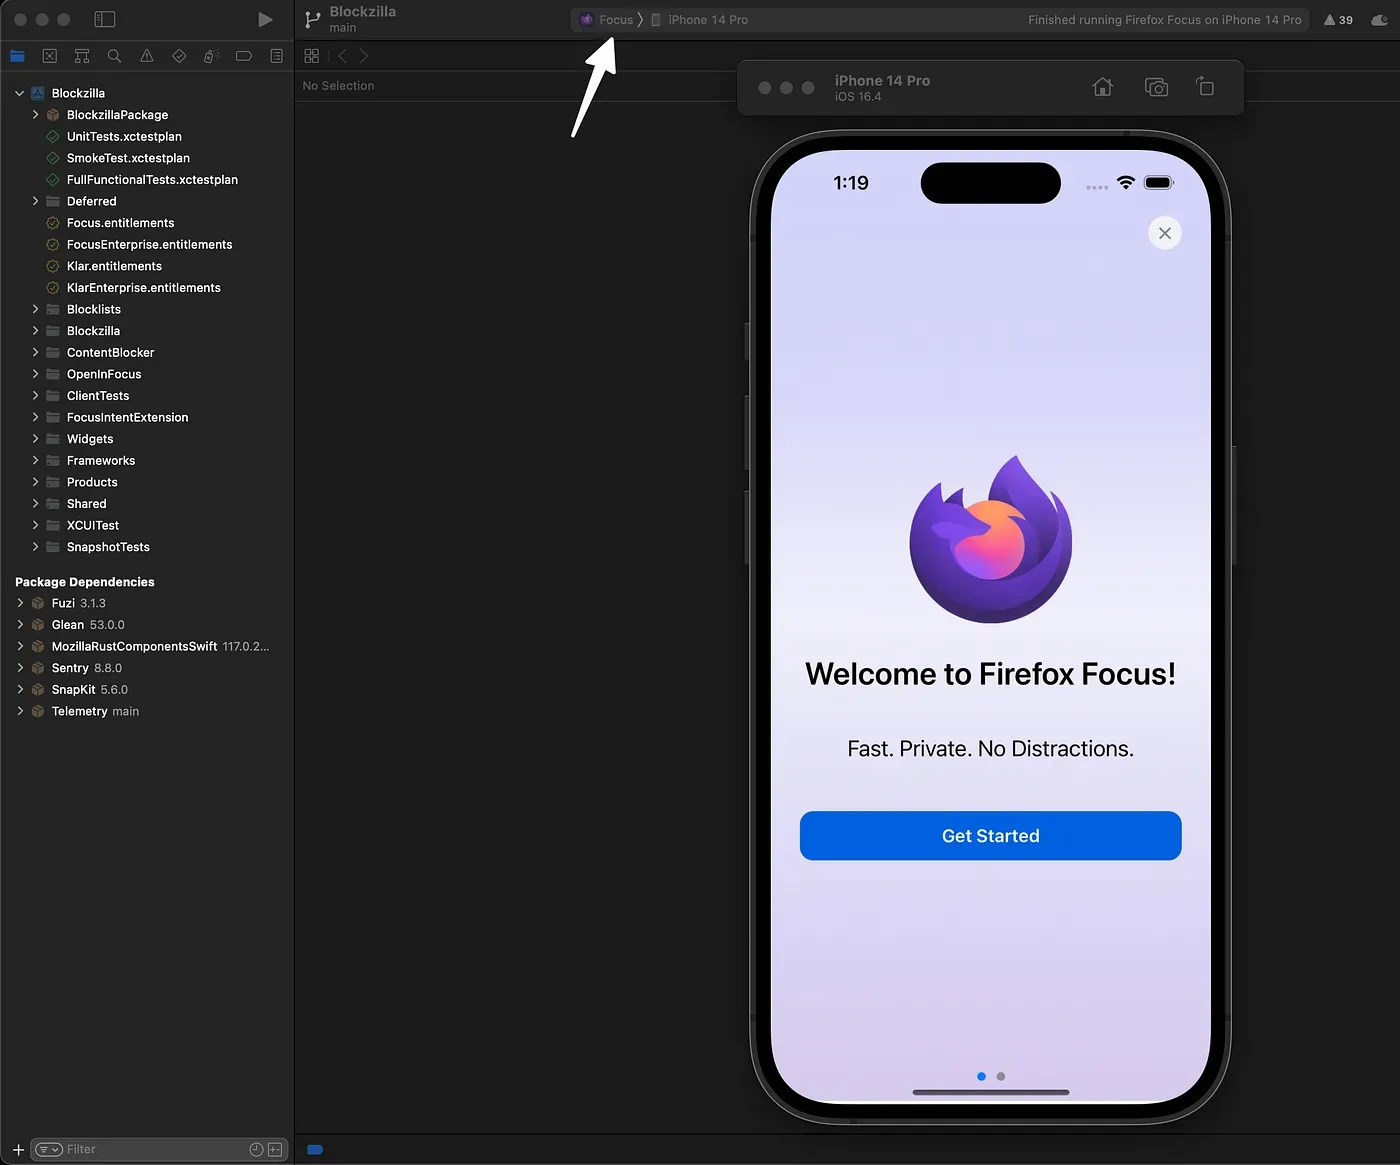
./checkout.shThen, open Blockzilla.xcodeproj in Xcode and build the Focus scheme.
The Aim of this Tutorial
Before proceeding, the goal of this tutorial is to provide a solid starting point for testing your app with Maestro using a real-world app as an example. We’ll explore how to reuse flows, run flows before and after the main flow, take screenshots, record interactions, and use commands like scrollUntilVisible and repeat and more!
Some key features to look out for in this tutorial:
- Simple YAML-based syntax to define Flows
- Powerful built-in commands like tapOn, inputText, assertVisible etc
- Reusable flows and subflows
- Ability to setup and teardown flows
- Screenshots, videos and reporting.
Setting Up Maestro
To install Maestro, follow the instructions provided in the official guide. The installation can be done with a simple command:
curl -Ls "https://get.maestro.mobile.dev" | bashOnce Maestro is installed, create a .maestro directory in the root of your project:
mkdir .maestroNext, create a config.yaml file in the .maestro directory. This file will contain the configuration for your tests. You can learn more about the Workspace configuration in the official documentation.
Running the App
Switch the scheme to Focus and run the app in the simulator. Firefox Focus should open in the simulator. For this tutorial, we will focus on testing the search functionality and privacy protection features of the app.
Maestro Studio
Maestro Studio is the preferred way to identify elements, filter through, interact with them using commands and rapidly write UI tests.
The YAML flows presented below were constructed using Maestro Studio.
Open up Maestro Studio using:
maestro studioLearn more about Maestro Studio in the official documentation.

Writing Your First Flow with Maestro
A Flow in Maestro is a sequence of user actions and assertions that you want to test. It is defined in a YAML file. Let’s create our first Flow to test the search feature in a scenario where the user has just downloaded the app and performed their first search.
The Maestro Flow Files along with cloned Firefox Focus code: https://github.com/thekharche/maestro-ios-firefox-focus
Create a new folder called searchin the .maestro directory and inside it create a file called FirstSearch.yaml.
Update the config.yaml file to include the search Flows:
# config.yaml
flows:
  - search/*
This will ensure only the Flows in search directory will be included. More on inclusion patterns in the official documentation.
Testing the Search Feature — First Search
The search feature is a crucial part of any browser app. Here is an example of a test Flow for the search feature:
# FirstSearch.yaml
appId: org.mozilla.ios.Focus
name: First Search
---
- launchApp:
    clearState: true
- runFlow: ../common/Onboarding.yaml
- inputText: "Maestro Studio by Mobile.dev"
- assertVisible: ".*Show Search Suggestions.*"
- tapOn: "Yes"
- pressKey: enter
- runFlow: ../common/GoogleConsent.yaml
- assertVisible: ".*Maestro.*"
In this FirstSearch.yaml Flow, we simulate how a user will search for something for the first time. The Flow includes launching the app, running the onboarding Flow, inputting text, asserting visibility of elements, tapping on elements, pressing keys, and running other Flows.
You will notice we have used the subflows stored in the common directory. Let’s have a look.
Common Flows
Common Flows, in our code, are reusable Flows that can be used in multiple tests. They are typically placed in a common directory. In our case, we have two common Flows: Onboarding.yaml and GoogleConsent.yaml.
This Flow handles the onboarding process of the app.
# Onboarding.yaml
appId: org.mozilla.ios.Focus
---
- runFlow:
    when:
      visible: ".*Welcome.*"
    commands:
      - tapOn: ".*Get Started.*"
- tapOn: "Skip"
- assertVisible: ".*Start your private browsing session.*"
- tapOn: "icon close"
This Flow handles the Google consent process for googling.
# GoogleConsent.yaml
appId: org.mozilla.ios.Focus
---
- takeScreenshot: GoogleConsent
- repeat:
    while:
      visible: "icon close"
    commands:
      - tapOn: "icon close"
- assertVisible: ".*Before you continue to Google.*"
- repeat:
    times: 2
    commands:
      - tapOn: ".*Read more.*"
- tapOn: "Reject all"
- assertVisible: "Google"
The repeat command is a powerful command that allows you to repeat a set of commands until a condition is met.
For example, in the GoogleConsent.yaml Flow, we repeat the tapOn command until the “icon close” is no longer visible.
Testing the Search Feature — Changing Search Engine
In this test, we will change the search engine to DuckDuckGo and perform a search.
# ChangeSearchEngine.yaml
appId: org.mozilla.ios.Focus
name: Change Search Engine
---
- launchApp:
    clearState: true
- runFlow: ../common/Onboarding.yaml
- tapOn:
    id: "HomeView.settingsButton"
- tapOn: "Settings"
- scrollUntilVisible:
    element: "Search Engine"
    direction: DOWN
- tapOn: "Search Engine"
- tapOn: "DuckDuckGo"
- tapOn:
    id: "SettingsViewController.doneButton"
- inputText: "Maestro Studio"
- pressKey: enter
- assertVisible: "duckduckgo.com"
- assertVisible: ".*mobile.dev.*"
Most of the Flow should be self-explanatory. The only new command is the scrollUntilVisible command.
This command allows you to scroll until an element is visible.
If you are unsure of how id is assigned in iOS for a UI element in Flows, have a read about it in the official documentation.
Testing the Search Feature — Deleting Search History
In this test, we will delete the search history.
# DeleteSearchHistory.yaml
appId: org.mozilla.ios.Focus
name: Delete Search History
---
- runFlow: ../search/FirstSearch.yaml
- tapOn:
    id: "URLBar.deleteButton"
- assertVisible: ".*Browsing history cleared.*"
In this Flow, we reuse the FirstSearch.yaml Flow and then delete the search history and assert that the history was cleared.
Running the Search Test Suite
To run all the search tests, run the following command:
maestro test .maestro/searchTesting the Privacy Protection Feature
Create a new folder called “protection” in the .maestro directory and inside it create a file called DisableTrackingProtection.yaml to test the toggle for disabling tracking protection.
# DisableTrackingProtection.yaml
appId: org.mozilla.ios.Focus
name: Disable Tracking Protection
onFlowStart:
    - runFlow:
        file: ../common/Setup.yaml
        env:
            NAME: "disable-tracking-protection"
onFlowComplete:
    - runFlow:
        file: ../common/Teardown.yaml
        env:
            NAME: "disable-tracking-protection"
---
- runFlow: ../common/Onboarding.yaml
- tapOn: "icon cancel"
- tapOn: "tracking protection"
- assertVisible: "TRACKERS AND SCRIPTS TO BLOCK"
- tapOn:
    id: "BlockerToggle.TrackingProtection"
- assertVisible: "Protections are OFF for this session"
- assertNotVisible: "TRACKERS AND SCRIPTS TO BLOCK"
- tapOn:
    id: "BlockerToggle.TrackingProtection"
- assertVisible: "Protections are ON for this session"
Update the config.yaml file to include the protection Flows:
# config.yaml
flows:
  - search/*
  - protection/*
The onFlowStart and onFlowComplete commands are special hooks that allow us to run a flow before and after the main flow. This is particularly useful for setting up and tearing down stuff. In this case, we run the Setup.yaml flow before the main flow and the Teardown.yaml flow after the main flow. The NAME the environment variable is passed to these flows to customize their behavior based on the current test. Learn more about environment variables in the official documentation.
# Setup.yaml
appId: org.mozilla.ios.Focus
---
- launchApp:
    clearState: true
- waitForAnimationToEnd
- takeScreenshot: screenshot-setup-${NAME}
- startRecording: recording-setup-${NAME}
Suppose, the requirement is to take screenshots before and after the test as well as the recordings. Let’s do that:
The Setup.yaml flow is responsible for launching the app, waiting for the animation to end, taking a screenshot, and starting a recording. This sets up a clean state for each test and allows us to visually inspect the state of the app at the start of the test.
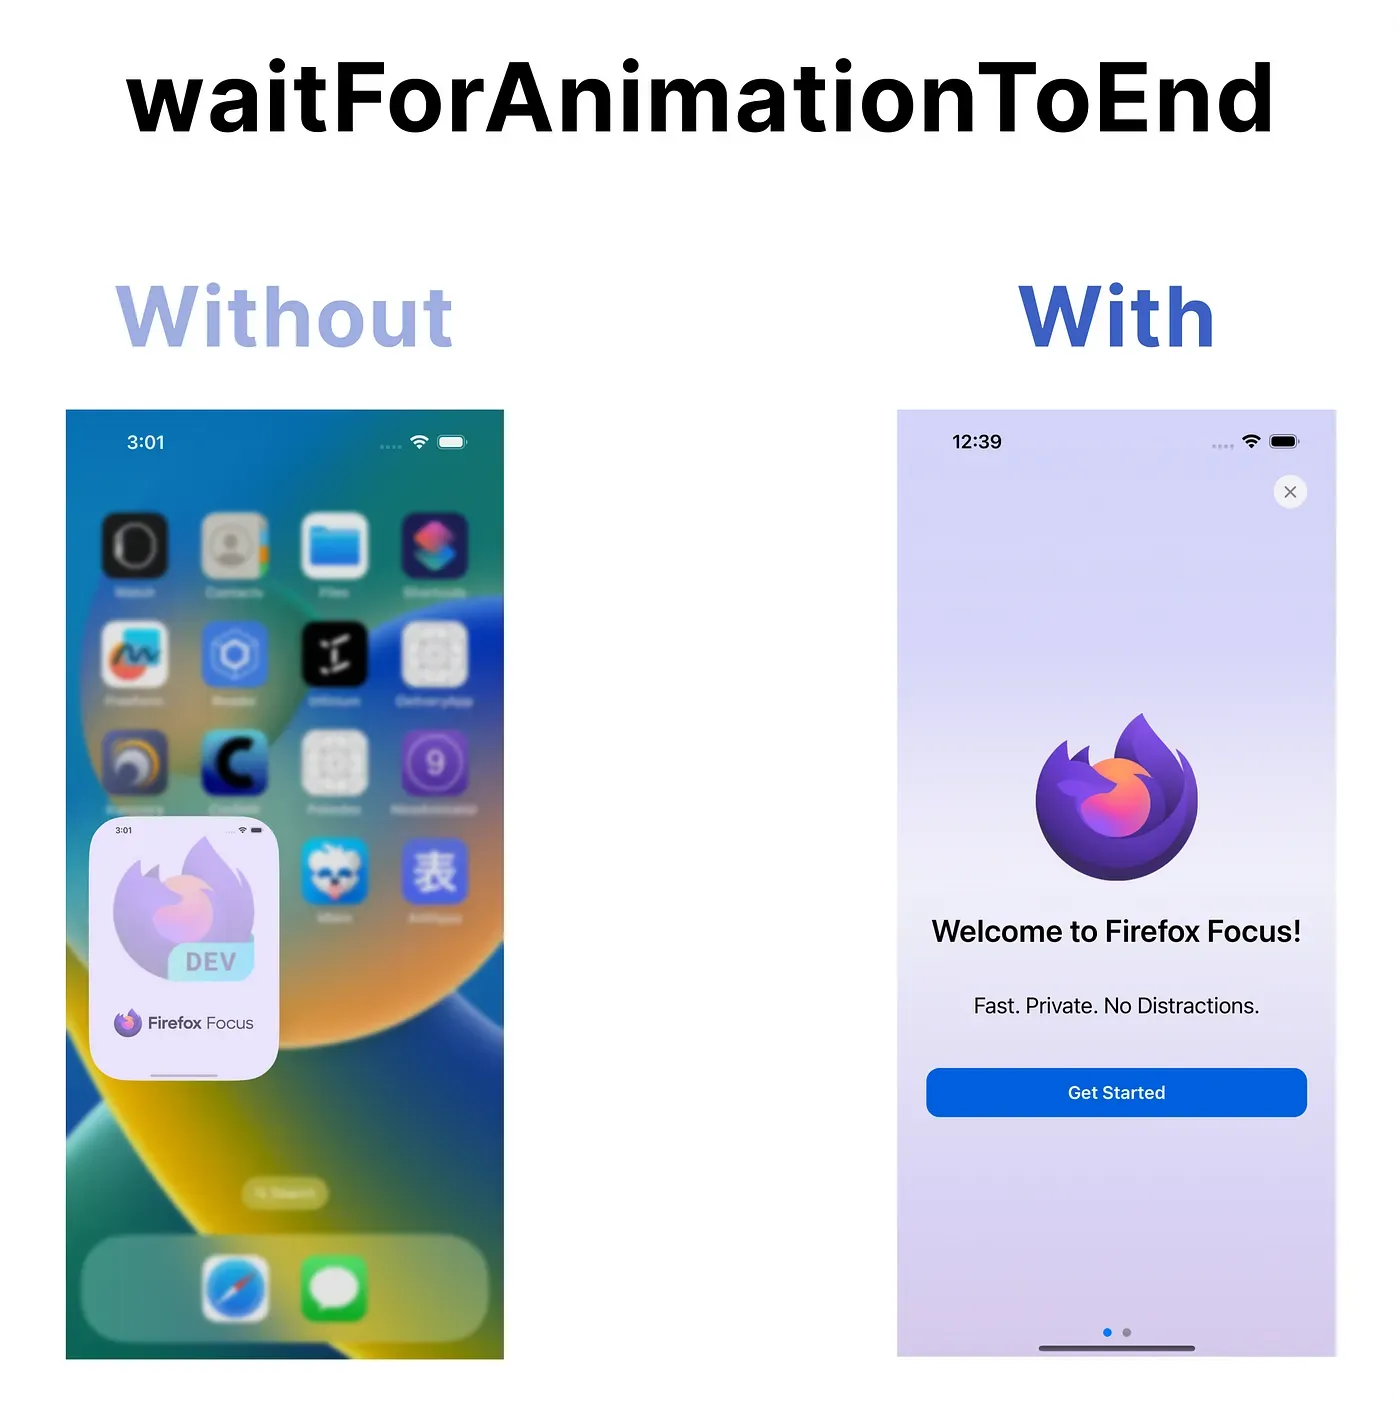
Why waitForAnimationToEnd?
Waits until an ongoing animation/video is fully finished and screen becomes static.
# Teardown.yaml
appId: org.mozilla.ios.Focus
---
- takeScreenshot: screenshot-teardown-${NAME}
- stopRecording
The Teardown.yaml flow takes a screenshot and stops the recording. This allows us to visually inspect the state of the app at the end of the test and to review the actions performed during the test.
Running the Protection Test Suite
To run all the protection tests, run the following command:
maestro test .maestro/protectionRunning the Entire Test Suite
To run all the tests, run the following command:
maestro test .maestroRunning Individual Tests
To run an individual test, run the following command:
maestro test .maestro/path/to/flow.yamlConclusion
In this tutorial, we’ve seen how to use Maestro to conduct UI testing on the Firefox Focus app. We’ve learned how to set up Maestro, define and run Flows, and test various features of the app.
There are quite a number of ways you could improve the above basic UI testing setup. Please explore the various features Maestro, Maestro Studio and Maestro Cloud offers.
Some Best Practices:
Use some of the ideas presented above for your own app, bend them to your needs and be flexible!
References
Firefox Focus iOS App:
Maestro:
Maestro Flow Files with Source Code:
🎹