Accessibility testing ensures mobile apps are usable for everyone, including people with disabilities. Testing through the accessibility layer evaluates how apps interact with assistive technologies like screen readers, making it possible to validate both Android and iOS functionality with a single test suite. However, cross-platform frameworks like Flutter and React Native introduce unique challenges, such as missing semantic labels or platform-specific quirks.
Key takeaways:
-
Use properties like
semanticLabel(Flutter) oraccessibilityLabel(React Native) to ensure elements are screen-reader friendly. - Touch targets should meet minimum size standards: 48x48 dp (Android) and 44x44 points (iOS).
- Tools like Maestro streamline automated testing by simulating real user interactions through the accessibility layer.
- Manual testing on real devices with TalkBack (Android) or VoiceOver (iOS) helps verify usability beyond automation.
- Integrate accessibility tests into CI/CD pipelines to catch issues early and ensure consistent quality.
Intro to Mobile Accessibility Testing Tools
sbb-itb-e343f3a
Accessibility Guidelines for Mobile Frameworks
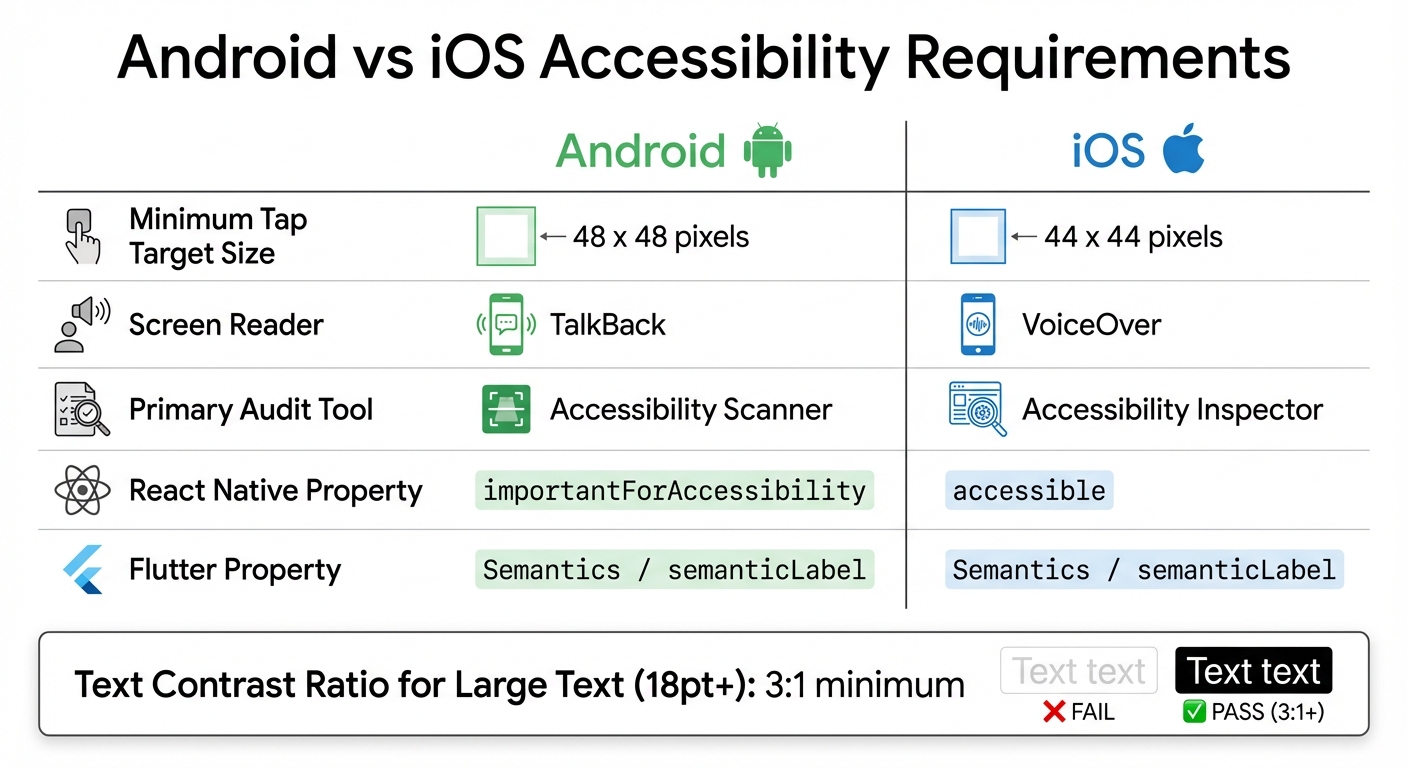
Android vs iOS Accessibility Requirements for Mobile Apps
Applying WCAG Principles to Mobile Development
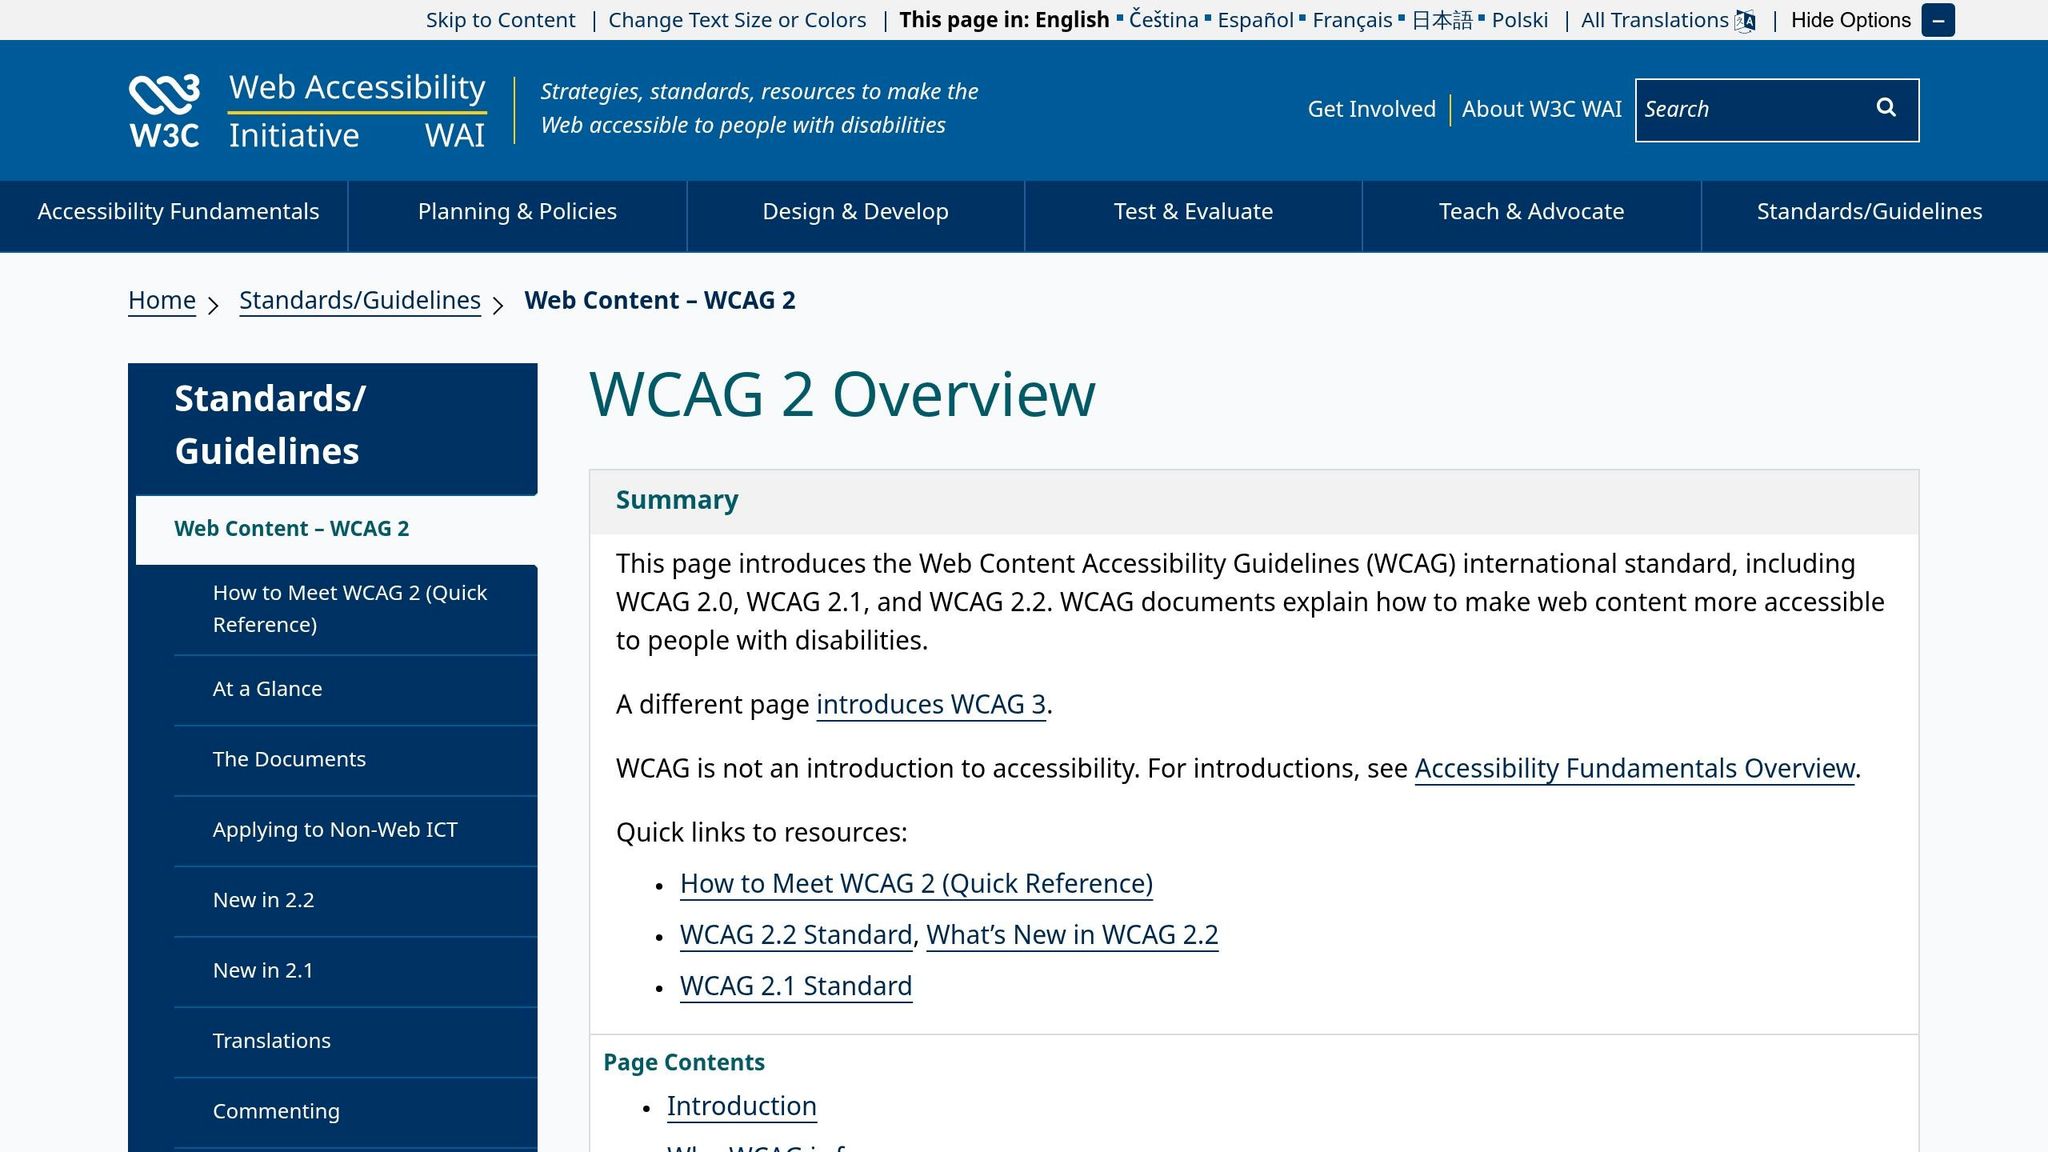
WCAG 2 and EN 301 549 serve as the core standards for ensuring mobile accessibility. These principles are crucial for maintaining consistency in accessibility testing across Android and iOS when using cross-platform mobile frameworks. In these frameworks, accessibility features are implemented through specific layers - such as Semantics in Flutter and accessibility props in React Native. These standards form the foundation for platform-specific solutions outlined below.
Perceivability ensures that UI elements are accessible to assistive tools. For example, Flutter uses properties like Semantics and semanticLabel, while React Native relies on accessibilityLabel and the accessible prop. When accessible={true}, the element is exposed to assistive tools; accessibilityLabel provides the text description.
Operability emphasizes user interaction, particularly regarding touch target sizes to accommodate users with motor impairments. Android requires a minimum touch target of 48×48 dp, while iOS sets this at 44×44 points. Flutter simplifies this process with its Guideline API, which can validate touch target sizes automatically during widget testing using properties like androidTapTargetGuideline and iOSTapTargetGuideline. It also checks text contrast against accessibility standards.
Understandability focuses on providing clear labels for interactive elements, ensuring their function is immediately apparent. Robustness highlights the importance of stable identifiers for accessibility tools. Flutter’s identifier (introduced in version 3.19) and React Native’s testID help maintain consistent interactions across platforms, versions, and localized text.
For text contrast, WCAG 2.0 Level AA requires 4.5:1 for regular text and 3:1 for large text. The minimum ratio for large text (18-point and above) is 3:1. Developers can use native tools like the Accessibility Scanner for Android and the Accessibility Inspector in Xcode for iOS to ensure WCAG compliance in the native output of cross-platform frameworks.
Platform-Specific Accessibility Features
The two main screen readers - TalkBack on Android and VoiceOver on iOS - must be supported. Cross-platform frameworks expose elements to these tools via the Semantics Tree in Flutter or the native view hierarchy in React Native. However, each platform has unique considerations that require specific adjustments.
For non-text elements like icons or decorative containers, developers need to manually add labels. In Flutter, this is done with the semanticLabel property, while React Native uses accessibilityLabel. React Native developers working on iOS may encounter issues where deeply nested components block touch events. The solution is to disable accessibility on the outer container (accessible={false}) and enable it on the inner element (accessible={true}) to ensure proper focus for VoiceOver.
| Feature/Requirement | Android (TalkBack) | iOS (VoiceOver) |
|---|---|---|
| Minimum Tap Target | 48 x 48 dp | 44 x 44 points |
| Primary Audit Tool | Accessibility Scanner | Accessibility Inspector |
| Framework Property (RN) | importantForAccessibility | accessible |
| Framework Property (Flutter) | Semantics / semanticLabel | Semantics / semanticLabel |
Tools like Maestro enhance accessibility testing by interacting directly with the device's accessibility layer instead of the internal code bridge. This approach allows it to test system-level interactions, such as permission dialogs and share drawers, which often behave differently on Android and iOS.
Best Practices for Accessibility Testing
Automated Accessibility Testing with Maestro
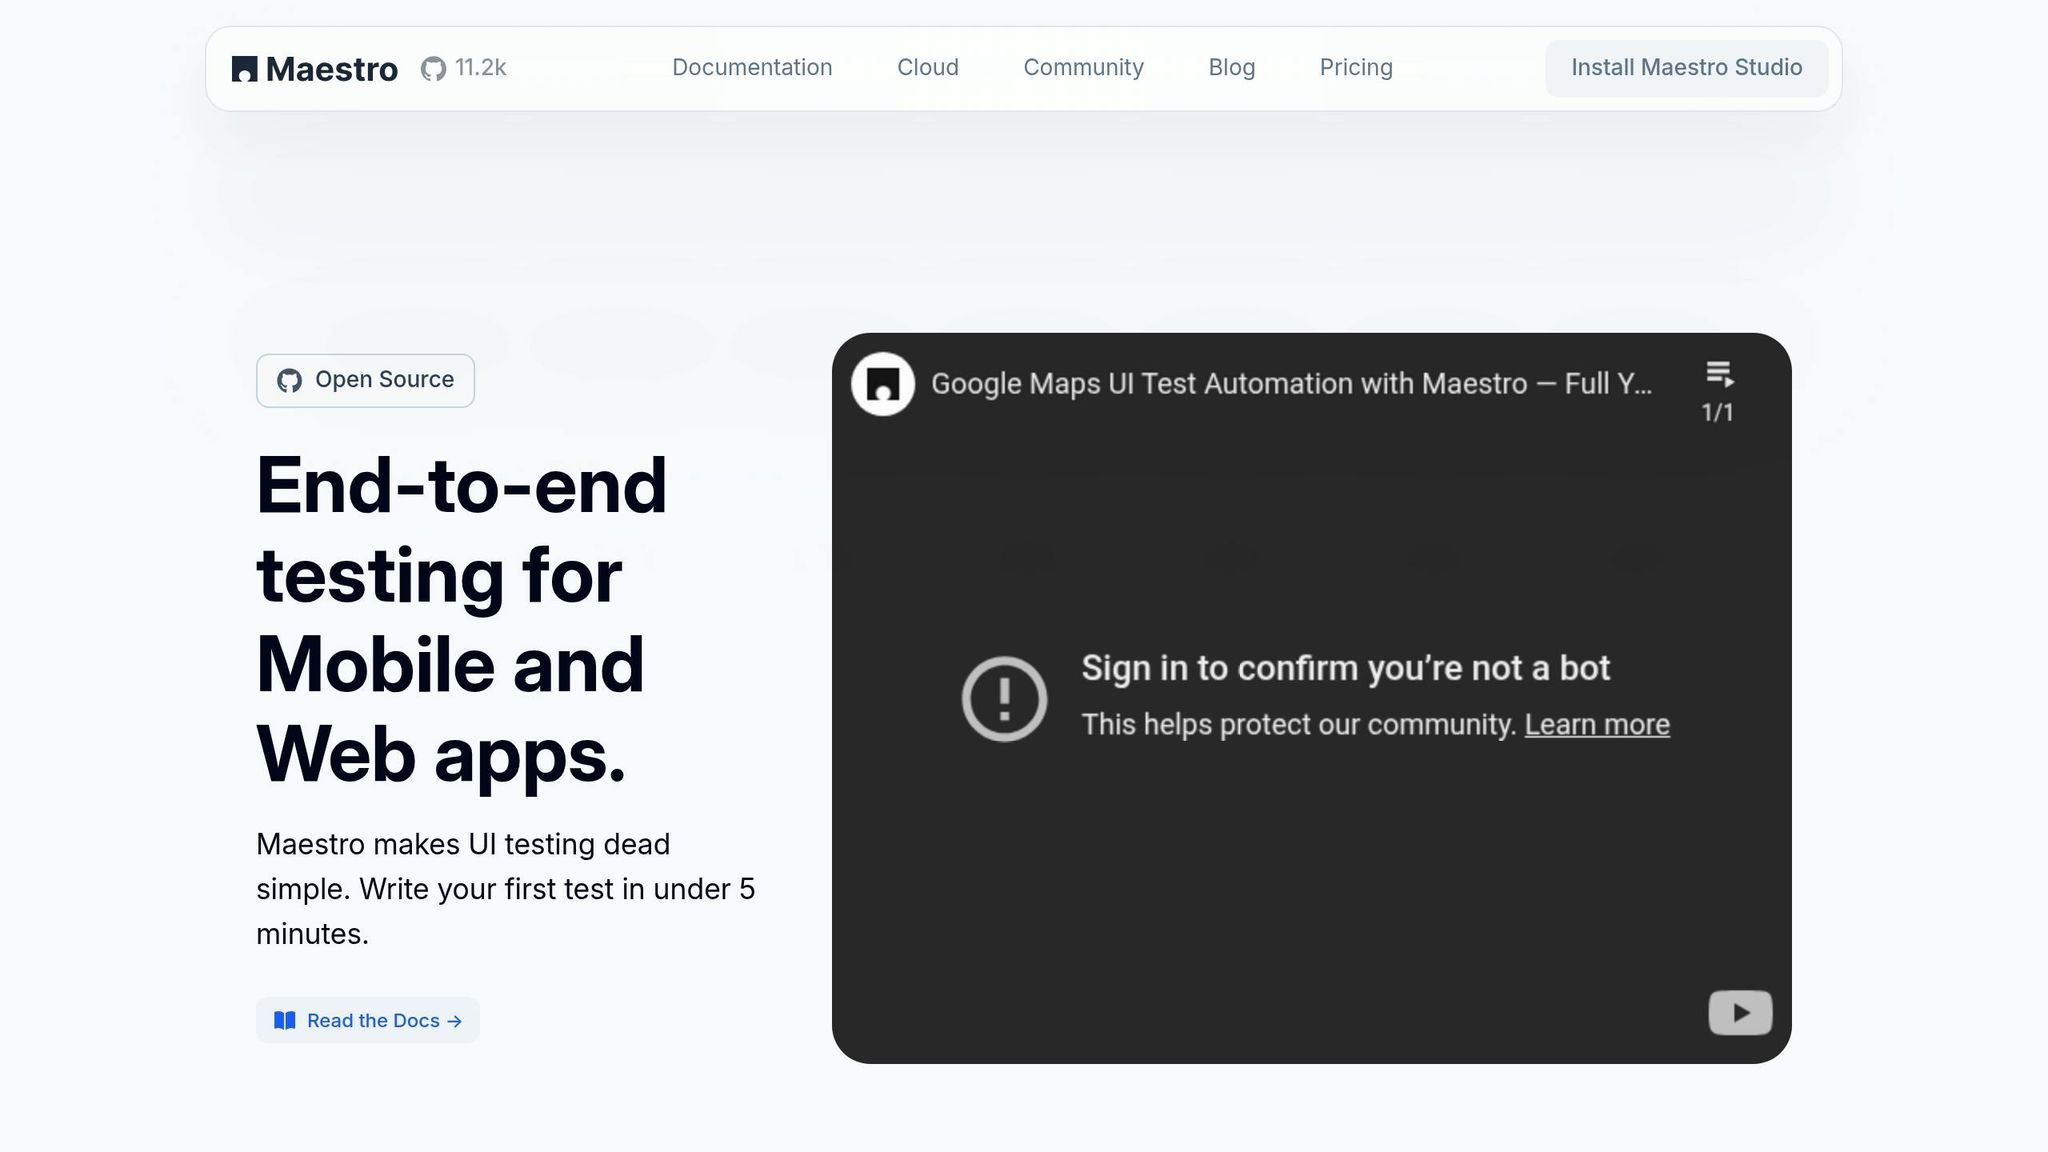
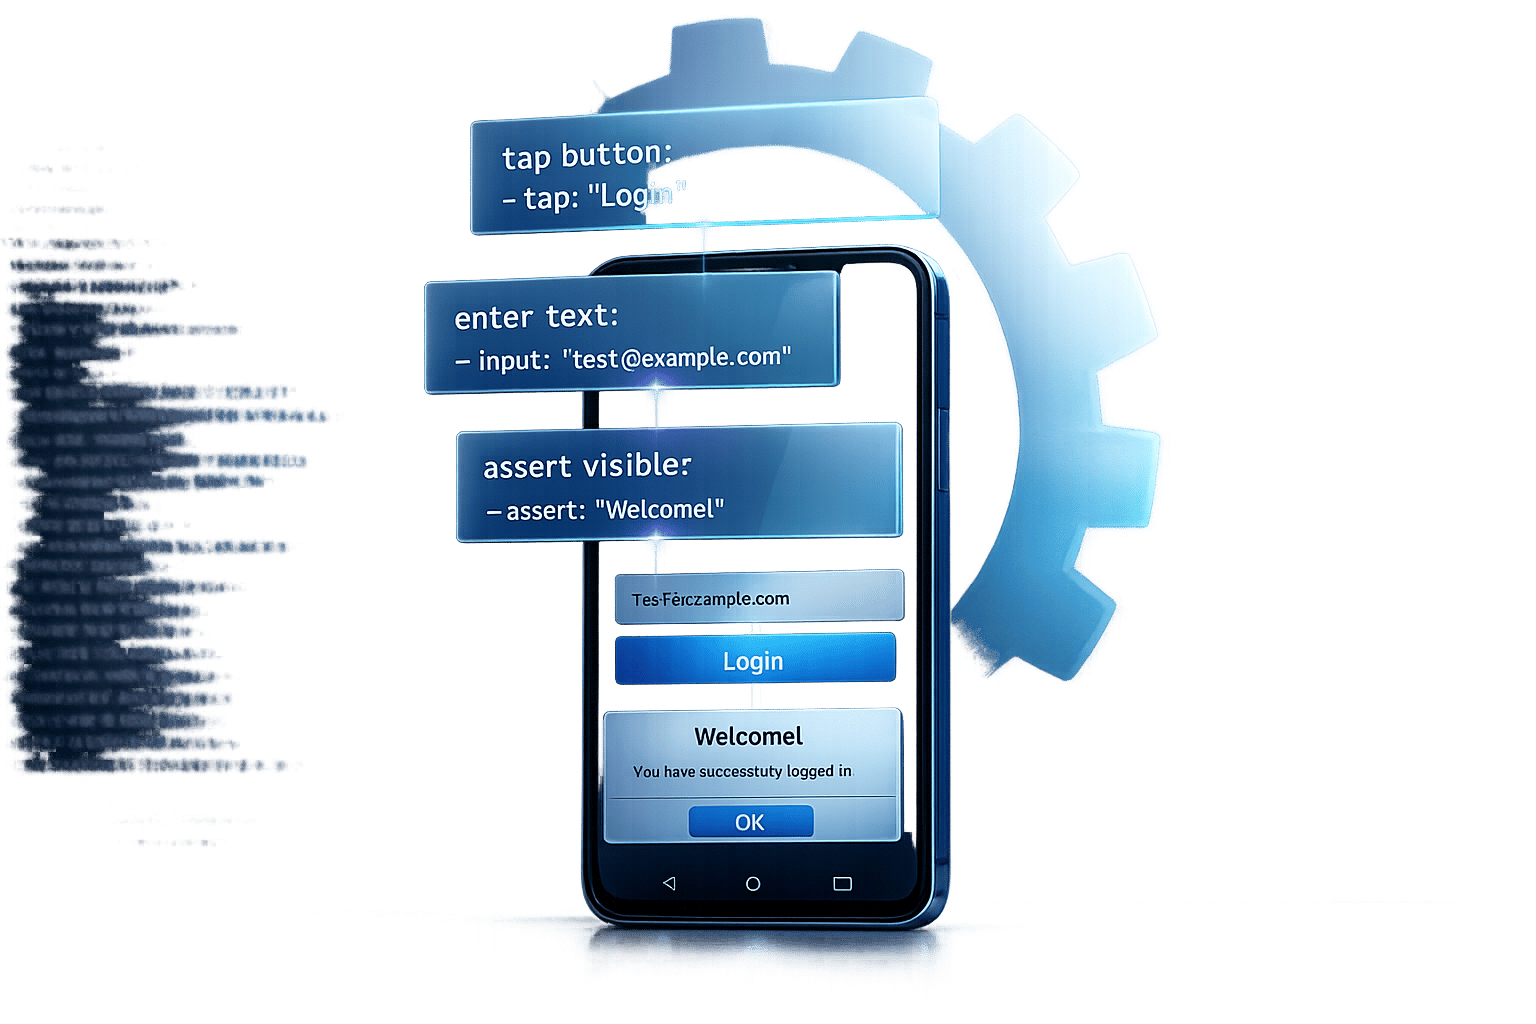
Automated testing is a powerful way to catch accessibility issues early - before they make it into production. Tools like Maestro simulate the full user experience by testing through the accessibility interface, mimicking how screen readers and real users interact with your app.
With Maestro, tests are written in declarative YAML files, which means you don't need advanced programming skills to get started. For Flutter apps, remember to use Semantics widgets for layout components, while React Native apps rely on the testID prop for stable identifiers.
When dealing with cross-platform apps, you can use Maestro's runScript feature with conditional logic to manage platform-specific differences. For instance, if an element has distinct IDs on Android and iOS, you can map them to a single variable without modifying your source code. Maestro also handles common automation headaches like flaky tests, waiting for animations, or delays in network content - no more adding manual sleep() commands.
For those working with Flutter 3.19 or later, the identifier property in the Semantics widget is a game-changer. It helps you maintain consistent, translation-independent links between your code and test flows. Additionally, Maestro Studio allows you to visually inspect the accessibility interface, making it easy to identify the right selectors before scaling tests to your CI/CD pipelines.
While automated checks are efficient, they work best alongside manual testing, which ensures accessibility properties aren't just present but also meaningful.
Manual Testing on Real Devices
Automation can confirm the existence of accessibility properties, but manual testing ensures they're functional and user-friendly. Testing on real devices with assistive technologies like TalkBack (Android) and VoiceOver (iOS) lets you verify that semantic labels are descriptive and that the accessibility tree correctly reflects your UI.
For example, React Native components on iOS sometimes fail to pass touch events to nested elements. Manual testing helps uncover these "swallowed" events, which you can fix by setting accessible={false} on the outer container and accessible={true} on the specific inner element requiring focus.
Maestro Studio's element inspector bridges the gap between manual and automated testing. It lets you verify what your automation tools detect, ensuring your accessibility tree is properly configured before running tests in CI/CD pipelines.
Validating Touch Targets and Contrast Ratios
Accessibility isn't just about semantic labels; your UI also needs to meet design standards. For example, touch targets must be at least 48×48 dp on Android and 44×44 points on iOS. Large text (18 points or more) should have a contrast ratio of at least 3:1.
Flutter's Guideline API can help with this by validating touch target sizes during widget testing. Use properties like androidTapTargetGuideline and iOSTapTargetGuideline to ensure compliance. Additionally, platform-specific tools like the Accessibility Scanner (Android) and Accessibility Inspector (iOS) provide detailed insights into WCAG compliance, including contrast measurements and touch target validation. These tools work hand-in-hand with Maestro's black-box testing approach to ensure your app meets accessibility standards.
Integrating Accessibility Testing into CI/CD Workflows
Using Maestro Cloud for Continuous Accessibility Testing
Bringing accessibility testing into your CI/CD workflow ensures potential issues are caught before they ever reach production. By embedding these checks directly into your development pipeline, you can identify and resolve problems early. Maestro Cloud makes this process seamless by running accessibility tests concurrently across multiple devices, eliminating the hassle of managing hardware setups. Since Maestro operates at the accessibility layer, it evaluates the same interface that assistive technologies and screen readers rely on. Put simply, if an element isn’t accessible at the system level, your tests will flag it before it impacts users.
To streamline this process, you can integrate human-readable YAML tests into your CI pipeline. By leveraging environment variables, you can run identical test suites for both Android and iOS builds. For platform-specific differences - like unique share sheets or permission dialogs - conditional logic can be used to handle variations without duplicating code.
Maestro also accounts for UI settling and network delays, reducing test flakiness. Its web-based dashboard provides valuable insights by tracking flow runs, failure rates, and average run times. This setup not only strengthens your CI/CD workflow but also sets the stage for reliable regression testing.
Automating Regression Tests for Accessibility
Once continuous validation is in place, the next step is automating regression tests to ensure updates don’t disrupt existing accessibility features. Common sequences, like login flows, can be extracted into reusable YAML sub-flows, making your test suite easier to maintain. A common testing pyramid strategy suggests a mix of 70% unit tests, 20% component tests, and 10% end-to-end tests. Maestro ensures these critical user journeys are thoroughly validated.
Local continuous mode is another powerful tool. It can identify accessibility regressions even before code commits. Additionally, capturing screenshots on test failures helps pinpoint missing accessibility elements, making debugging faster and more efficient. This "shift-left" strategy integrates testing into pull requests, nightly builds, and pre-release checks, catching issues early - when they’re easiest and least expensive to fix.
Prioritizing and Resolving Accessibility Issues
Identifying Critical Accessibility Barriers
Critical accessibility barriers prevent assistive technologies from interacting with your app's interface. Since Maestro operates at the accessibility layer, it provides a reliable way to detect these issues early. If Maestro can't interact with an element, it's a strong indicator that users relying on screen readers will face similar challenges.
To get started, use Maestro Studio's element inspector to check what the accessibility layer exposes. For instance, in Flutter apps, widgets like Icon need a semanticLabel to make them accessible. In React Native on iOS, nested components can block touch events unless you set accessible={false} on the parent and accessible={true} on the child, ensuring proper interaction.
Another major issue to address is identifier stability. Relying on visible text labels for targeting elements can lead to problems during translation or A/B testing. Instead, use properties like testID (React Native) or identifier (Flutter). These create consistent, language-independent links between your code and tests, avoiding disruptions caused by changes in visible text.
Once these barriers are identified, the next step is to track them effectively and resolve them quickly.
Tracking and Resolving Issues in Development
After pinpointing accessibility barriers, leverage Maestro's YAML flows to document and share reproducible scripts with your team. These flows eliminate guesswork by providing a clear, shared reference for both testers and developers. When testers document an issue using a Maestro flow, developers can run the same sequence locally to observe and address the problem directly.
To ensure issues don’t resurface, integrate these flows into your CI/CD pipeline using Maestro Cloud. Automated notifications, whether through Slack or email, can alert your team when accessibility flows fail during pull request checks or nightly builds. This proactive, early-stage detection method helps catch and fix regressions before they escalate, saving time and effort down the line.
Conclusion
Key Takeaways for Accessibility Testing
Here’s a quick summary of essential strategies for effective accessibility testing:
Accessibility testing doesn't just improve automation - it directly enhances the user experience. By designing apps with accessibility-first principles, you create semantic hooks that assistive technologies and testing tools rely on. Without these, users with disabilities may face significant challenges navigating your app.
Using identifiers like testID in React Native or identifier in Flutter creates a stable link between your code and tests. This approach ensures that tests stay reliable even when UI text or translations change, reflecting the real user experience more accurately.
A unified test suite simplifies cross-platform accessibility testing. By testing through the accessibility layer, you eliminate the need for separate platform-specific tests, reducing maintenance effort while ensuring consistency.
Incorporating accessibility testing into your CI/CD pipeline early is crucial. Catching regressions before they hit production saves time and resources. Tools like Maestro Cloud can streamline this process by running tests in parallel and sending immediate notifications if any accessibility flow fails.
A common testing pyramid strategy suggests a mix of 70% unit tests, 20% component tests, and 10% end-to-end tests. Within this framework, prioritize semantic queries like getByRole during component testing. Tools like Maestro Studio's element inspector can help visually confirm what the operating system's accessibility layer exposes. This balanced approach ensures your app remains accessible to all users while keeping your test suite fast and scalable. Embedding these practices into your CI/CD pipeline ensures quality checks are an integral part of your development process.