Looking for a better way to handle Flutter integration testing? Maestro simplifies the process with a YAML-based approach, eliminating the need for complex Dart code and manual timing adjustments. It leverages Flutter's accessibility layer, reducing flakiness and enabling cross-platform testing for iOS and Android. Teams have reported cutting test creation time by over 90% and drastically improving testing efficiency.
Key Takeaways:
- Simple Setup: Install a single binary and start testing in minutes.
- Flakiness Management: Automatically handles delays and retries.
- Cross-Platform Support: Use one YAML flow for both Android and iOS.
- Accessible to All: Non-developers can contribute using Maestro Studio.
- Real Results: Companies like Wahed and Eneco have dramatically reduced testing time and effort.
Maestro is especially useful for teams ready to move beyond Flutter Driver and WidgetTester, offering faster iteration and support for production builds. If you're working with Flutter 3.19 or later, you can also take advantage of the new Semantics.identifier property for stable element selection.
1. Maestro
Setup Complexity
Maestro makes integration testing setup a breeze. With just a single binary installation, there’s no need to mess with driver installations, SDK dependencies, or intricate configuration files. Flutter developers can kick off their first test in less than five minutes, making it incredibly user-friendly.
What sets Maestro apart is its use of the accessibility layer. This means no test code injection or separate test builds are needed. For Flutter, you’ll want to use the Semantics widget with an identifier property (introduced in Flutter 3.19 on February 15, 2024) to create reliable test selectors that remain stable even when UI text changes.
This straightforward setup is the foundation for Maestro’s ability to handle test delays and reduce flakiness effectively.
Flakiness Tolerance
Flutter’s asynchronous rendering can sometimes lead to test instability, but Maestro has a built-in solution. It automatically manages waits and retries, ensuring tests remain stable. As Leland Takamine, Co-founder of mobile.dev, puts it:
"Maestro knows that it might take time to load the content (i.e. over the network) and automatically waits for it (but no longer than required)."
Another advantage? Tests run instantly without requiring compilation. Maestro continuously monitors and reruns test files as you make changes, which can dramatically speed up the debugging process.
Cross-Platform Support
Maestro’s simplified setup and flakiness tolerance extend seamlessly to cross-platform testing. For Flutter developers, one of its standout features is the ability to use a single YAML-based Flow to test both Android and iOS apps. This eliminates the need for duplicate code and significantly reduces maintenance efforts. Because Maestro interacts with the accessibility layer rather than platform-specific APIs, the same test logic works on both platforms with minimal tweaks.
The results speak for themselves. In September 2025, the mobile team at Wahed cut their test creation time from 3–4 hours per test to just 10–15 minutes - a staggering 95% improvement. Similarly, Eneco reduced their regression testing cycle from over 16 hours to under one hour in April 2025, while Komoot built a suite of over 100 tests in just two weeks.
Test Maintenance and Scalability
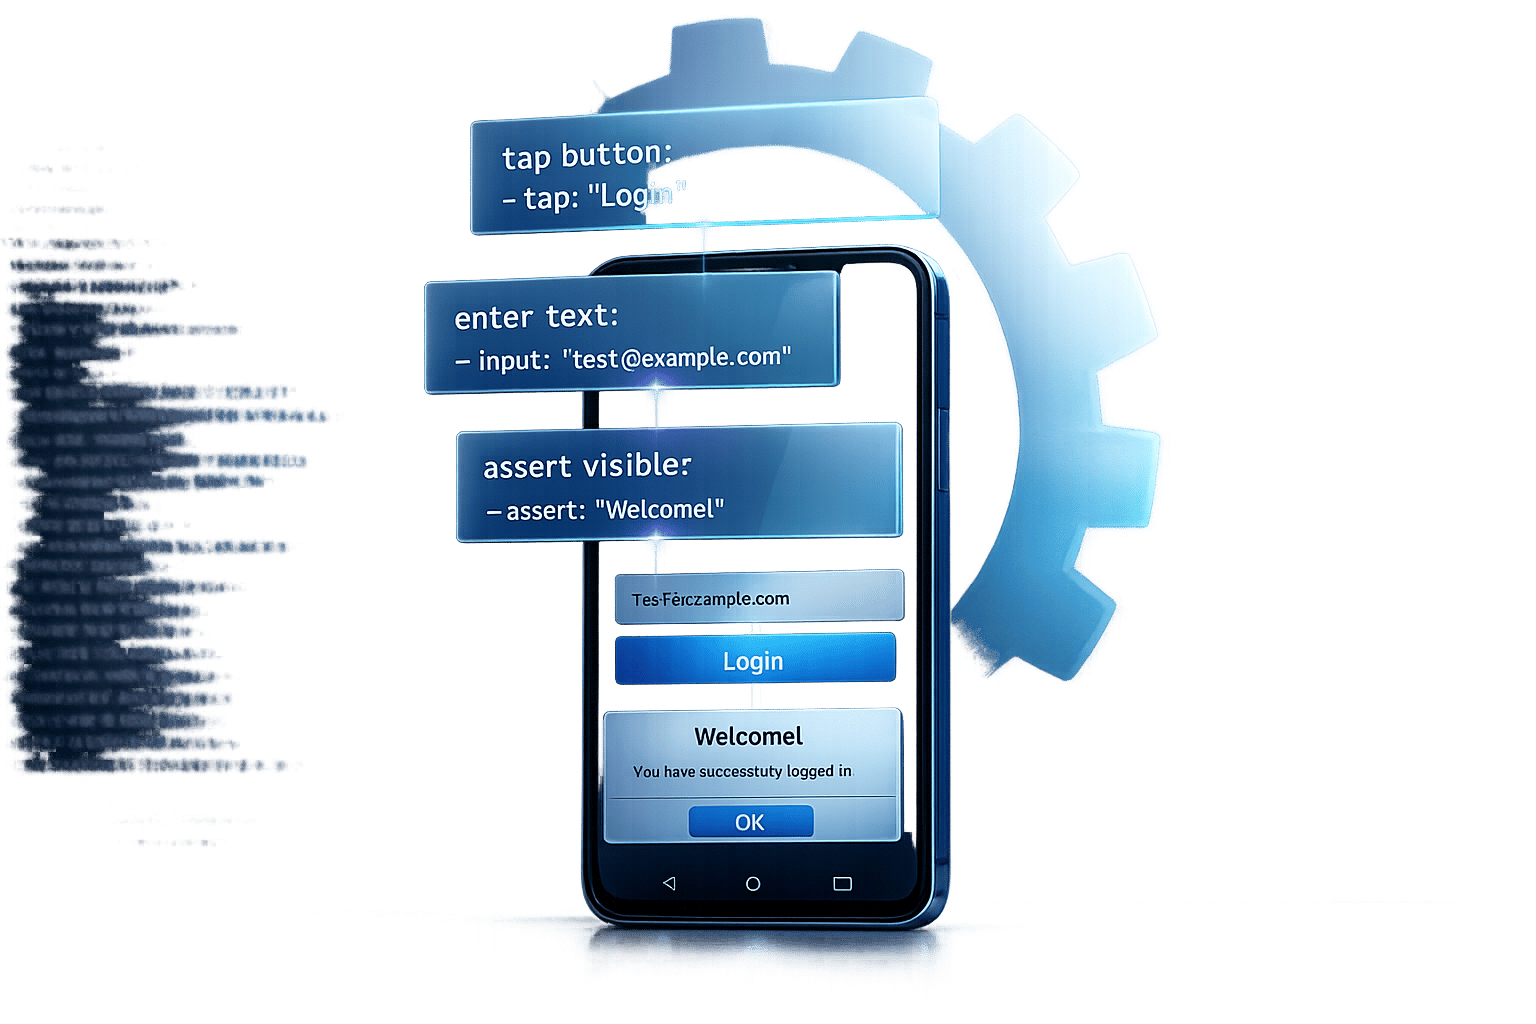
Maestro isn’t just about quick setup - it’s designed for long-term success. Its declarative YAML syntax turns integration testing into a task that anyone on the team can handle. Tests are written in plain, easy-to-read instructions like launchApp, tapOn: "Login", and assertVisible: "Welcome". Even non-technical QA team members can contribute using Maestro Studio, a free visual tool that records interactions and generates YAML steps automatically.
For larger test suites, Maestro’s modular approach ensures scalability. You can break complex workflows into smaller, reusable modules using the runFlow command. For example, you might create a dedicated login flow that multiple tests can reference. This modularity keeps your test suite manageable and adaptable as it grows.
sbb-itb-e343f3a
Is Maestro The Best Testing Tool For Flutter?

2. Standard Flutter Testing Methods (Flutter Driver, WidgetTester)
Standard Flutter testing methods, like Flutter Driver and WidgetTester, come with their own set of challenges, requiring significant manual configuration and maintenance.
Setup Complexity
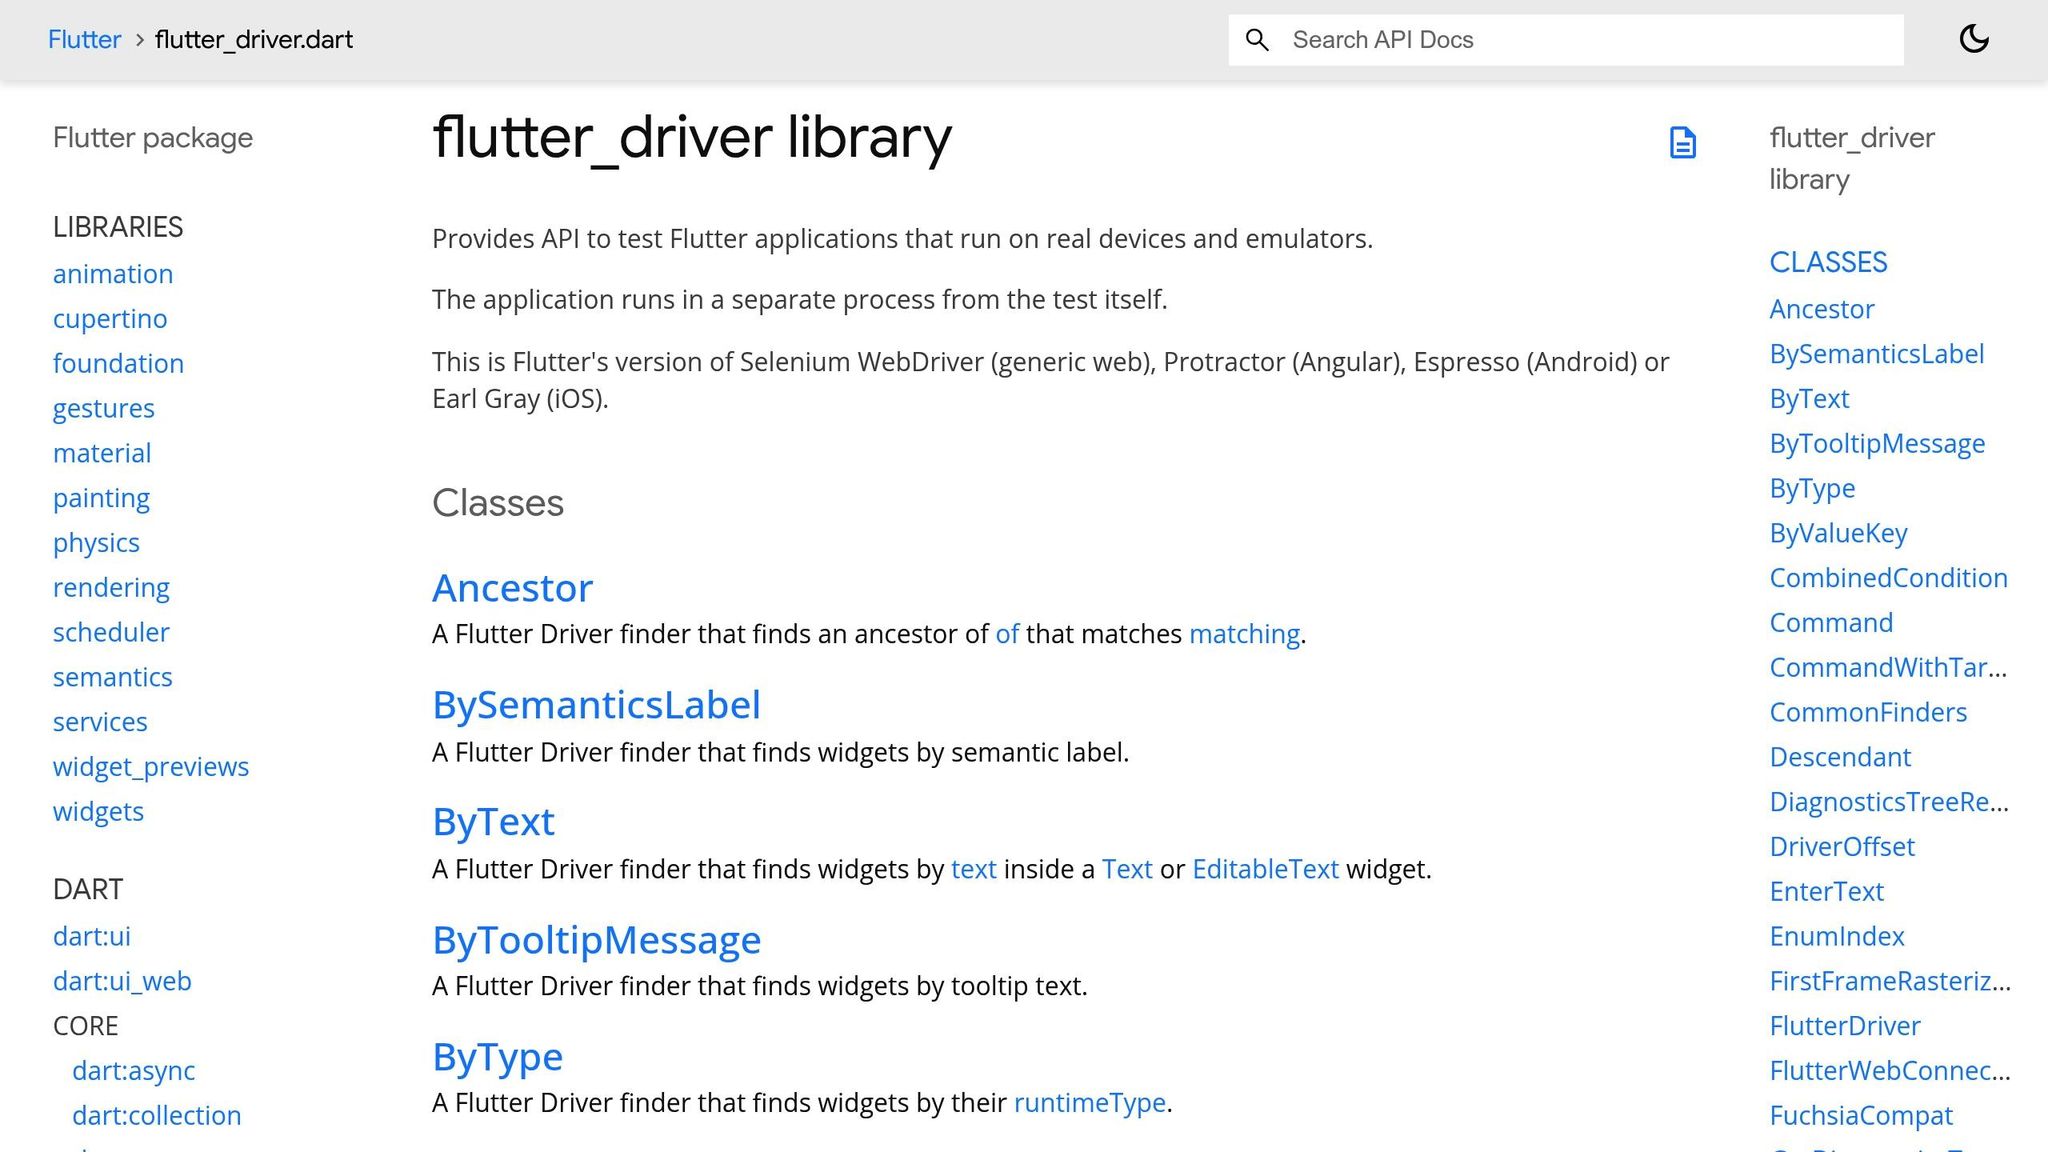
Getting started with standard Flutter testing methods is far from straightforward. While WidgetTester is conveniently included in the flutter_test package, making it a good choice for testing individual UI components, Flutter Driver demands much more effort. You'll need to add dependencies, create a dedicated driver directory, and modify your app's main entry point to enable driver support. Running integration tests also involves using specific commands. Although automation can cut testing time by nearly 30%, the initial setup and continuous upkeep can feel overwhelming. Plus, because these methods require building the entire app, iteration cycles tend to drag, slowing down development. The complexity of this setup is a key reason why developers often look for more streamlined testing solutions.
This setup burden also contributes to test instability, which we'll explore next.
Flakiness Tolerance
Reliability is a recurring issue with standard Flutter tests, especially when dealing with asynchronous code or dynamic content. Carlos Daniel, a Flutter/Dart GDE, explains:
"Asynchronous code testing introduces unpredictability. Network conditions, CPU load, and system performance can cause tests to fail intermittently, creating the dreaded 'flaky tests' that erode team confidence."
Flutter's automation scripts flag tests as flaky if their "Flaky Ratio" hits 2%. Integration tests, which run the entire app, are particularly vulnerable to transient issues like unstable network connections or device errors. Viktor Benei, CTO at Bitrise, cautions:
"If tests fail randomly, developers will start to ignore test failures over time."
To counteract flakiness, developers often rely on tools like fakeAsync or use mocking for external dependencies. While these methods can improve stability, they also add layers of complexity to the testing process.
Cross-Platform Support
Both Flutter Driver and WidgetTester technically support Android and iOS, but they don’t make cross-platform testing any easier. Developers still have to manually handle platform-specific differences, like Android's hardware back button or iOS-specific permission dialogs. This often results in duplicated code and additional effort. Furthermore, standard Flutter widget keys aren't tied to the accessibility bridge, which limits their usefulness for automation. A recent update in Flutter 3.19 (released February 15, 2024) introduced the identifier property in Semantics widgets, enabling more consistent element targeting. While helpful, this feature doesn’t eliminate the need for managing platform-specific conditions, explicit wait times, or complex synchronization logic.
Test Maintenance and Scalability
As your test suite grows, maintaining standard Flutter tests becomes increasingly demanding. These tests are code-heavy and require strong Dart skills, which can alienate non-technical QA team members. To manage this, many developers adopt the Page Object Model (POM) to encapsulate UI components, but even this approach doesn't solve all scalability issues. Tests running on real devices - especially slower ones - are crucial for identifying hardware constraints and avoiding performance issues like "jank" (frames taking longer than 16ms to render at a target of 60 FPS). However, the need for real-device testing further complicates scalability and slows development cycles. These factors underline the challenges of maintaining a large, reliable test suite in Flutter.
Pros and Cons
Maestro vs Flutter Driver vs WidgetTester: Feature Comparison for Flutter Testing
After taking a closer look at Maestro's setup and its ability to handle flaky tests with ease, it’s time to weigh its strengths and weaknesses against traditional Flutter testing tools. Here's a breakdown of the trade-offs between Maestro and standard Flutter testing methods, highlighting where each excels and falls short.
One of Maestro's standout features is its declarative YAML syntax, which allows for quick, real-time test feedback. This real-time interpretation means you can see test results as they happen, and with Maestro Studio, even team members without a coding background can create and update tests visually. This accessibility shifts test maintenance from being a developer-exclusive task to something anyone on the team can tackle. As Leland Takamine, Founder of Maestro, puts it:
"Maestro reduces the time to build a functioning UI test by >10x, and more importantly makes updating them just as easy."
This ease of use sets Maestro apart from traditional Flutter testing methods, which have their own complexities.
Comparing Standard Flutter Testing Methods
With standard Flutter tools like Flutter Driver and WidgetTester, the learning curve is steeper. They require solid Dart programming skills and often involve manual wait logic, which can make the process more complex and time-consuming. While WidgetTester is great for unit and widget testing in controlled environments, it demands deep programming knowledge to use effectively.
One area where Maestro shines is native UI interaction. It can handle system-level elements like permission dialogs and notifications by leveraging platform-specific bridges (ADB for Android, XCTest for iOS). On the other hand, Flutter Driver is confined to the Flutter canvas and only works in debug or profile modes, not in production builds. As Bartek Pacia, Software Engineer at mobile.dev, explains:
"Maestro isn't an 'Android testing framework' or 'Flutter testing framework' - it's a 'UI' testing framework, thanks to the fact that it depends only on accessibility information."
Limitations of Maestro
Despite its strengths, Maestro does have some limitations. For instance, it does not support Flutter widget keys for identifying elements. This is because widget keys are not connected to Flutter's accessibility bridge. Instead, it relies on the Semantics widget with the identifier property, a feature introduced in Flutter 3.19 (released February 15, 2024). Additionally, Maestro does not support Flutter Desktop apps, though it works with Flutter Web and mobile platforms.
Feature Comparison Table
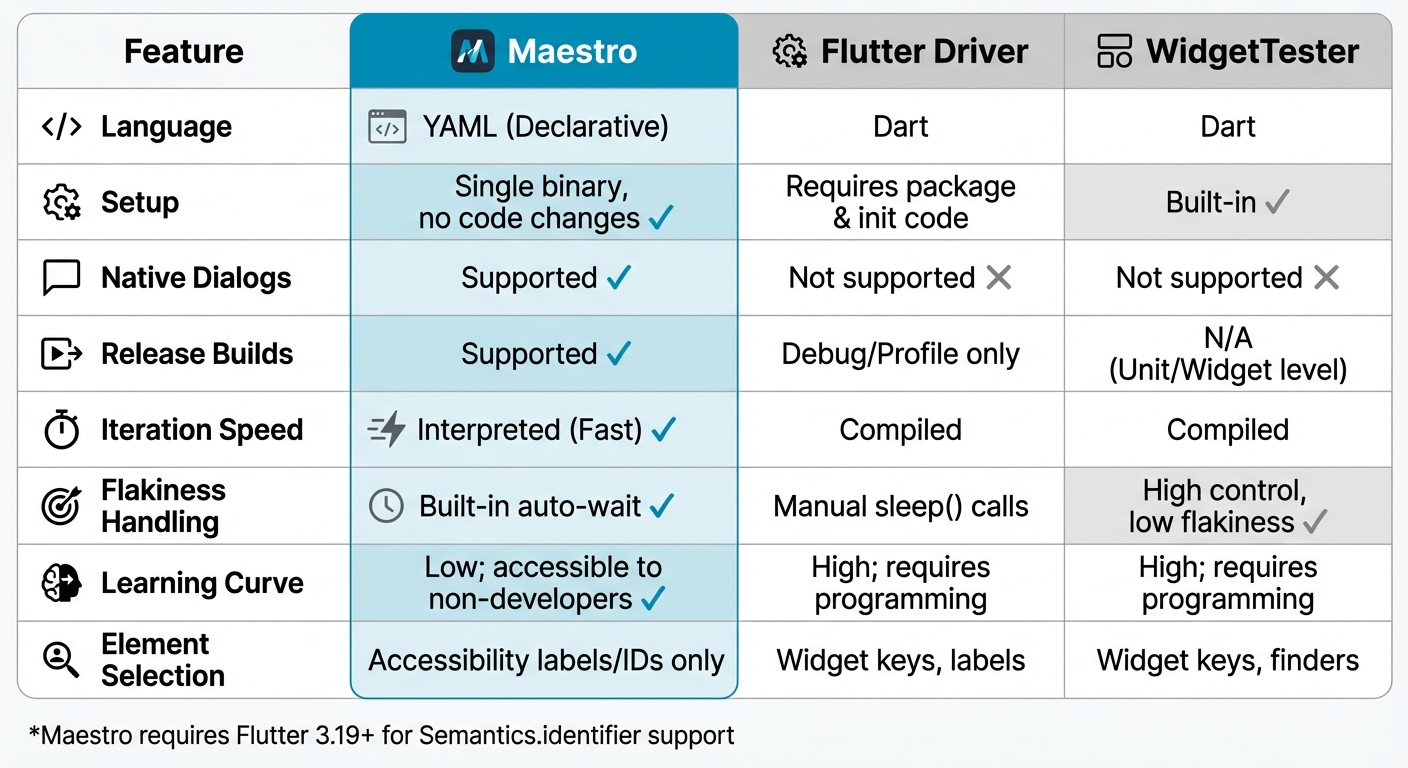
Here’s a side-by-side comparison of Maestro, Flutter Driver, and WidgetTester to summarize their key features and trade-offs:
| Feature | Maestro | Flutter Driver | WidgetTester |
|---|---|---|---|
| Language | YAML (Declarative) | Dart | Dart |
| Setup | Single binary, no code changes | Requires package & init code | Built-in |
| Native Dialogs | Supported | Not supported | Not supported |
| Release Builds | Supported | Debug/Profile only | N/A (Unit/Widget level) |
| Iteration Speed | Interpreted (Fast) | Compiled | Compiled |
| Flakiness Handling | Built-in auto-wait | Manual sleep() calls |
High control, low flakiness |
| Learning Curve | Low; accessible to non-developers | High; requires programming | High; requires programming |
| Element Selection | Accessibility labels/IDs only | Widget keys, labels | Widget keys, finders |
This table highlights the unique strengths and challenges of each tool, helping teams decide which approach best suits their needs.
Conclusion
Maestro simplifies Flutter integration testing by cutting through the usual challenges. With its declarative YAML syntax and zero-setup installation, creating and maintaining tests becomes quicker and easier. What sets it apart is its ability to test release builds and native UI components - something that traditional methods, often restricted to debug modes and Flutter-rendered content, struggle to achieve.
Its streamlined setup makes Maestro especially effective for practical testing scenarios. For teams building cross-platform Flutter apps across iOS, Android, and the web, Maestro’s unified approach can save a lot of time. It’s particularly useful for hybrid “add-to-app” projects, where native code and Flutter components coexist. By interacting with the entire device - not just the Flutter canvas - Maestro ensures comprehensive testing. Additionally, Maestro Studio allows non-technical QA team members to design tests visually, making it accessible to a broader range of users.
To fully leverage Maestro, it’s important to upgrade to Flutter 3.19 or later. This version introduces the Semantics.identifier property, which Maestro’s team contributed to the Flutter framework in March 2024. This feature enables stable, ID-based element selection, even when UI text changes. Teams should also enforce semantic identifiers through lint rules to ensure all custom widgets remain testable, streamlining the integration testing process.
A great example of Maestro’s impact comes from fintech company Wahed, which reported in May 2025 that it had reduced its mobile app testing cycle from hours to just minutes by adopting Maestro. This demonstrates how the right testing framework can transform workflows. Whether you’re testing production builds, managing flaky network-dependent flows, or enabling non-developers to maintain tests, Maestro provides practical solutions where traditional Flutter testing methods fall short.
Maestro’s benefits also scale effortlessly. Its free CLI, Maestro Studio, and support for parallel cloud-based execution make it easy to start testing and adapt to growing needs. For Flutter teams ready to move beyond manual wait logic and debug-only limitations, Maestro offers a faster, more dependable path to integration testing.