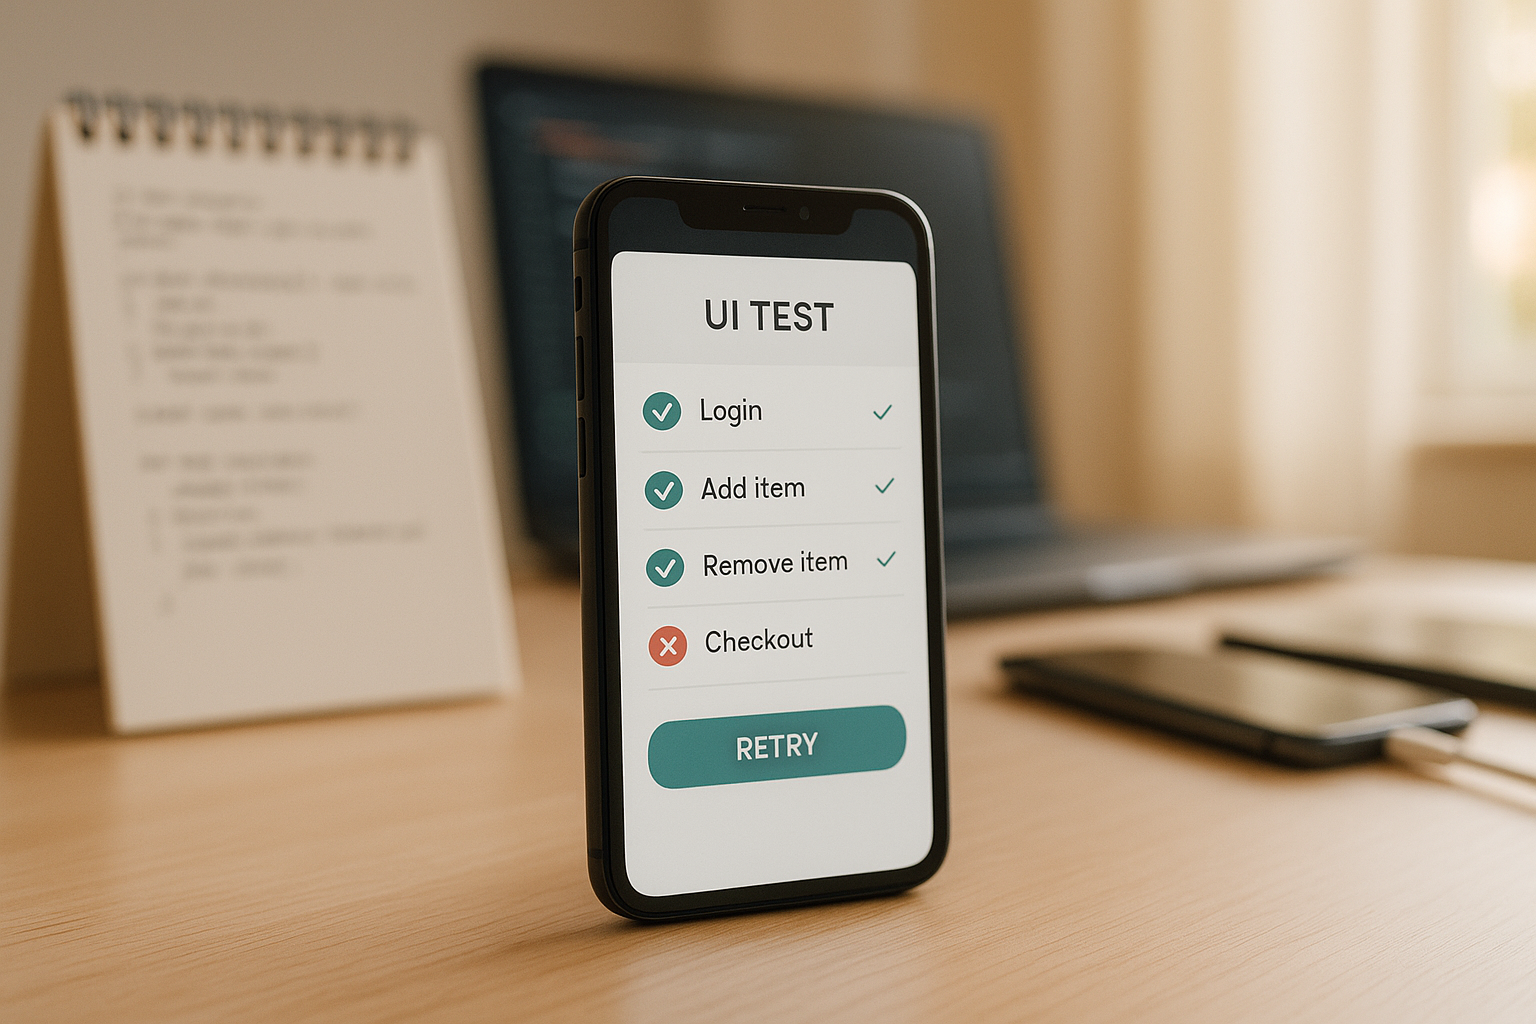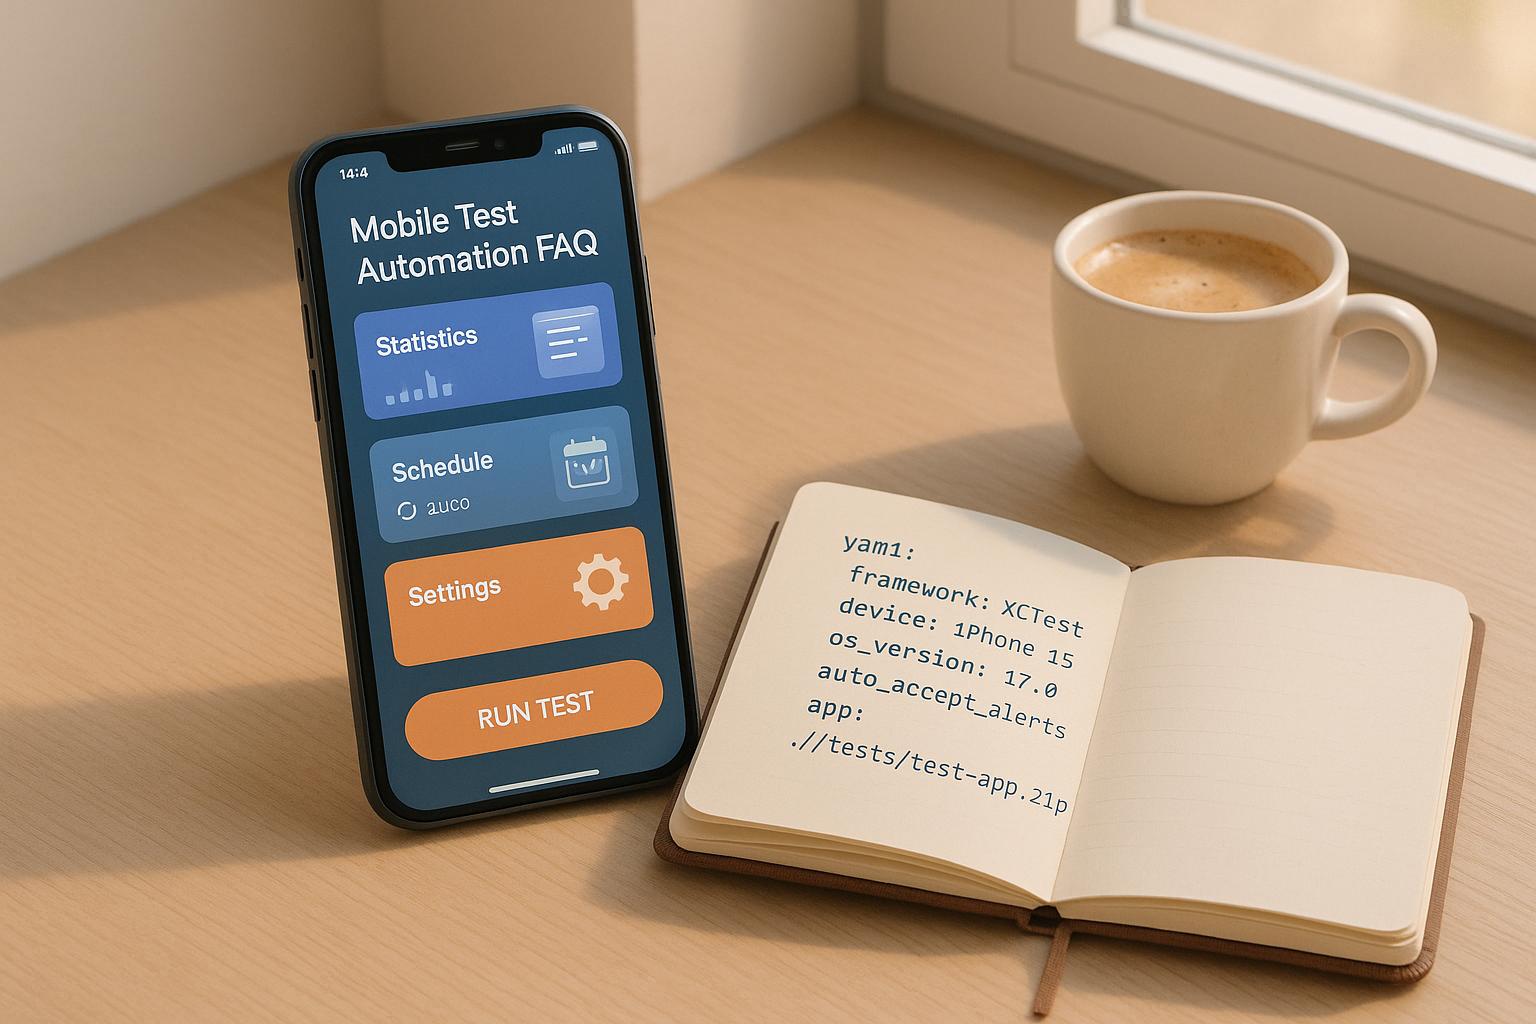
Mobile app testing just got easier with YAML. Its clean, indentation-based syntax makes it simple to write test scripts that anyone on your team can understand. Tools like Maestro take YAML’s structure further, allowing you to create cross-platform test scripts for Android and iOS. Here's what you need to know:
- Why YAML? YAML is readable, uses indentation like Python, and is less cluttered than JSON. It supports key-value pairs, lists, and inline comments for clarity.
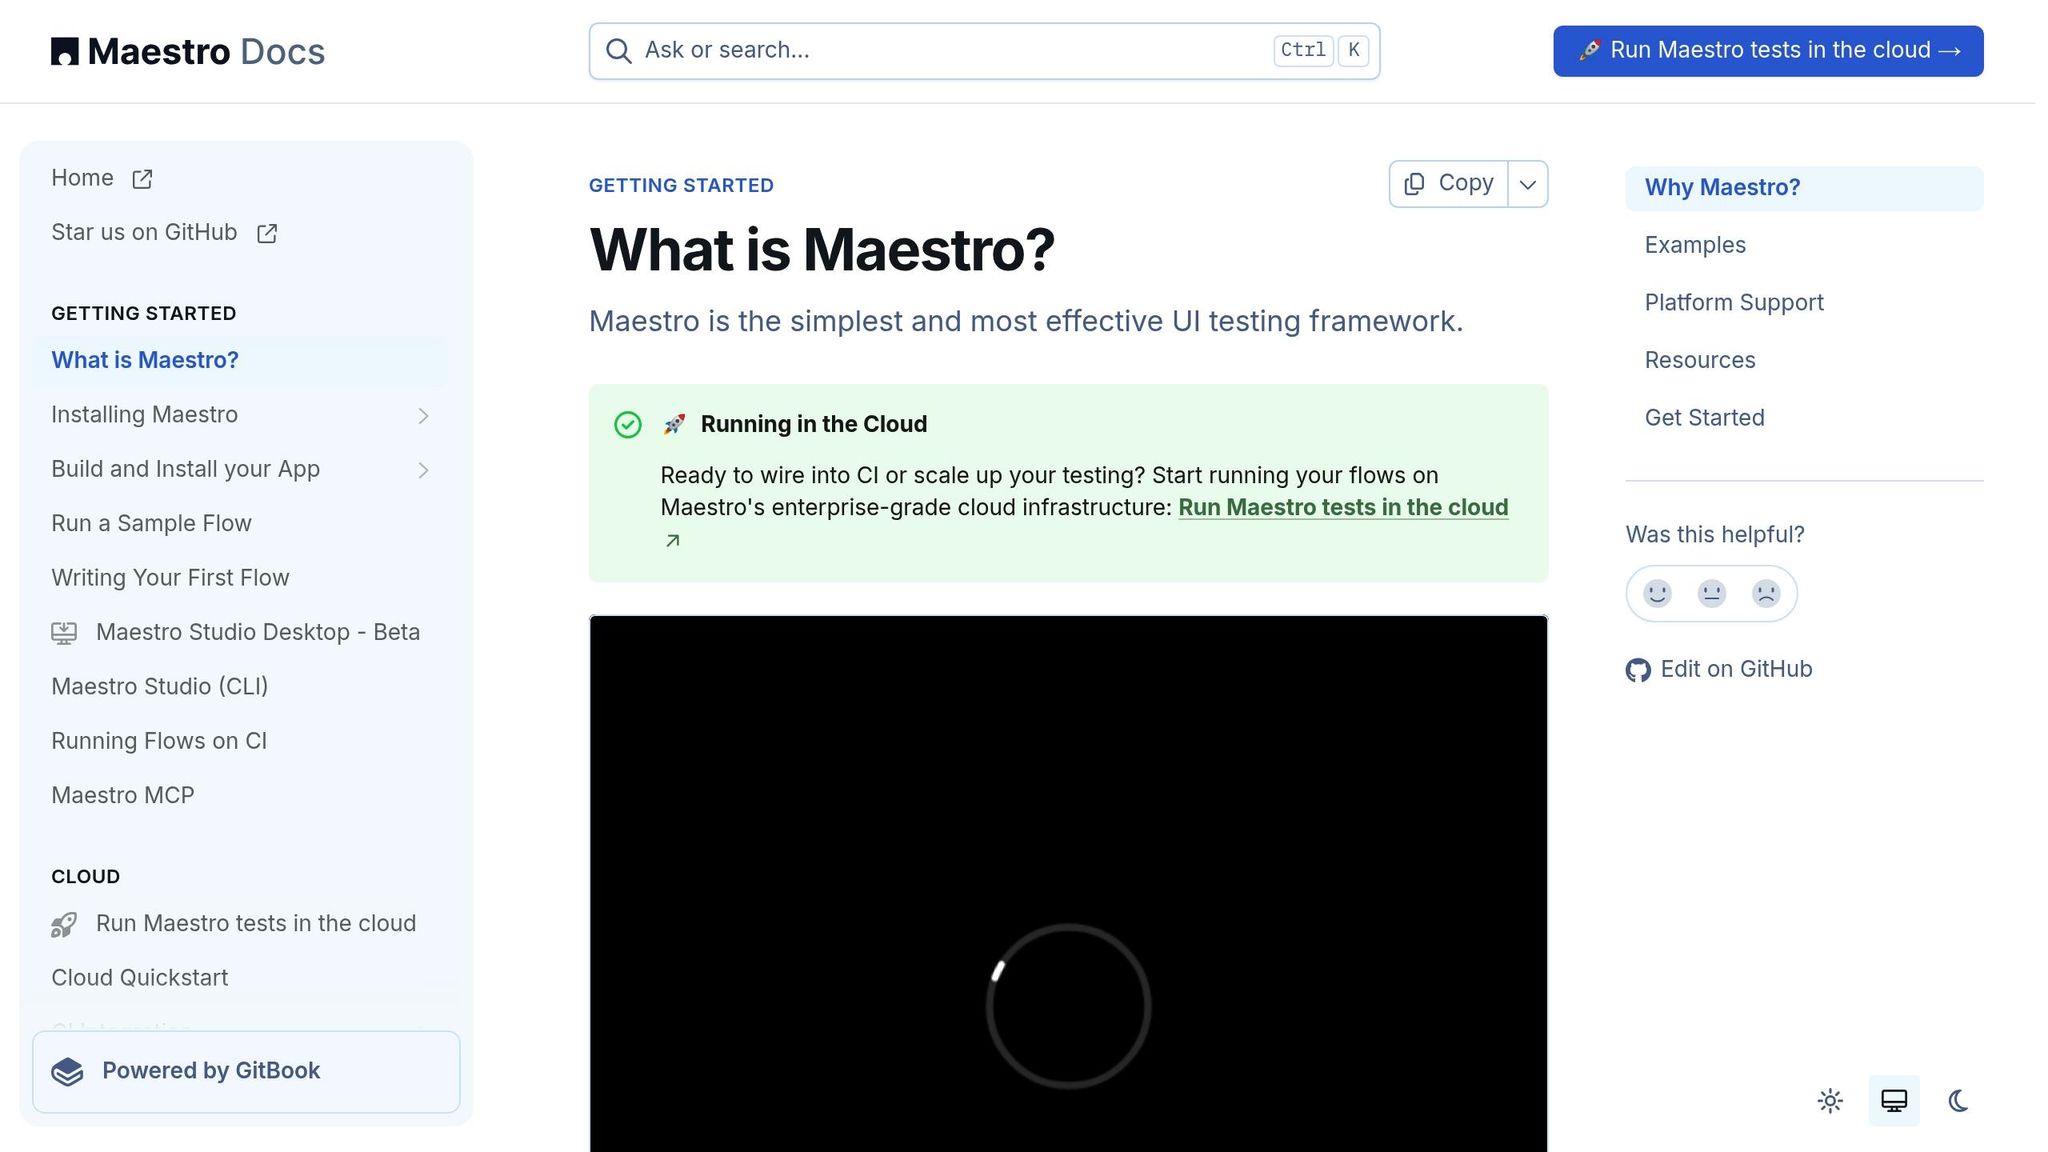
- Maestro Integration: Maestro uses YAML to simplify mobile UI testing. Write declarative scripts that describe what should happen, not how.
- Key Features: YAML scripts are modular, reusable, and easy to maintain. They integrate smoothly with source control (like GitHub) and CI/CD pipelines.
- Setup: Install Maestro with a single command.
- Writing Scripts: Scripts include app launch, navigation, user actions, and validations. YAML supports conditional logic and platform-specific steps for Android and iOS.
- Best Practices: Use clear naming, modular flows, and comments.
YAML's simplicity and Maestro’s capabilities make mobile testing faster and more accessible for teams. Whether you're testing login flows, onboarding, or dynamic content, YAML scripts keep things efficient and organized.
Google Maps UI Test Automation with Maestro - Full YAML Tutorial
YAML Syntax Basics for Mobile Testing
Understanding YAML's syntax is key to crafting mobile test scripts that are clean, reliable, and easy to maintain.
Basic YAML Elements
YAML relies on three main node types: mappings (key-value pairs), sequences (ordered lists), and literals (strings, numbers, or booleans). These elements form the backbone of YAML-based test scenarios.
One critical rule: always use spaces for indentation - never tabs. Inconsistent spacing can lead to parsing errors.
Key-value pairs are the most common structure in YAML. They use a colon and a space to separate the key and value:
appId: com.example.myapp
timeout: 30
enabled: true
For ordered lists, YAML uses hyphens followed by spaces - perfect for defining test steps:
- tapOn: "Login"
- inputText: "user@example.com"
- tapOn: "Submit"
Strings should only be wrapped in quotes if they contain special characters. You can also use # to add comments that clarify logic or requirements:
# Navigate to the user profile section
- tapOn: "Profile"
# Check if the premium badge is visible for paid users
- assertVisible: "Premium Badge"
With these foundational elements in mind, Maestro builds on YAML's structure to simplify mobile test scripting.
Maestro YAML Structure
Maestro enhances YAML by introducing a clear, hierarchical structure for test scripts. This approach divides scripts into two main parts: setup parameters and action sequences, making them easier to read, modify, and share.
The script starts with metadata that defines the test’s purpose and platform requirements. This header section sets the stage for the entire script:
appId: com.shopping.app
name: "Checkout Flow Test"
tags:
  - checkout
  - payment
After the metadata, you define the action sequences - step-by-step instructions that Maestro executes. Each action represents a user interaction or system check, written in the order they should occur:
- launchApp
- tapOn: "Add to Cart"
- tapOn: "Checkout"
- inputText: "4111111111111111"
- tapOn: "Complete Purchase"
- assertVisible: "Order Confirmed"
Maestro also supports conditional logic and assertions, which fit naturally into its YAML-based structure. Proper nesting and indentation keep even complex scripts readable.
Instead of focusing on how each step is executed, Maestro’s declarative style lets you describe what should happen. This simplicity reduces script complexity, making it easier for team members with varying technical expertise to collaborate.
As your scripts grow, use YAML linters to catch syntax errors and ensure everything runs smoothly.
Setting Up Maestro for Mobile Testing
Maestro works on macOS, Windows, and Linux, though the setup process differs slightly depending on your operating system.
Installation Steps
Maestro simplifies things with a single binary, making dependency and configuration management straightforward.
Firstly, you need to check whether you have Java 17 or a later version installed on your system. You can verify your Java version by running the following command:
java -version
If you don't have Java 17 or higher installed, you can download it from:
- Oracle JDK
- OpenJDK
- Or use a version manager like SDKMAN!
For macOS, Windows and Linux users, installation is as easy as running this command:
curl -Ls "https://get.maestro.mobile.dev" | bash
To confirm that Maestro is properly installed, run:
maestro --version
The setup requirements also depend on the platform you’re testing. For iOS simulator testing, you’ll need to install Xcode along with its Command Line Tools. Once those are ready, install Facebook’s IDB tool using these commands:
brew tap facebook/fb
brew install facebook/fb/idb-companion
For Android testing, the requirements differ. If you’re testing on an emulator, you’ll need Android Studio installed and configured. For testing on physical Android devices, make sure adb is installed and USB debugging is enabled.
"Maestro appeared on the market with its first release in July 2022 and positioned itself as the simplest and most effective mobile UI testing framework." - Yulia Derbeneva (QA Engineer), TestDevLab
Keep in mind: iOS physical devices are not supported. All iOS testing must be done using simulators. While simulators cover most scenarios, this limitation means you might miss some device-specific behaviors.
Once Maestro is installed, you’ll need your app’s unique identifier to configure your tests.
Finding App Identifiers
To target the correct app during testing, you’ll need its unique identifier: a package name for Android or a bundle identifier for iOS. Here’s how to find them:
-
For Android: Use the following command to locate the package ID. Replace
"App name"with the name (or part of the name) of your app:
Alternatively, check the Google Play Store URL for your app. The package ID is the value after theadb shell pm list packages | grep "App name"id=parameter. For instance, inhttps://play.google.com/store/apps/details?id=com.example.myapp, the package ID iscom.example.myapp. - For iOS: Open your project in Xcode, go to the Project navigator, select your project folder, and look under General > Identity. The bundle identifier will be displayed in a text field, which you can copy.
-
For React Native apps built with Expo: Open your
app.jsonfile and look for theios.bundleIdentifierandandroid.packagefields. If they’re not already set, you can define them like this:{ "expo": { "ios": { "bundleIdentifier": "com.yourcompany.yourapp" }, "android": { "package": "com.yourcompany.yourapp" } } }
For React Native apps, it’s also a good idea to add testID properties to your components. These stable identifiers make your tests more reliable, as they won’t change even if text or translations are updated.
Once you’ve gathered these identifiers, include them in your YAML test scripts using the appId field. This tells Maestro which app to launch and interact with during testing.
Writing YAML Test Scripts for Android and iOS
Once Maestro is installed and you have your app identifiers ready, creating cross-platform test scripts becomes straightforward. Below, we’ll break down the essential components and strategies to help you write effective and maintainable test scripts.
Test Script Components
Every solid test script follows a similar structure, consisting of four key parts: app launch, navigation, user interactions, and verification steps.
Start your script by specifying the app identifier:
appId: com.example.myapp
---
- launchApp
The --- separates the app configuration from the test steps. After launching the app, include navigation commands to reach the desired screen:
- tapOn: "Login"
- tapOn: "Email"
- inputText: "user@example.com"
- tapOn: "Password"
- inputText: "mypassword123"
You can simulate user actions like tapOn, inputText, swipe, or scrollUntilVisible. For validations, use assertions such as assertVisible:
- tapOn: "Sign In"
- assertVisible: "Welcome back!"
For more detailed validations, you can check multiple conditions or wait for specific states:
- assertVisible:
    text: "Dashboard"
    timeout: 10000
- assertNotVisible: "Loading..."
Platform Differences
While the structure remains consistent, Android and iOS have platform-specific nuances. Maestro uses a unified YAML syntax, but the way UI elements are identified differs.
Android apps built with Views often use resource IDs formatted like com.package.name:id/element_name. Jetpack Compose apps rely on semantic properties or test tags. For example:
- tapOn:
    id: "com.example.app:id/login_button"
iOS apps, whether built with UIKit or SwiftUI, use accessibility identifiers or labels. Developers must explicitly set these identifiers for testing:
- tapOn:
    id: "loginButton"
The main distinction lies in how each platform exposes UI elements. Android’s resource IDs provide structured identifiers, while iOS depends on accessibility properties.
For platform-specific steps, use conditional logic:
- runFlow:
    when:
      platform: Android
    file: android_specific_steps.yaml
- runFlow:
    when:
      platform: iOS
    file: ios_specific_steps.yaml
Selector strategies also differ. Android elements can often be located using text, resource IDs, or content descriptions. iOS elements typically rely on accessibility labels or identifiers. If an element is hard to target, try alternative selectors:
# Use multiple selectors for better accuracy
- tapOn:
    text: "Submit"
- tapOn:
    id: "submit_button"
- tapOn:
    point: "50%,80%"
Writing Maintainable Scripts
To ensure your scripts are easy to manage and update, focus on modular design, clear naming, and an organized structure.
Break down complex workflows into reusable modules:
# main_checkout_test.yaml
appId: com.example.shop
---
- runFlow: login_flow.yaml
- runFlow: add_to_cart_flow.yaml
- runFlow: checkout_flow.yaml
This modular setup allows you to reuse flows like login across multiple tests. If the login process changes, you only need to update one file.
Descriptive names are crucial for clarity. Use names that immediately communicate the script’s purpose, such as user_registration_happy_path.yaml or payment_error_handling.yaml. Avoid vague names that don’t provide context.
Add comments to clarify complex steps or logic:
# Wait for payment processing animation to complete
- assertVisible:
    text: "Processing payment..."
    timeout: 5000
- assertNotVisible: "Processing payment..."

# Verify order confirmation appears
- assertVisible: "Order #"
Group related elements with consistent naming patterns:
# Registration form
- tapOn: "registration_email_field"
- inputText: "new@example.com"
- tapOn: "registration_password_field"
- inputText: "newpassword123"

# Login form
- tapOn: "login_email_field"
- inputText: "existing@example.com"
- tapOn: "login_password_field"
- inputText: "existingpassword123"
Organize your test files in a logical folder structure to keep everything tidy:
tests/
├── authentication/
│   ├── login_flow.yaml
│   ├── registration_flow.yaml
│   └── password_reset_flow.yaml
├── shopping/
│   ├── browse_products.yaml
│   ├── add_to_cart.yaml
│   └── checkout_process.yaml
└── profile/
    ├── edit_profile.yaml
    └── view_order_history.yaml
This system makes it simple to locate and update specific test scenarios as your app evolves.
sbb-itb-e343f3a
Common Mobile Testing Examples
Building on the basics of YAML scripting, the following examples showcase how to apply these principles in real-world mobile testing scenarios.
User Flow Examples
Example: Login Flow
This script walks through a typical login process, from app launch to successful login confirmation:
appId: com.example.banking
---
- launchApp
- assertVisible: "Welcome to SecureBank"

# Navigate to login screen
- tapOn: "Sign In"
- assertVisible: "Enter your credentials"

# Input user credentials
- tapOn: "Email Address"
- inputText: "john.doe@email.com"
- tapOn: "Password"
- inputText: "SecurePass123!"

# Submit login form
- tapOn: "Log In"
- assertVisible:
    text: "Welcome back, John"
    timeout: 8000

# Verify dashboard elements appear
- assertVisible: "Account Balance"
- assertVisible: "Recent Transactions"
- assertNotVisible: "Sign In"
Example: Onboarding Flow
Navigating through onboarding screens often involves handling multiple steps, including permission requests:
appId: com.example.fitness
---
- launchApp

# Handle initial welcome screen
- assertVisible: "Get Started with FitTracker"
- tapOn: "Continue"

# Navigate through onboarding screens
- assertVisible: "Track Your Workouts"
- tapOn: "Next"
- assertVisible: "Monitor Your Progress"
- tapOn: "Next"
- assertVisible: "Connect with Friends"
- tapOn: "Get Started"

# Handle location permission
- assertVisible: "Allow Location Access"
- tapOn: "Allow"

# Complete setup
- assertVisible: "You're All Set!"
- tapOn: "Start Tracking"
- assertVisible: "Today's Activity"
Example: Search Functionality
Testing search features includes validating input, verifying results, and handling empty states:
appId: com.example.marketplace
---
- launchApp
- tapOn: "Search"

# Validate basic search functionality
- inputText: "wireless headphones"
- tapOn: "Search Button"
- assertVisible: "Search Results"
- assertVisible: "wireless headphones"

# Verify result count and filtering
- assertVisible: "Found 47 items"
- tapOn: "Filter"
- tapOn: "Price: Low to High"
- tapOn: "Apply"

# Test empty search results
- tapOn: "Search"
- clearText
- inputText: "xyznonexistentproduct"
- tapOn: "Search Button"
- assertVisible: "No results found"
- assertVisible: "Try different keywords"
These examples cover foundational flows and provide a starting point for testing more dynamic content.
Managing Dynamic Content
Testing dynamic content often involves dealing with loading states, animations, and real-time updates. Here’s how you can approach these challenges:
Handling Loading States
Use timeouts and wait conditions to ensure content loads fully before proceeding:
# Payment processing with dynamic loading
- tapOn: "Complete Purchase"
- assertVisible:
    text: "Processing payment..."
    timeout: 3000

# Wait for processing to complete
- assertNotVisible:
    text: "Processing payment..."
    timeout: 15000

# Verify success state
- assertVisible: "Payment successful!"
- assertVisible: "Order #12345"
Managing Pop-Ups and Modals
Pop-ups or modal dialogs often appear unexpectedly. Use conditional logic to handle them gracefully:
# Handle promotional pop-up
- runFlow:
    when:
      visible: "Special Offer!"
    commands:
      - tapOn: "Maybe Later"

# Continue with main flow
- assertVisible: "Dashboard"
- tapOn: "View Products"
Testing Animations and Transitions
Animations can delay interactions with certain elements. Incorporate timing to avoid premature actions:
# Handle slide-in menu animation
- tapOn: "Menu"
- assertVisible:
    text: "Settings"
    timeout: 2000

# Wait for animation to complete before tapping
- tapOn: "Settings"
- assertVisible: "Account Preferences"
Real-Time Updates
For content that changes dynamically, like social media feeds or live data, flexible validation is key:
# Verify news feed loads with recent content
- assertVisible: "Latest News"
- scrollUntilVisible: "Read More"

# Check for timestamp pattern (flexible matching)
- assertVisible:
    text: ".*ago"
    regex: true

# Verify interaction elements are present
- assertVisible: "Like"
- assertVisible: "Share"
CI/CD Integration
Once individual flows and dynamic elements are validated, you can integrate YAML test scripts into a CI/CD pipeline for automated testing. For instance, GitHub Actions provides a simple way to run tests on both Android and iOS platforms:
name: Mobile App Testing
on:
  push:
    branches: [ main, develop ]
  pull_request:
    branches: [ main ]

jobs:
  android-tests:
    runs-on: ubuntu-latest
    steps:
      - uses: actions/checkout@v3
      - name: Set up Android emulator
        uses: reactivecircus/android-emulator-runner@v2
        with:
          api-level: 29
          script: |
            curl -Ls "https://get.maestro.dev" | bash
            export PATH="$PATH:$HOME/.maestro/bin"
            maestro test flows/

  ios-tests:
    runs-on: macos-latest
    steps:
      - uses: actions/checkout@v3
      - name: Set up iOS simulator
        run: |
          xcrun simctl boot "iPhone 14"
          curl -Ls "https://get.maestro.dev" | bash
          export PATH="$PATH:$HOME/.maestro/bin"
          maestro test flows/
Using Environment Variables
Environment variables make test scripts more reusable across different configurations:
# CI environment configuration
env:
  ANDROID_DEVICE: "Pixel_4_API_29"
  IOS_DEVICE: "iPhone 14"
  TEST_USER_EMAIL: ${{ secrets.TEST_USER_EMAIL }}
  TEST_USER_PASSWORD: ${{ secrets.TEST_USER_PASSWORD }}
Incorporate these variables into your test scripts for consistency:
appId: com.example.app
env:
  USER_EMAIL: ${TEST_USER_EMAIL}
  USER_PASSWORD: ${TEST_USER_PASSWORD}
---
- launchApp
- tapOn: "Login"
- inputText: ${USER_EMAIL}
- tapOn: "Password"
- inputText: ${USER_PASSWORD}
- tapOn: "Sign In"
Companies like Doccla and Eneco have successfully transitioned to automated YAML testing, demonstrating its practical value. Additionally, parallel execution of test suites can significantly reduce testing time:
strategy:
  matrix:
    test-suite: [authentication, checkout, search, profile]
    platform: [android, ios]
Tips and Troubleshooting
Build stronger, more efficient automation with these strategies.
Script Maintenance Tips
Use Variables Instead of Hard-Coded Values
Define variables to replace hard-coded values. This makes it easier to update scripts whenever app content changes.
Implement Clear Naming Conventions
Choose names that clearly describe the script's purpose. This avoids confusion and makes scripts easier to understand:
# Good naming examples
- runFlow: login_with_valid_credentials
- runFlow: verify_checkout_total_calculation
- runFlow: handle_network_timeout_scenario

# Avoid vague names like
- runFlow: test1
- runFlow: flow_a
- runFlow: script_final
Apply the DRY Principle
Avoid repetitive code by creating reusable test snippets for common actions, such as logging in or navigating menus:
# Reusable login flow
# File: flows/common/login.yaml
appId: com.example.app
---
- tapOn: "Sign In"
- inputText: ${USER_EMAIL}
- tapOn: "Password"
- inputText: ${USER_PASSWORD}
- tapOn: "Log In"
- assertVisible: "Dashboard"
Then reference this flow in other scripts:
- runFlow: flows/common/login.yaml
- tapOn: "Settings"
- assertVisible: "Account Preferences"
Prioritize High-Impact Features
Focus on automating features that matter most. For example, in a banking app, testing payment flows should take precedence over non-critical UI elements.
Keep Scripts Short and Focused
Break complex workflows into smaller, more manageable tests. This makes debugging and updates much easier.
Fixing Common Problems
Even with solid maintenance practices, issues can arise. Here’s how to tackle common runtime problems.
Element Locator Failures
When elements aren’t found, timing or locator specificity is often the culprit. Use timeouts and flexible matching to handle dynamic content:
# Add a timeout for slow-loading elements
- assertVisible:
    text: "Processing payment..."
    timeout: 10000

# Use partial text matching for dynamic elements
- assertVisible:
    text: "Order #"
    timeout: 5000
Platform-Specific Behavior Differences
Android and iOS can behave differently in certain scenarios. Use conditional flows to handle these variations:
- runFlow:
    when:
      platform: Android
    commands:
      - tapOn: "Back"
- runFlow:
    when:
      platform: iOS
    commands:
      - tapOn: "< Back"
YAML Syntax Validation
Organizations using schema validation saw a 30% drop in critical configuration errors.
Linting tools can catch syntax problems before they cause test failures:
# Install yamllint for syntax checks
pip install yamllint

# Validate your test files
yamllint flows/
Integrate this into your CI pipeline for continuous checks:
# Example CI pipeline step
- name: Validate YAML syntax
  run: yamllint flows/ --strict
App Identifier Configuration
Ensure app identifiers match exactly to avoid test failures:
# Android: Verify package name
adb shell pm list packages | grep your.app

# iOS: Use Xcode or device logs to confirm bundle identifier
Network and Timing Issues
Introduce retry mechanisms for network-dependent actions. This ensures smoother test execution:
- tapOn: "Refresh"
- assertVisible:
    text: "Updated"
    timeout: 8000
- runFlow:
    when:
      not:
        visible: "Updated"
    commands:
      - tapOn: "Retry"
      - assertVisible: "Updated"
Script Structure Comparison
Choosing the right script structure can significantly improve maintainability and debugging. Let’s compare flat and modular approaches:
| Aspect | Flat Structure | Modular Structure |
|---|---|---|
| Initial Setup | Simple, single file approach | Requires planning and organization |
| Maintenance | Hard to manage as it grows | Easy to update components |
| Reusability | Limited, with lots of duplication | High, reusable across suites |
| Debugging | Difficult to isolate issues | Easier to identify and fix |
| Team Collaboration | Merge conflicts common | Supports multiple developers |
| Scalability | Poor for large test suites | Ideal for enterprise-level testing |
Flat Structure Example:
# All steps in one file
appId: com.example.app
---
- launchApp
- tapOn: "Sign In"
- inputText: "user@email.com"
- tapOn: "Password"
- inputText: "password123"
- tapOn: "Log In"
- assertVisible: "Dashboard"
- tapOn: "Products"
- tapOn: "Add to Cart"
# ... continues for 50+ lines
Modular Structure Example:
# Main test file
appId: com.example.app
---
- runFlow: flows/auth/login.yaml
- runFlow: flows/shopping/add_to_cart.yaml
- runFlow: flows/checkout/complete_purchase.yaml
While modular structures require more effort upfront, they simplify scaling and maintenance as your test suite grows.
Seventy-five percent of coding errors can be addressed during the editing phase with modular YAML scripts and validation tools. Additionally, peer reviews can catch 80% of errors that automated tools might miss. Combining automated validation with human oversight ensures a robust testing framework.
Conclusion
Creating effective YAML test scripts with Maestro can transform mobile app testing by automating processes, identifying bugs early, and speeding up release cycles. Thanks to YAML's straightforward, declarative format, tests remain easy to read and maintain across both Android and iOS platforms.
The best way to get started is by focusing on the basics - simple tap and assertion commands. From there, you can gradually introduce complexity by using modular flows and reusable components. Clear naming conventions and smart variable management go a long way in reducing the time spent on debugging and script maintenance. This structured method also paves the way for smooth integration into CI/CD workflows.
Speaking of CI/CD, incorporating YAML-based tests into these pipelines is a natural progression. Running tests continuously within CI/CD setups allows for early detection of issues, faster builds via incremental updates, and efficient parallel testing. These strategies, combined with proper version control, enhance overall build performance and reliability.
However, integrating mobile CI/CD pipelines requires navigating the specific demands of Apple and Google ecosystems. When done correctly, this process not only speeds up release timelines but also boosts code quality, ensuring a scalable and high-performing testing approach.
Ultimately, mobile testing evolves into a comprehensive automation strategy that supports fast development cycles while maintaining an excellent user experience. By mastering the fundamentals and expanding your testing capabilities over time, you’ll be well-equipped to meet the demands of modern app development.
With Maestro's user-friendly design and YAML's adaptability, your team can achieve powerful, scalable mobile test automation tailored to your product's growth and complexity.