In app development, testing is crucial for ensuring an app works well and is user-friendly. Maestro is a UI testing tool designed to work with Flutter apps on Android and iOS. This guide will help you perform end-to-end tests on a music app using Maestro.
Prerequisites
Before jumping into the setup, it’s essential that you’ve explored the first part of this series.
Read blog: Music App UI Testing Series: Getting Started with Maestro in Flutter — Part 1
It lays down the groundwork by guiding you through setting up Flutter and getting the music app up and running locally to ensure a smooth follow-along experience.
Setting Up Your Workspace
Before delving into UI test scripting with Maestro, getting your workspace in order is useful. Generate a config.yaml file within the .maestro directory, populating it with the following content:
# config.yaml
flows:
  - journey/*

executionOrder:
  continueOnFailure: false # default is true
  flowsOrder:
    - play-music
    - view-stats
This configuration directs Maestro to look for flows within the journey directory, which will house the Flow files. Moreover, the executionOrder section outlines the sequence and behavior of flow executions, ensuring a structured testing procedure.
We’ll delve into the significance of this specific order of Flows later in the blog in the “Transitioning to Viewing Stats Journey” section.
Source Code
Find the GitHub repo with source code and Maestro UI testing Flow files:
Structuring Your Tests
Just as we organized our tests in the React Native series, Maestro tests here allow for a structured layout, letting you arrange your tests in a way that aligns with your app’s needs. For a deeper dive into structuring your test suite, check out this Maestro Best Practices blog post.
In this guide, like the last, we’ll structure our tests by journey and subflow. Create a journey directory in the .maestro directory. This is where our tests will live, referring to subflows. Subflows can stand alone, being run as a Flow individually using maestro test, or they can be portioned out into reusable segments of a larger Flow.
Why this structure?
Segmenting tests by journey and subflow aids in breaking down the tests into smaller, more manageable chunks. Each journey mirrors a user’s path through the app, and each subflow represents a portion of that journey. This setup simplifies understanding, writing, and maintaining the tests.
We’re keeping the file naming relaxed. In this blog, we’ve chosen to use kebab-case, just as before.
Here’s a glance at the structure:
(inside .maestro)

> tree
.
├── common
│   ├── allow-permission.yaml
│   └── back.yaml
├── config.yaml
├── journey
│   ├── play-music.yaml
│   └── view-stats.yaml
└── subflow
    ├── check-lyrics.yaml
    ├── onboarding-screen.yaml
    ├── play-song.yaml
    └── search-song.yaml

4 directories, 9 files
Journey 1: Playing Music
Starting with your test, first outline the user journey you want to test. This journey breaks down into subflows, each representing a different user interaction.
In this guide, let’s work with a single journey. Create a file named play-music.yaml in the journey directory.
# play-music.yaml
appId: ${APP_ID}
---
- launchApp:
    clearState: true

# Onboarding
- runFlow: ../subflow/onboarding-screen.yaml

# Search for a song
- runFlow: ../subflow/search-song.yaml

# Play a song
- runFlow: ../subflow/play-song.yaml

# Check Lyrics
- runFlow: ../subflow/check-lyrics.yaml
Here’s a breakdown:
appId: Your app’s identifier.launchApp: Starts the app with a clean slate.runFlow: Lists the subflows, covering onboarding, song search, playback, and checking lyrics.
Subflow 1: Navigating the Onboarding Screen
This subflow checks the user’s interaction with the onboarding screen, ensuring they can enter their name, change language and country preferences.
Create a file named onboarding-screen.yaml in the subflow directory with the following content:
# onboarding-screen.yaml
appId: ${APP_ID}
---
# Onboarding flow
- tapOn: "Enter Your Name"
- inputText: "Shadow"
- tapOn: "Get Started"

# Change language
- assertVisible: "Hindi"
- tapOn: "Hindi"
- tapOn: "English"
- tapOn: "Hindi"
- tapOn: "Ok"

# Change country
- assertVisible: "India"
- tapOn: "India"
- scrollUntilVisible:
    element: "USA"
    direction: DOWN
- tapOn: "USA"
- assertVisible: "USA"
- tapOn: "Finish"

- takeScreenshot: "onboarding-screen"
The scrollUntilVisible action is crucial here, ensuring that the desired option, “USA”, is brought into view before attempting to select it. This mirrors real user interaction and verifies the scroll functionality, making your tests robust against potential UI changes or differing screen sizes.
Scroll Until Visible is a good way to scroll until an element becomes visible
— mobile.dev (@maestro__dev) October 13, 2023
→ https://t.co/soBGzXBEyl pic.twitter.com/6r0T2xcI7q
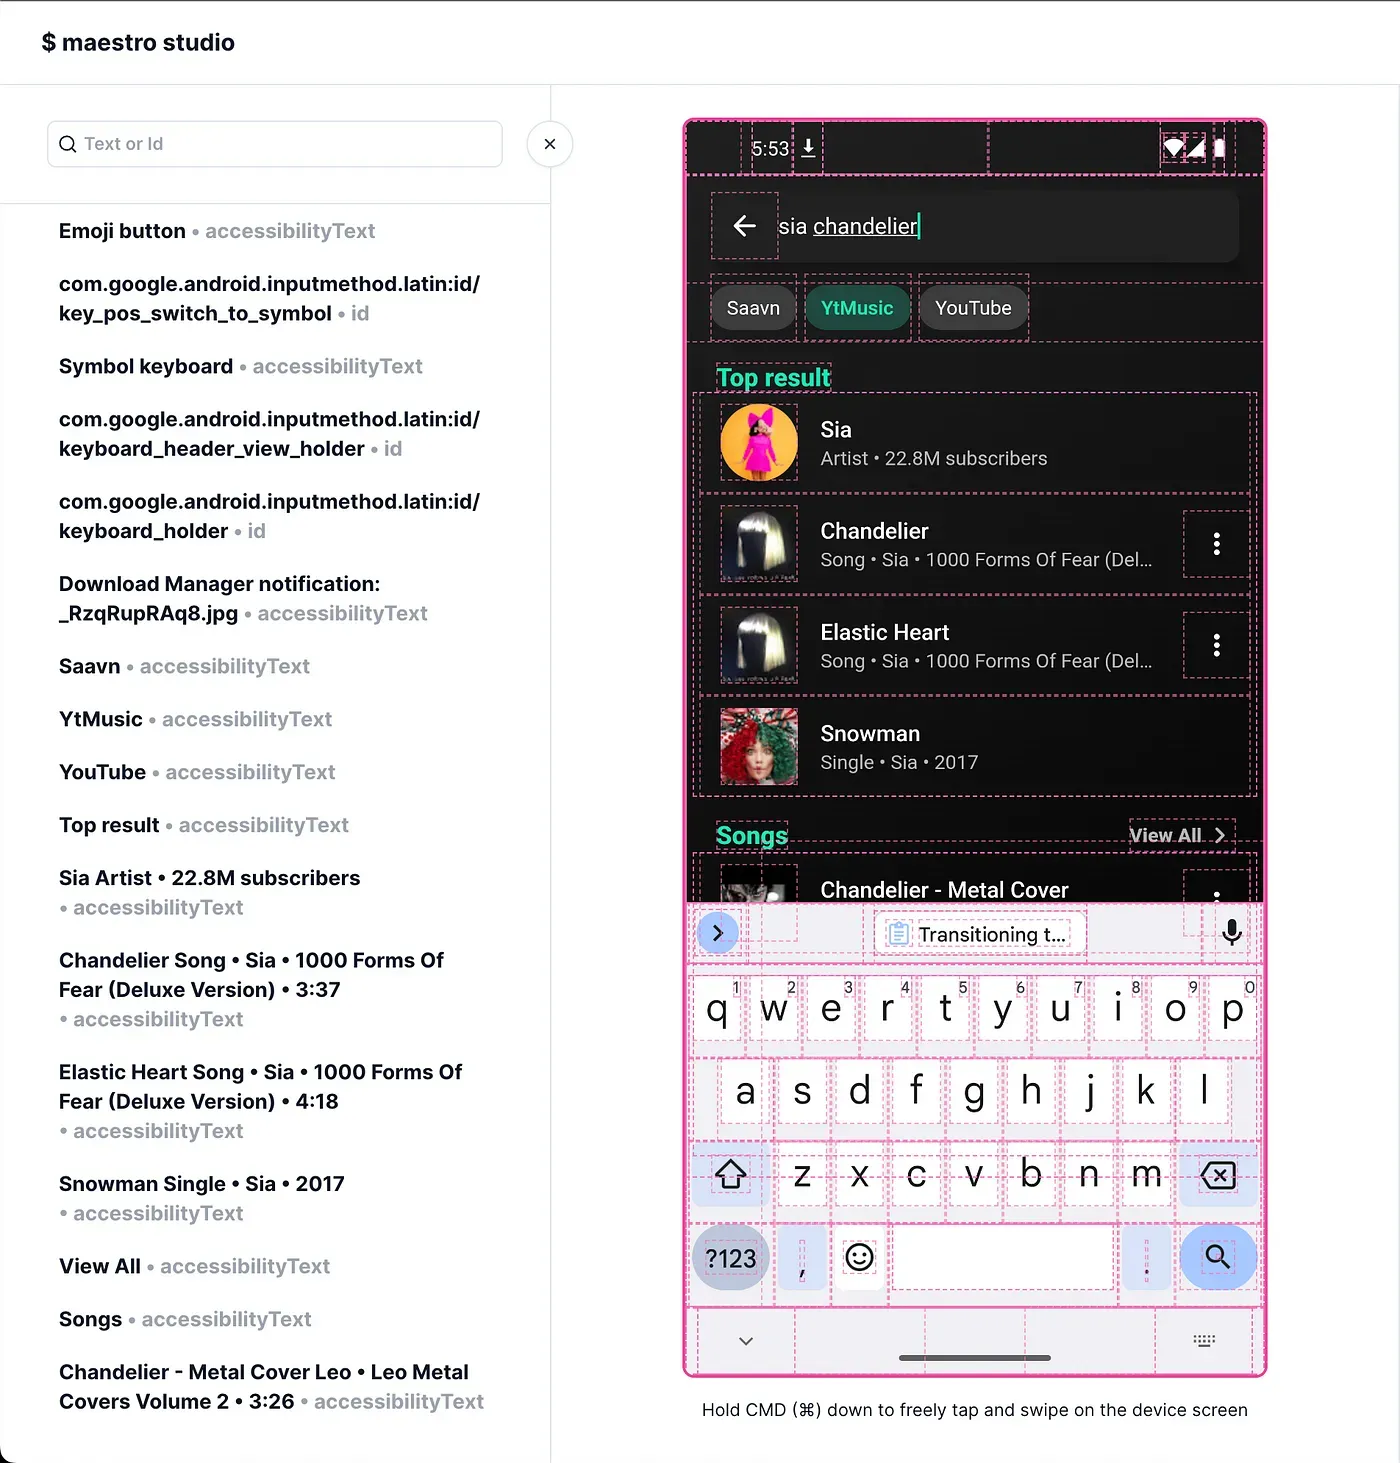
Subflow 2: Song Search
This subflow ensures the user can search for a song by tapping on the search bar, entering text, and selecting a song from the suggestions.
# search-song.yaml
appId: ${APP_ID}
---
# Search for song
- tapOn: "Songs, albums or artists"
- waitForAnimationToEnd
- inputText: "Sia Chand"
- tapOn: "sia chandelier"

# Back (to hide keyboard)
- runFlow: ../common/back.yaml

# Tap on search in keyboard for iOS (to hide keyboard)
- runFlow:
    when:
      platform: iOS
    commands:
      - tapOn: "search"
In this subflow, we also utilized the back.yaml flow to handle hiding the keyboard based on the platform as back command is only available for Android. Here’s how we tailored the flow:
# back.yaml in common directory:
appId: ${APP_ID}
---
- runFlow:
    when:
      platform: Android
    commands:
      - back
With this setup, we ensure that on Android, the back button is pressed to hide the keyboard, making our test adaptable across platforms.
Actions:
- Tap on the search bar.
- Wait for any animation to end.
- Input the text “Sia Chand”.
- Select “sia chandelier” from the suggestions.
- Hit
backto hide the keyboard for Android or tap on search in the keyboard for iOS to proceed.
The back.yaml in the common directory ensures that the back action is performed correctly based on the platform.
Subflow 3: Playing a Song
This subflow ensures the user can play a song by navigating to the YtMusic, selecting a song, and interacting with the audio player view.
# play-song.yaml
appId: ${APP_ID}
---
#  Play a song
- tapOn: "YtMusic"
- assertVisible: "Chandelier.*"
- tapOn: "Chandelier.*"

# Allow permission
- runFlow:
    when:
      platform: Android
    file: ../common/allow-permission.yaml

# To bring up the audio player view
- tapOn: "player"

- takeScreenshot: "play-song"
Actions:
- Tap on “YtMusic” to navigate to the music section.
- Assert that “Chandelier” is visible. The usage of RegEx is shown here.
- Select “Chandelier” or a similar matching title from the list.
- If on Android, a permission prompt may appear, handled by
allow-permission.yaml. - Tap on “player” to bring up the audio player view.
- Take a screenshot to capture the current state, saved as “play-song.png”.
Subflow 4: Checking Lyrics
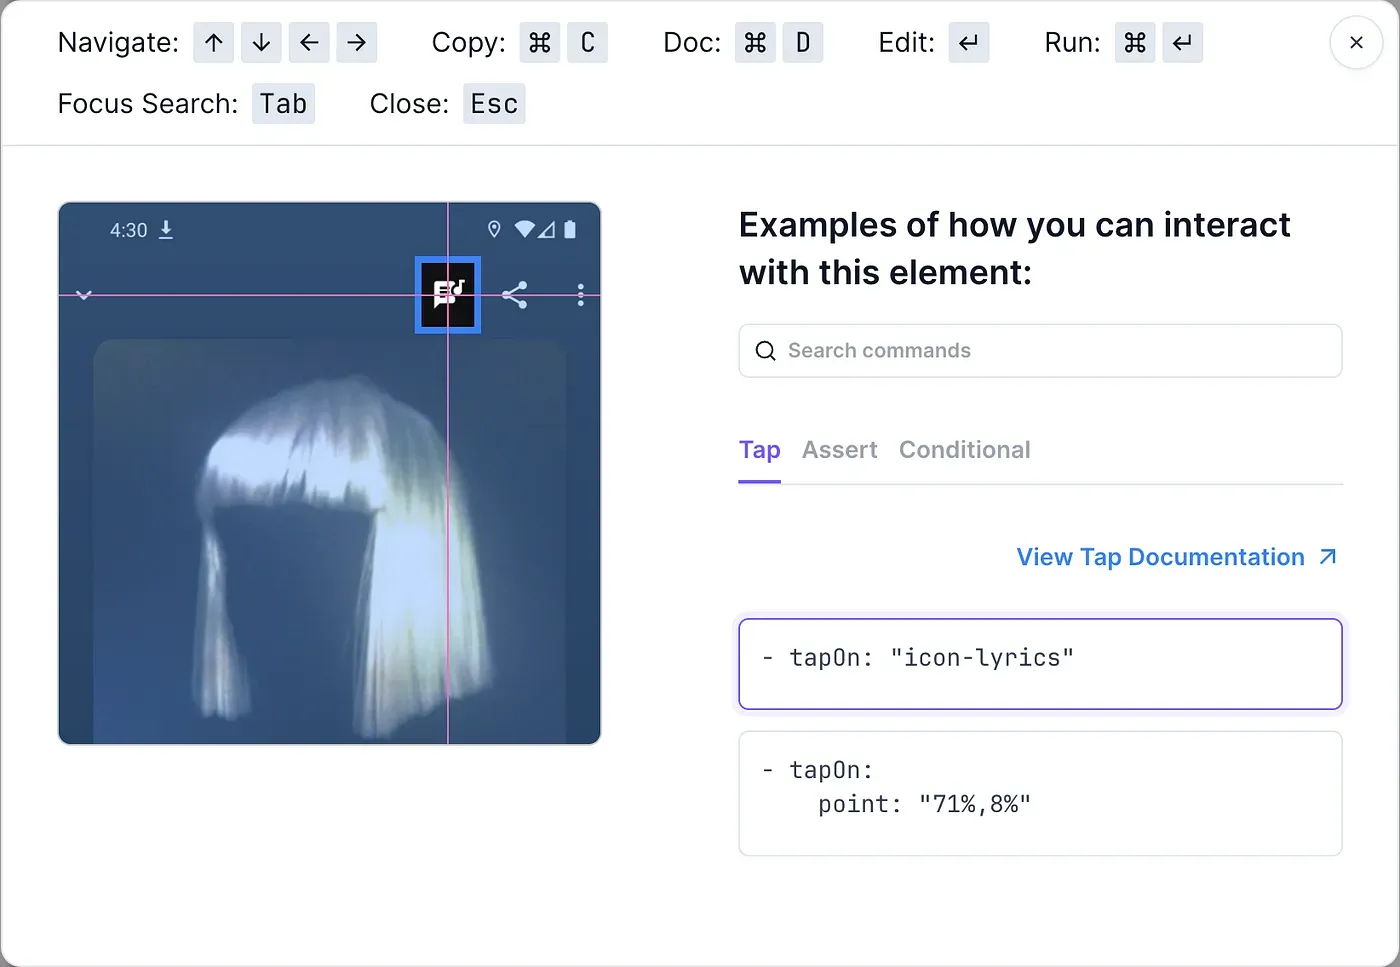
To ensure our tests could interact with the lyrics icon, we added a descriptive label to it:
IconButton(
  icon: const Icon(
    Icons.lyrics_rounded,
    semanticLabel: "icon-lyrics", // Descriptive label for accessibility
  ),
  tooltip: AppLocalizations.of(context)!.lyrics,
  onPressed: () => cardKey.currentState!.toggleCard(),
),
With the semanticLabel set to “icon-lyrics,” our tests can now easily identify and interact with the lyrics icon.
This subflow verifies that the user can view the lyrics of the currently playing song.
# check-lyrics.yaml
appId: ${APP_ID}
---
- assertVisible: ".*icon-lyrics.*"
- tapOn: ".*icon-lyrics.*"

# Check if correct lyrics are displayed
- assertVisible: ".*Party girls.*"
Actions:
- Check if the lyrics icon is visible.
- Tap on the lyrics icon.
- Verify if the correct lyrics, starting with “Party girls”, are displayed.
Transitioning to Viewing Stats Journey
Moving on from the play-music journey, we now step into the view-stats journey. This new journey aims to showcase the stats, revealing how many songs we’ve played so far and how many times.
In our config.yaml, we set the order to play music first in a clean state, and then view stats without resetting, to keep track of the music played. This setup ensures that view-stats reflects the musical activity from the play-music journey, providing a continuous flow between these journeys.
# config.yaml
flows:
  - journey/*

executionOrder:
  continueOnFailure: false # default is true
  flowsOrder:
    - play-music
    - view-stats
Journey 2: Viewing Stats
# view-stats.yaml
appId: ${APP_ID}
---
- launchApp
- tapOn: "Library"
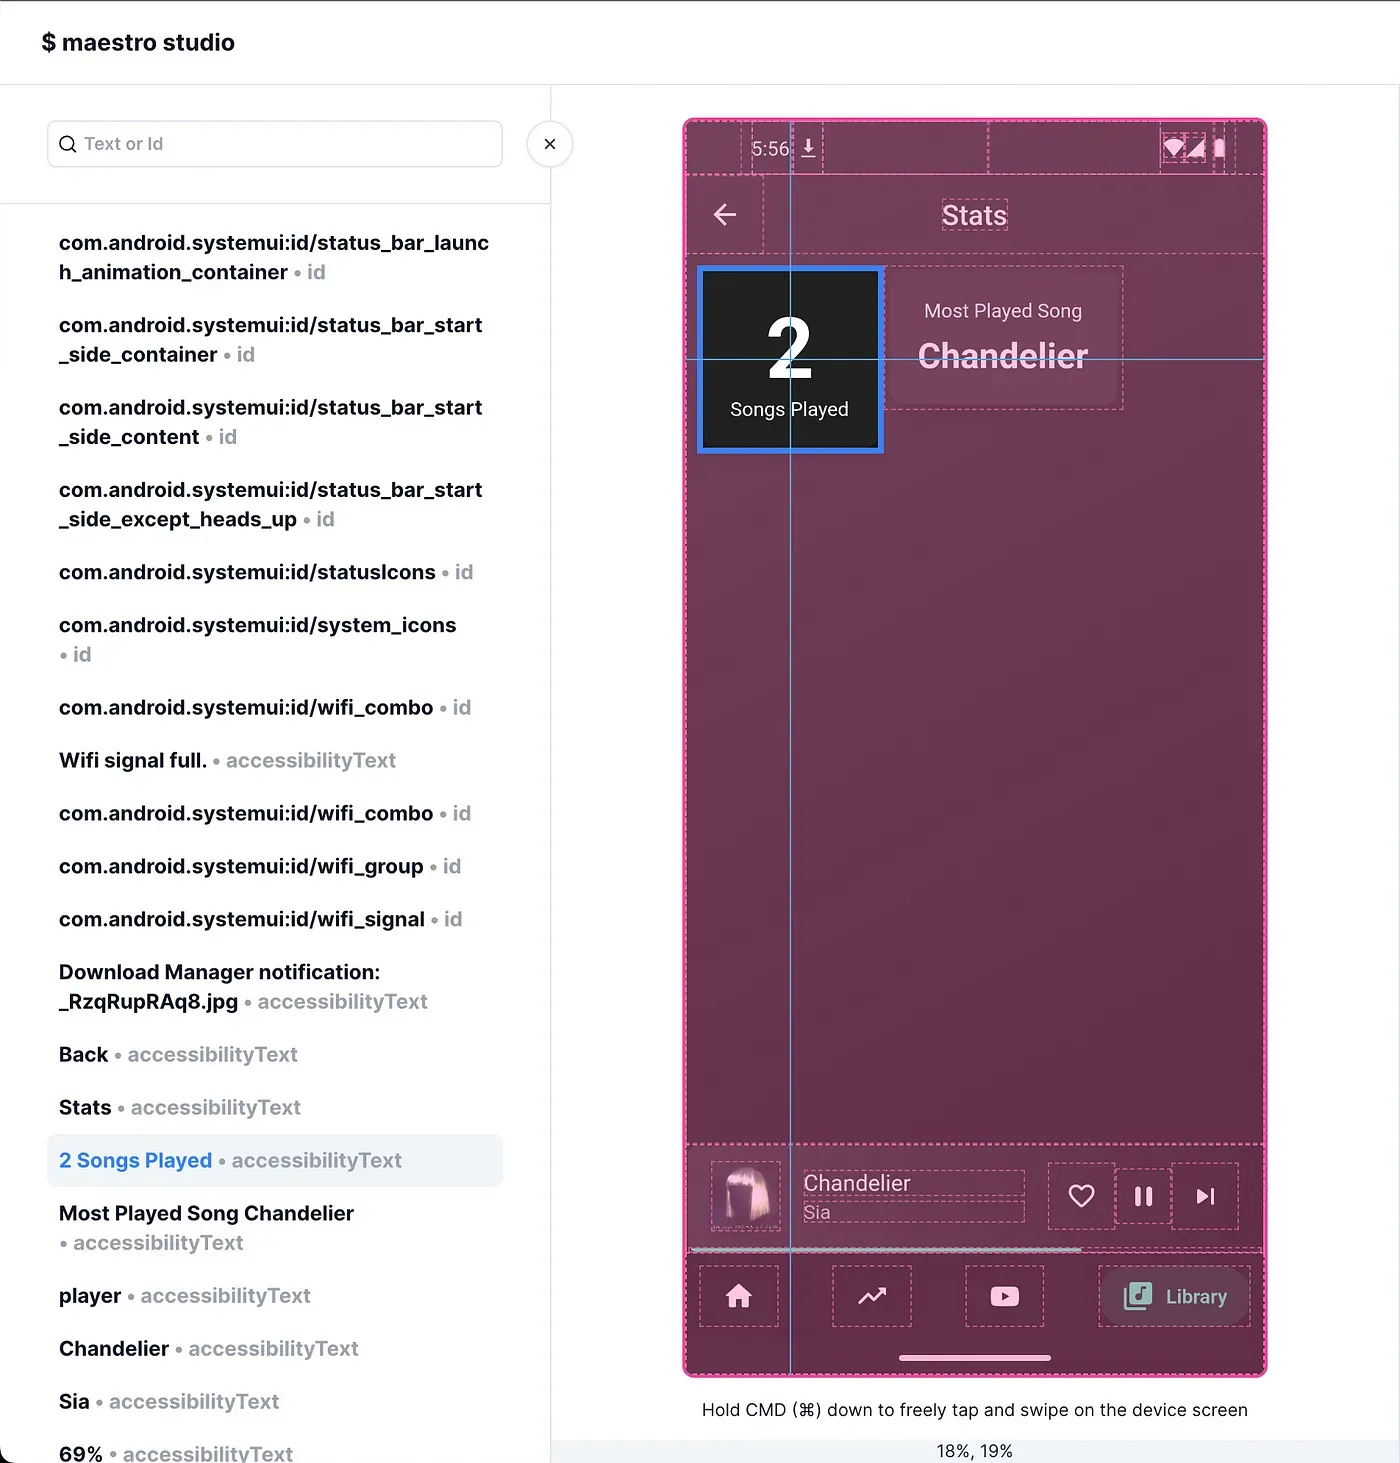
- tapOn: "Stats"
- assertVisible: ".*Chandelier.*"
- takeScreenshot: "view-stats"In this journey, we:
- Launch the app.
- Navigate to “Library.”
- Access “Stats” to view the musical statistics.
- Check if the song “Chandelier” is listed.
- Capture a screenshot named “view-stats” to document the current state.
Running Your Test
With all the subflows in place, it’s time to run your test. Execute the following command:
For Android:
maestro test -e APP_ID=com.shadow.blackhole .maestro/For iOS:
maestro test -e APP_ID=com.shadow.blackhole.ios .maestro/Configuring Flutter for Maestro UI Testing
In Part 1, we discussed enhancing UI testing accuracy in Flutter with Maestro Studio by using Semantics and explicitChildNodes. This setup aids in precise identification and interaction with text elements. Check out the detailed setup in Part 1 to revisit how Semantics and explicitChildNodes contribute to effective UI testing.
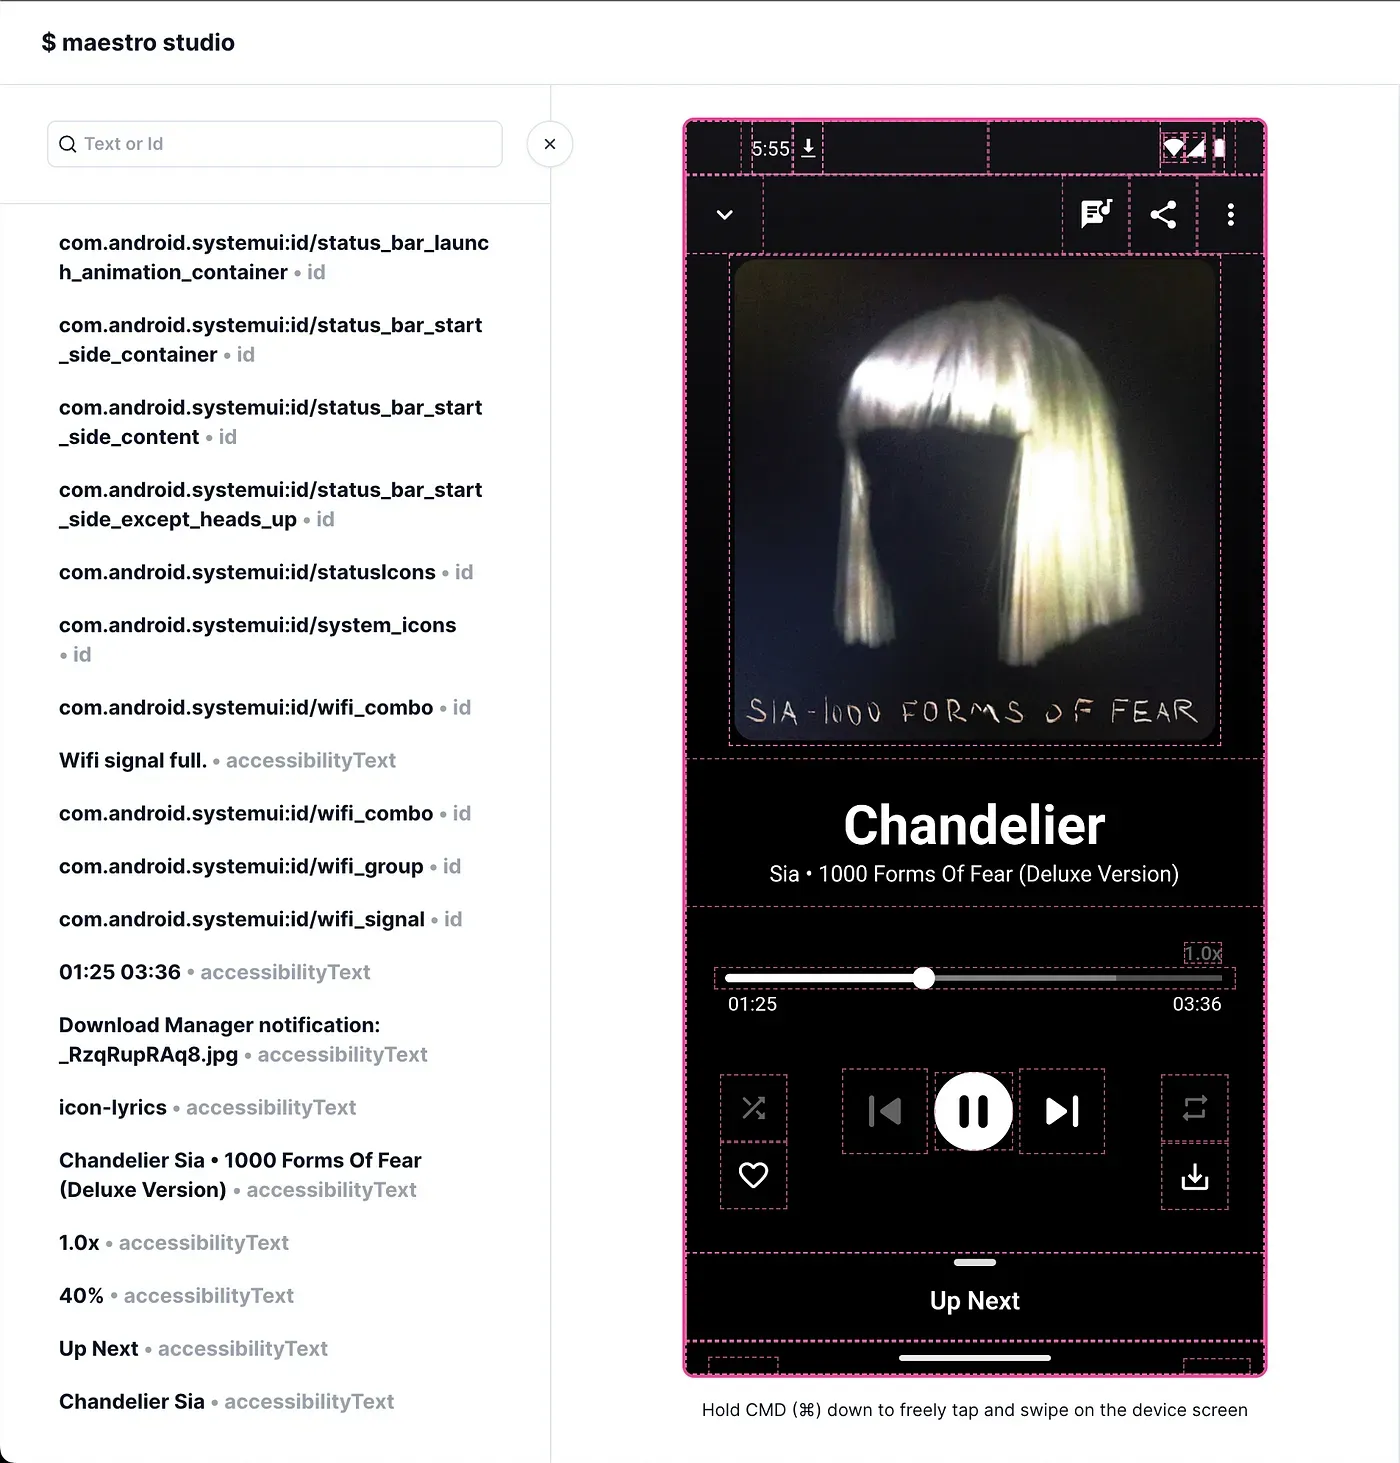
Note: In this guide, we didn’t showcase Maestro Studio, but it’s a valuable tool for crafting UI tests visually. It simplifies the test creation process, identifying UI elements and could be a useful addition to your testing toolkit.
Running on CI
Stay tuned for the next part of this series where we’ll delve into running UI tests on a cloud infrastructure. We’ll explore screen-recorded UI testing among other advanced topics to further enhance your testing workflow.
Conclusions
We’ve walked through setting up Maestro UI tests for a Flutter music app on Android and iOS. This setup is a step towards ensuring a smoother user experience through meticulous testing. With the groundwork laid, we’re now set for diving into continuous integration (CI) in the next part.
Stay tuned!
References
Part 1 — Getting Started with Maestro:
Source Code with Maestro Flow files:
Maestro for Flutter:
Maestro Best Practices:
🎹